Microsoft Azure AD SAML
Set up Microsoft Azure SAML in three easy steps.
Last updated
Was this helpful?
Set up Microsoft Azure SAML in three easy steps.
Last updated
Was this helpful?
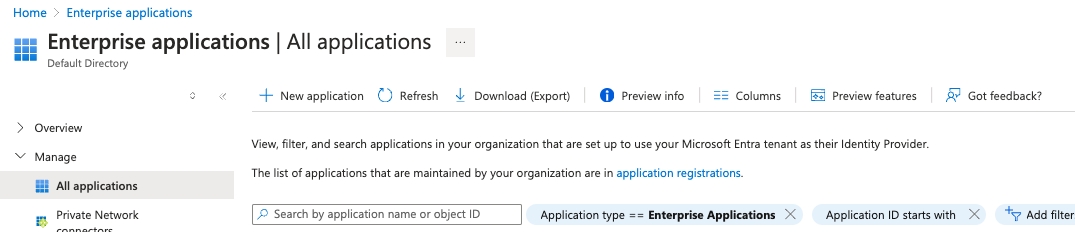
Go to portal.azure.com, create a new Enterprise application. Click "Integrate any other application you don't find in the gallery (Non-gallery)"
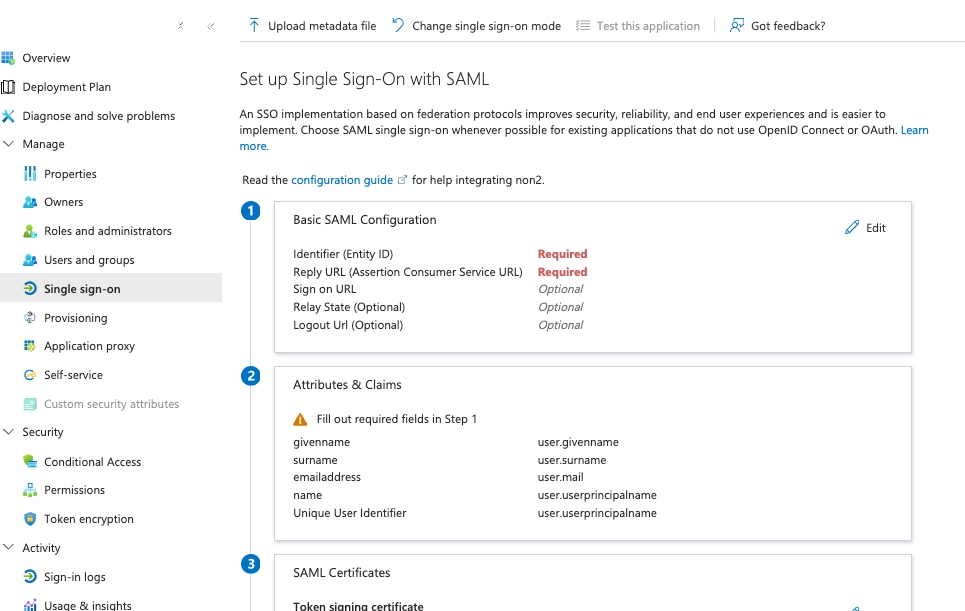
Click "Single sign-on" followed by SAML. Edit the "Basic SAML Configuration".
Fill in the following 3 values and hit save.
Identifier (Entity ID)
https://<YOUR_COMPANY_DOMAIN>/secoda
https://company.com/secoda
No trailing slash.
Reply URL (ACS URL)
https://<APP|EU|APAC>.secoda.co/api/v1/auth/saml/<YOUR_EMAIL_DOMAIN_WITH_PLUS>/acs/
https://eu.secoda.co/api/v1/auth/saml/company+com/acs/
Include a trailing slash.
Sign on URL
https://<APP|EU|APAC>.secoda.co/api/v1/auth/saml/<YOUR_EMAIL_DOMAIN_WITH_PLUS>/acs/
https://eu.secoda.co/api/v1/auth/saml/company+com/acs/
Include a trailing slash.
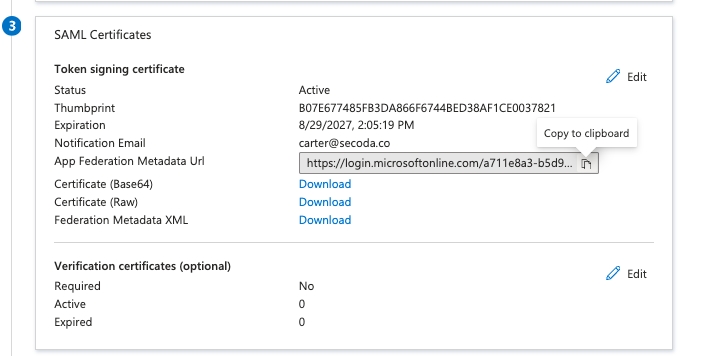
Then copy the App Federation Metadata Url.
Navigate to the Secoda app > Settings > Security > SAML
Choose Microsoft as the SAML Provider (IDP)
Paste the App Federation Metadata Url under "Metadata URL".
Click Request which will alert the Secoda team of your request.
Once Secoda has completed their steps, you will be able to go to navigate to Secoda, click “Sign in with SAML”, and enter your domain to complete sign-in.