Jira
An overview of the Jira integration with Secoda
Last updated
An overview of the Jira integration with Secoda
Last updated
You might consider integrating your Secoda workspace with Jira if your team receives data requests through Jira.
There are three steps to getting started using Jira with Secoda
Create a Jira project to upload your issues, or locate an existing project
Prepare your Jira credentials
Connect Jira to Secoda
Note: if you have an existing project that you would like to connect, skip this step
Navigate to this url and login to or sign up for Jira with the same email used for Secoda. Navigate to Jira Software and find the Projects tab. If you do not have one, create a new project with a name similar that of the Secoda team it will be connected to for easy management. This can be either a team-managed or company-managed project.
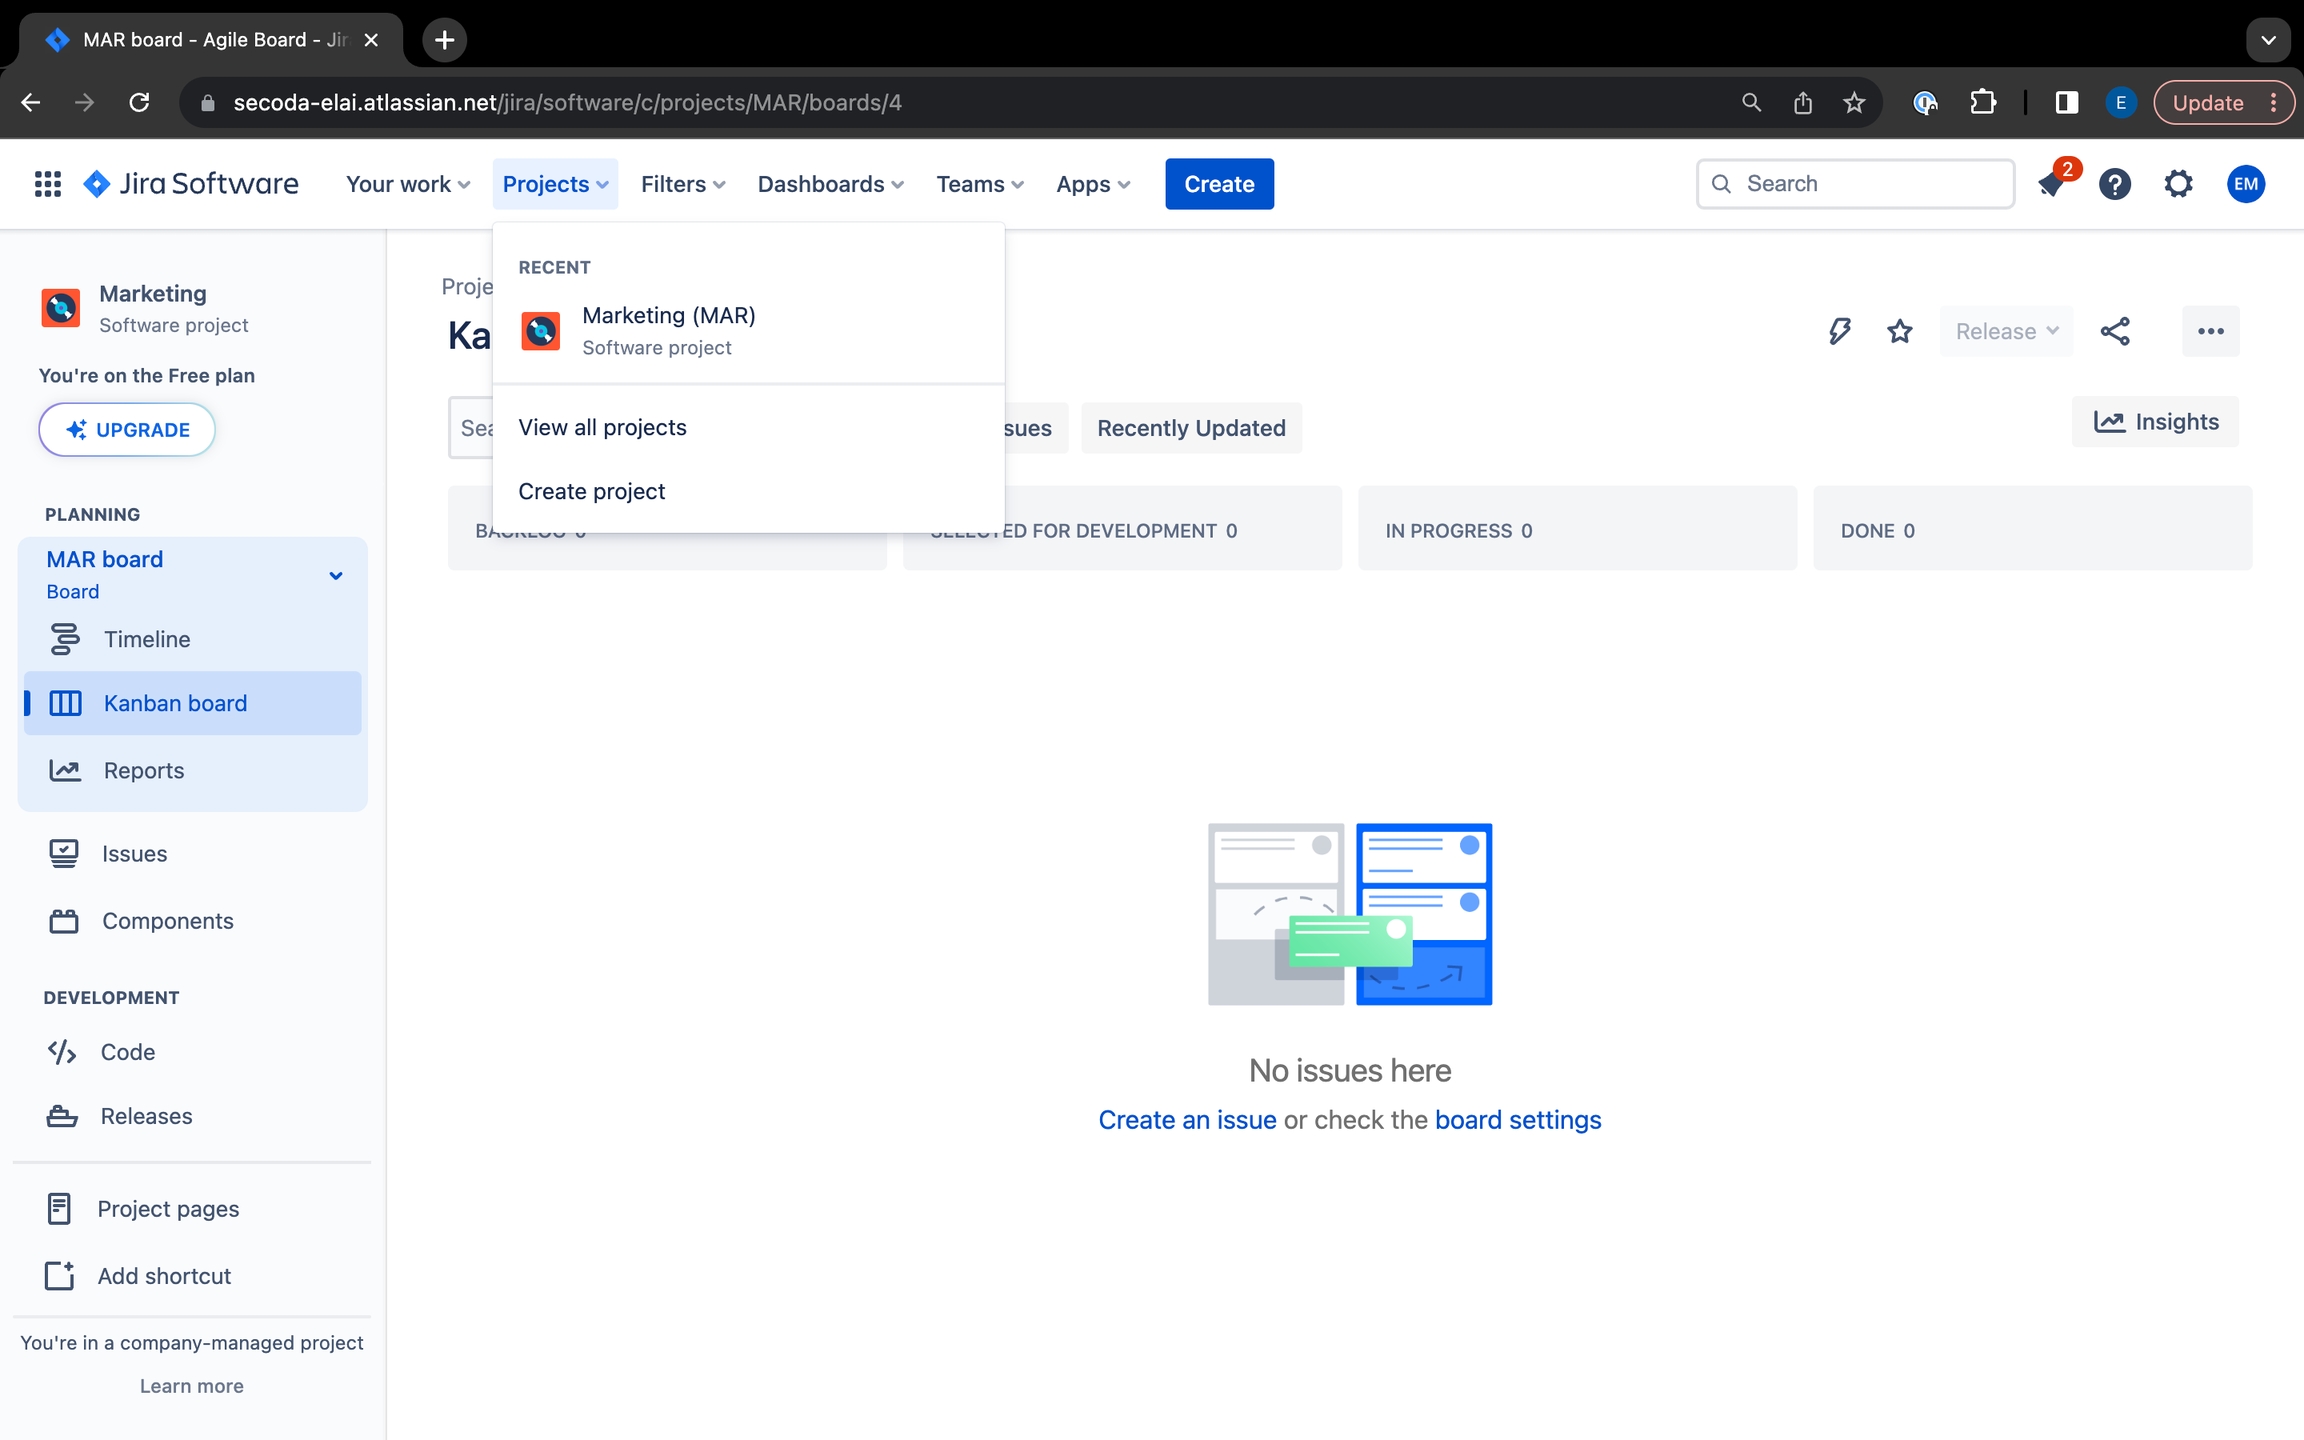
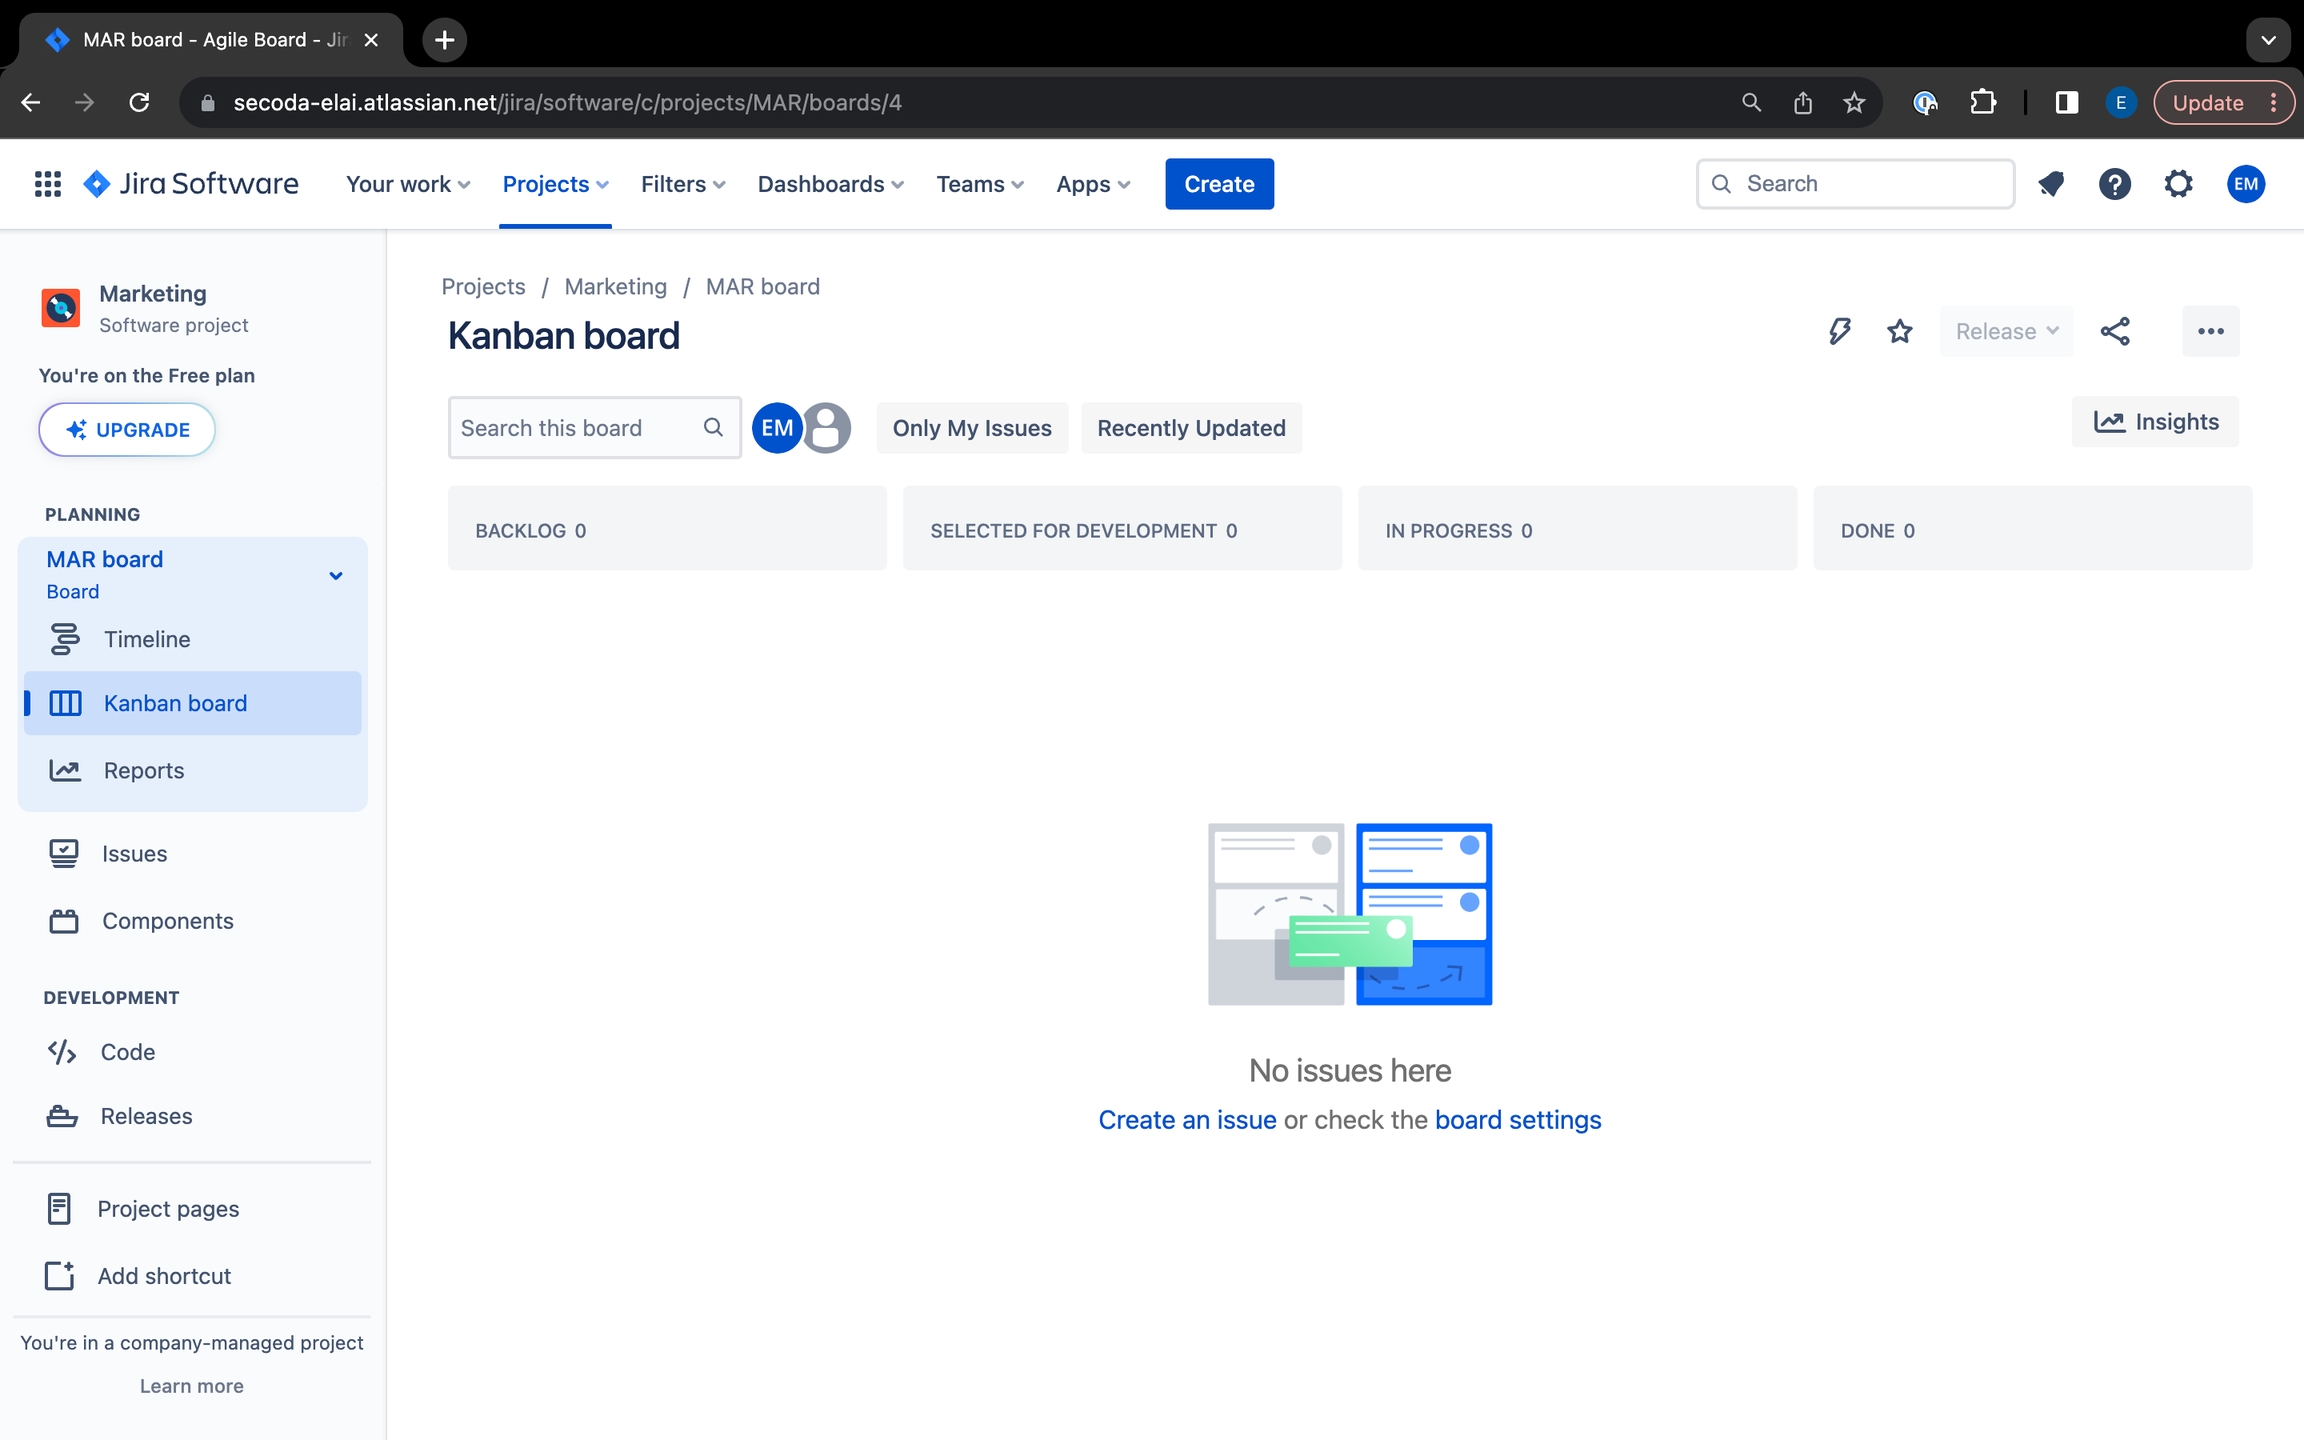
Once created or found, you should see the project with its respective boards and issues:
There are nine items you will need in order to integrate your Jira project into Secoda:
Project URL
Project name
Project key
Issues Filter (optional)
Jira API token
Account email
Organization ID
Organization Admin API key
Webhook secret
To find your project's URL, name, and key, remain on your project's main page.
Note the website URL. You will take the section of URL resembling https://your-domain.atlassian.net/ and enter it into the Project URL section of Secoda's Jira integration setup. In the example screenshot above, this URL would be https://secoda-elai.atlassian.net/.
The project name and key will also be found on this page. Click the Projects tab to see a list of your projects, and find the one that you would like to integrate with Secoda. The project name will be the full name, while the project key is the 2 or 3 letter string inside of the brackets beside your project name
In this example, the project name is Marketing, and the project key is MAR. Enter these values into Secoda's Jira integration setup.
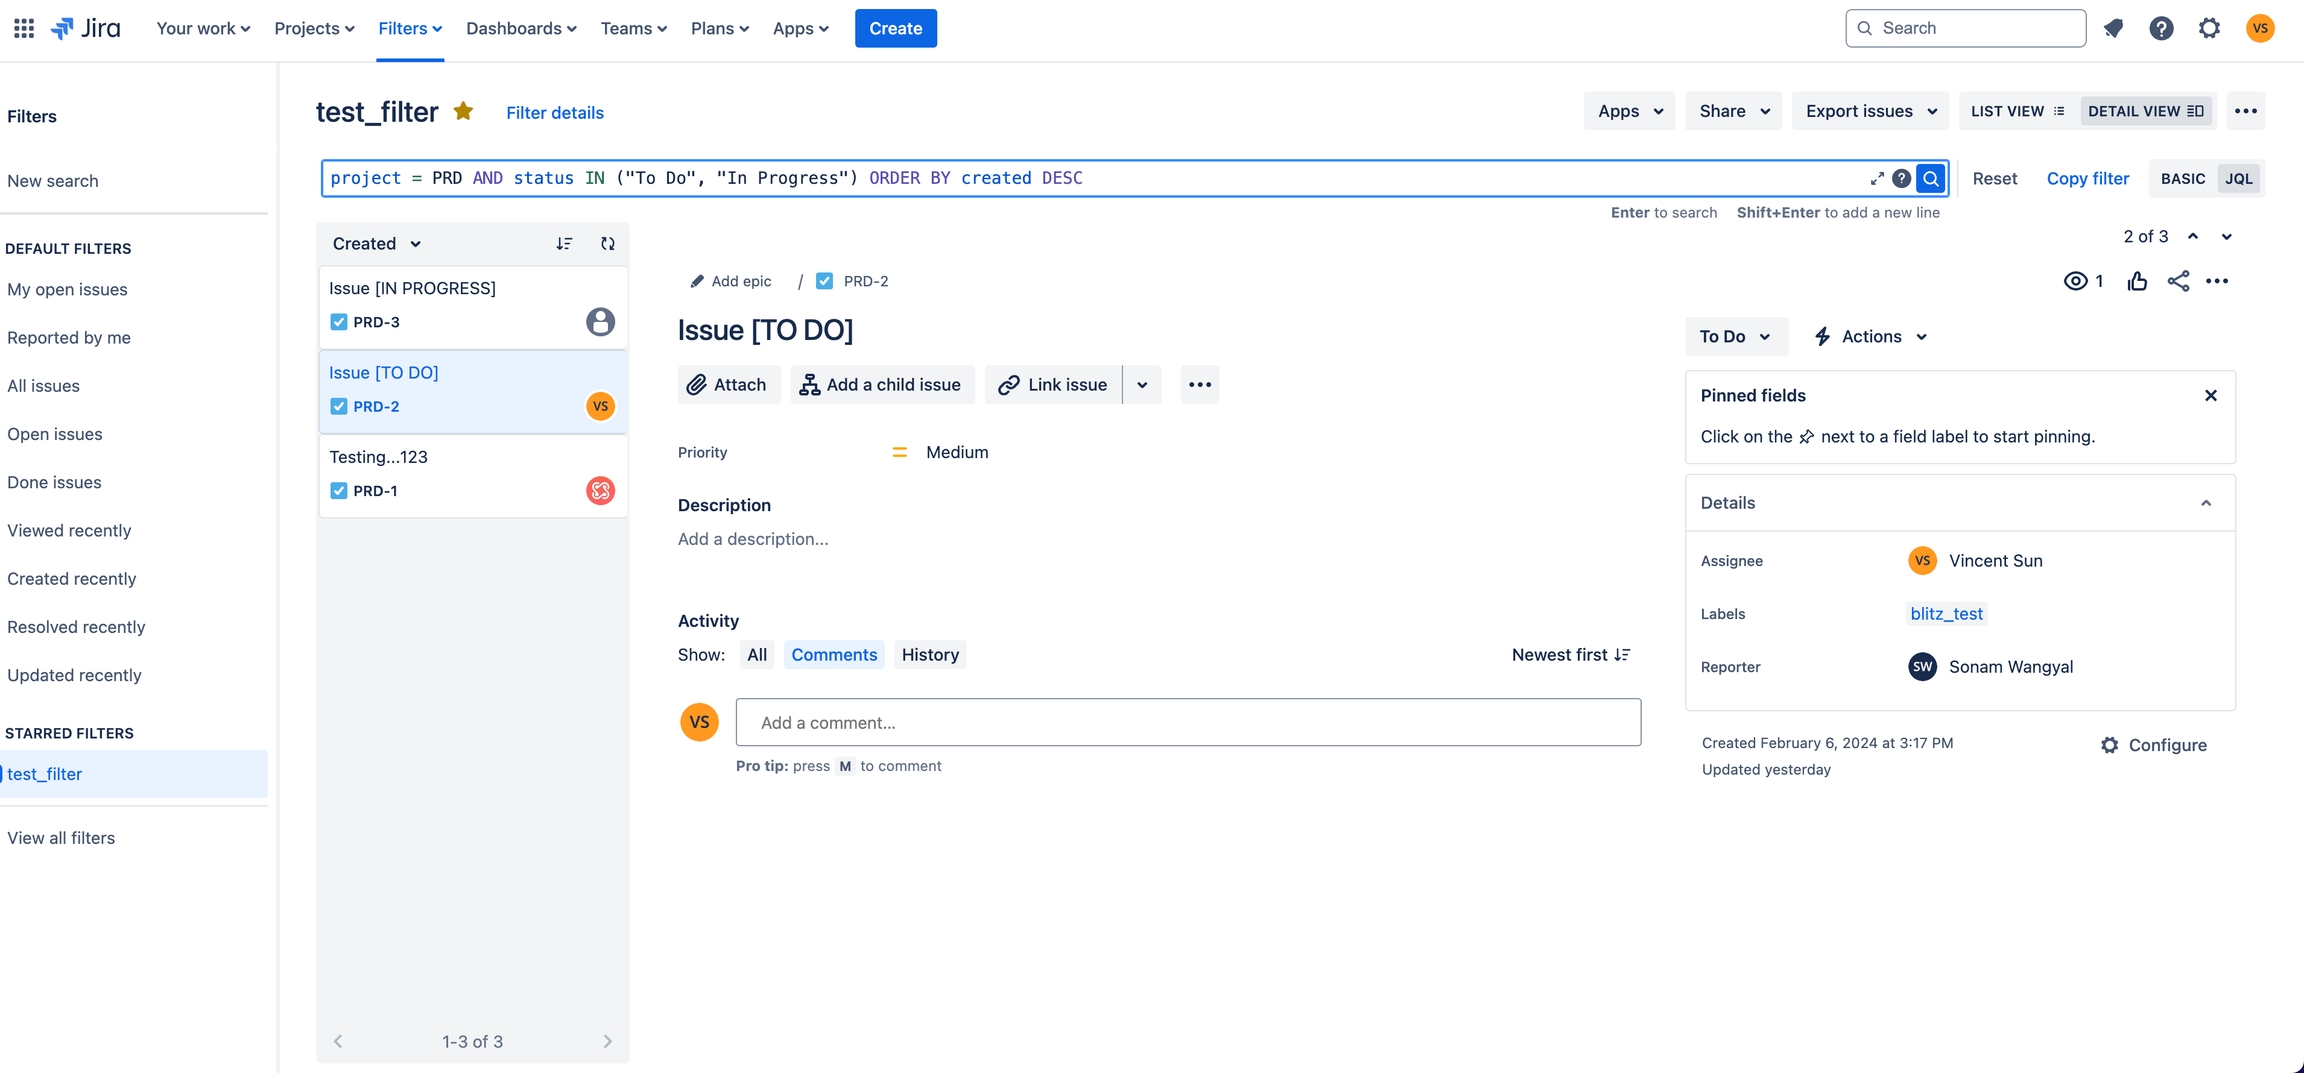
If you want to filter the issues that will be synced to Secoda, you can enter a custom JQL query. Go to the Filters tab and click on/create a new filter. Once you are satisfied with the filter, change the switch found in the top right from Basic to JQL. The JQL query will pop up in the header bar, and you can copy that in the setup.
Note: The project in the filter must be the same as the project you entered from above, or no issues will be synced.
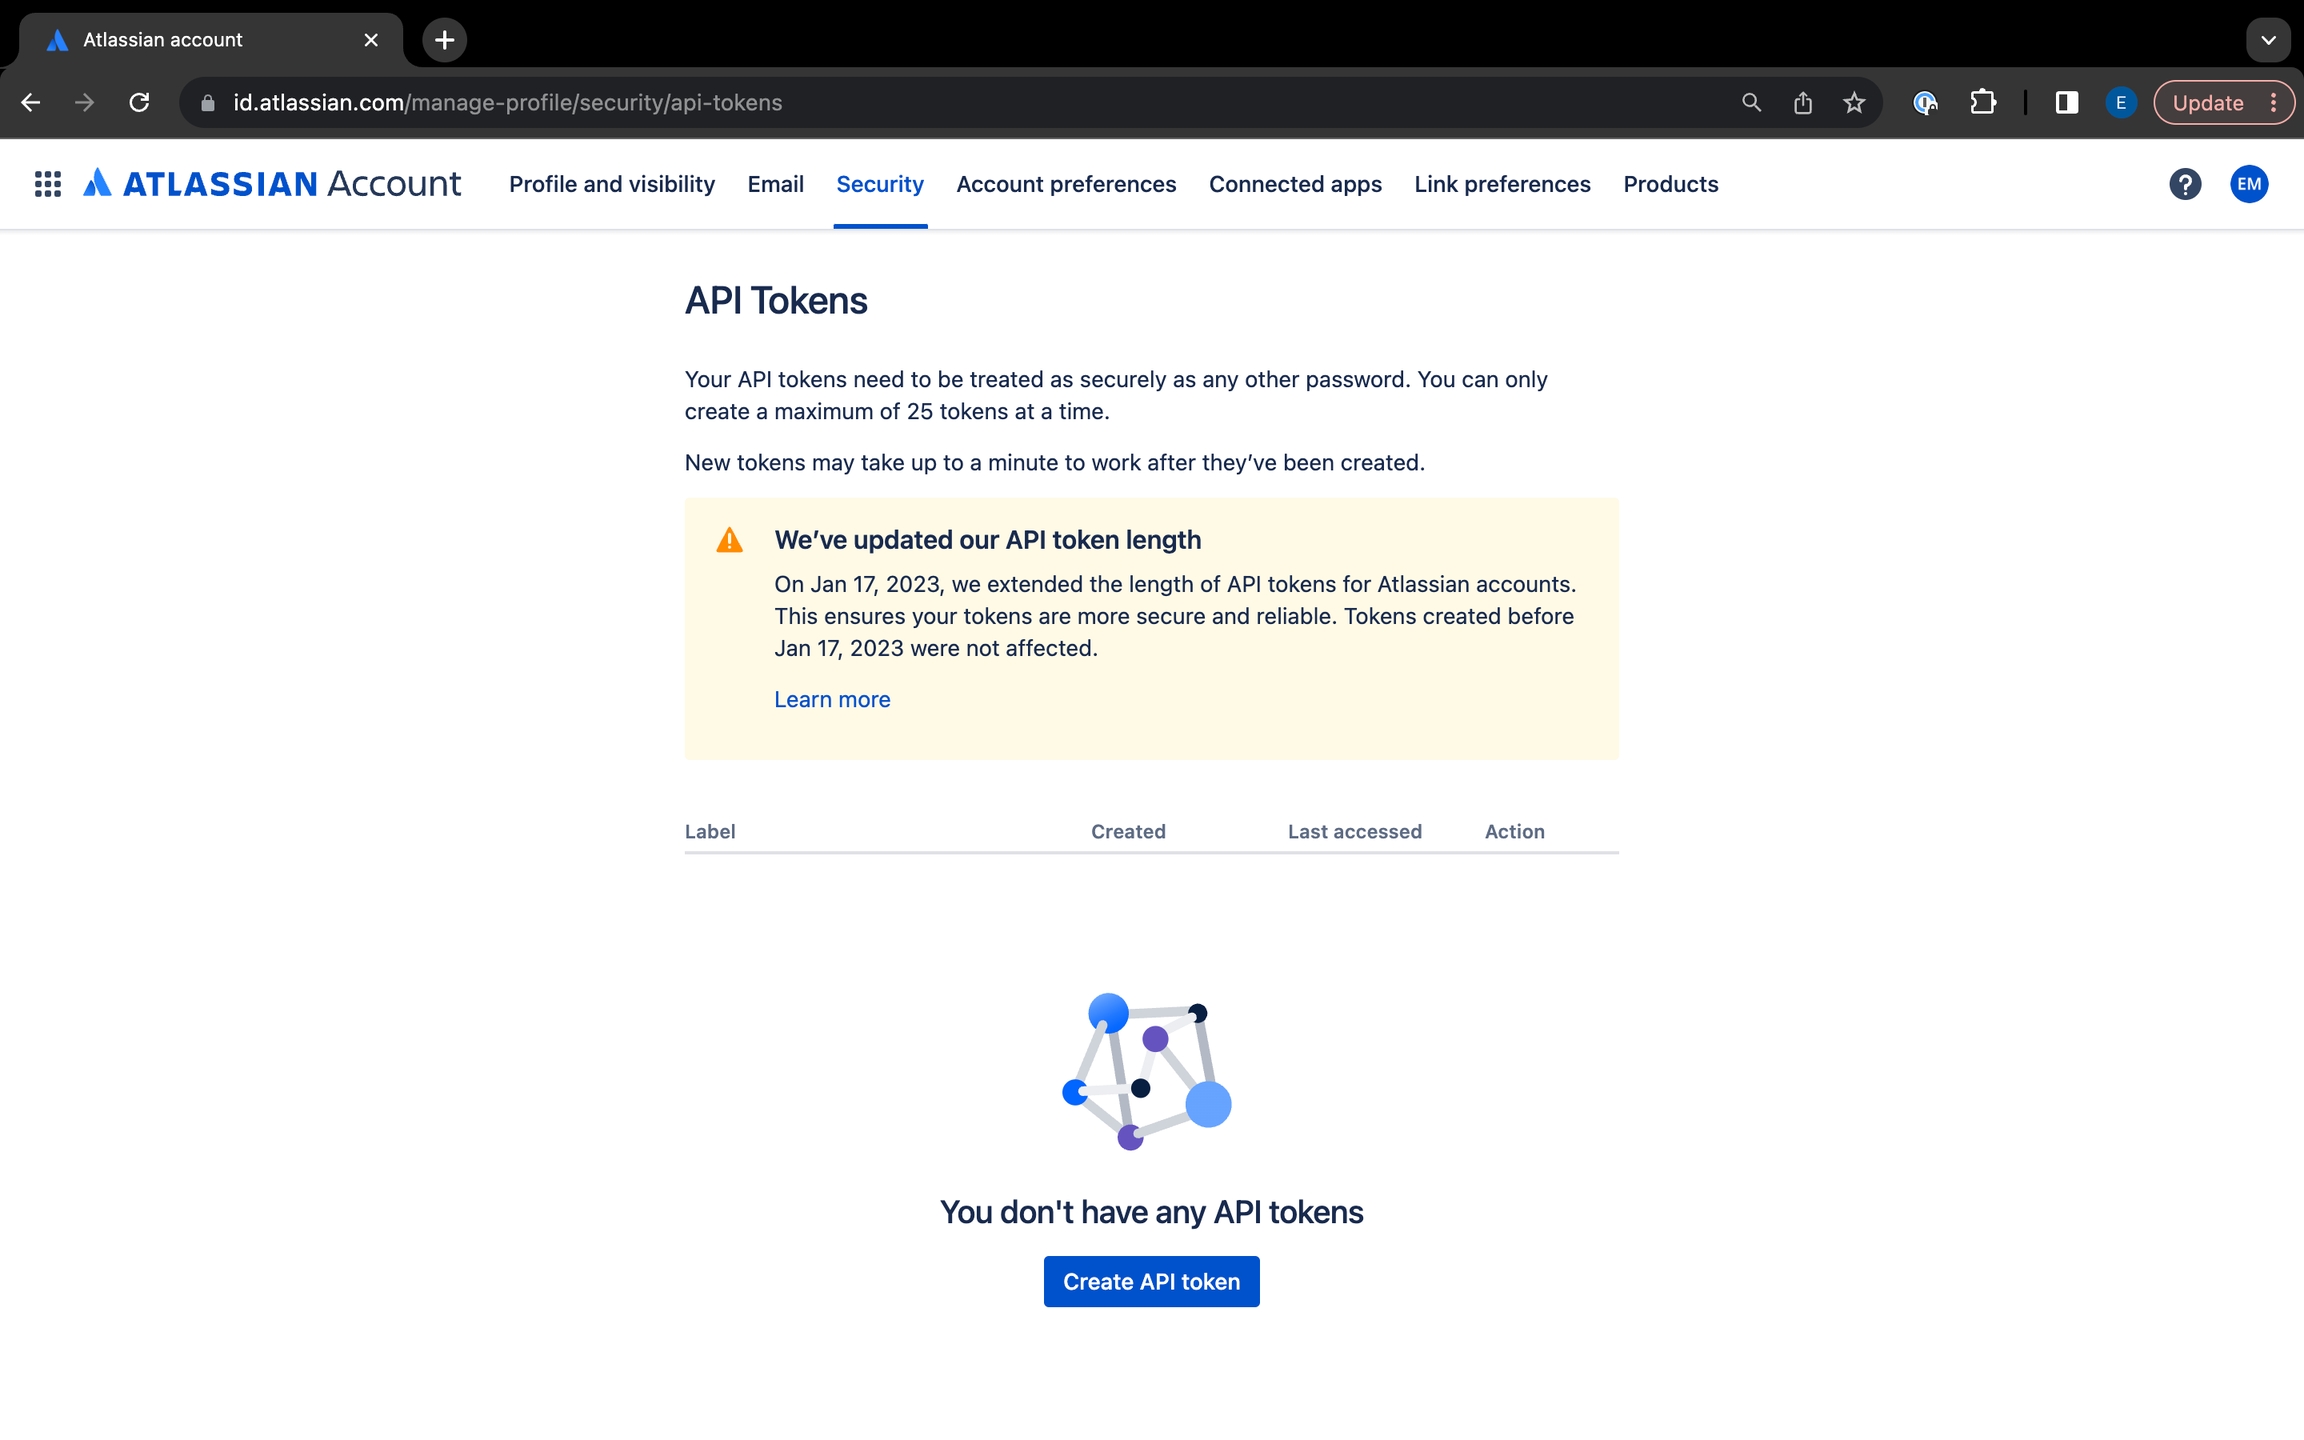
Next, you must obtain an API token for Jira. Login to this page and click "Create API token". When prompted, name the token the same name as your project, copy and save it somewhere secure, as it cannot be accessed afterwards. Enter this token into the respective section on Secoda's Jira integration setup.
Note: Multiple API tokens can link to the same Jira project
To find your account email, you can click on the icon in the top right corner of any Jira page, and enter it into the Account Email section of Secoda's Jira integration setup.
Note: For Jira users to appear as assignees on Secoda, you can either get an organization admin key as seen below, or have users change email visibility to "Anyone" by going through Manage Account -> Profile and Visibility -> Contact
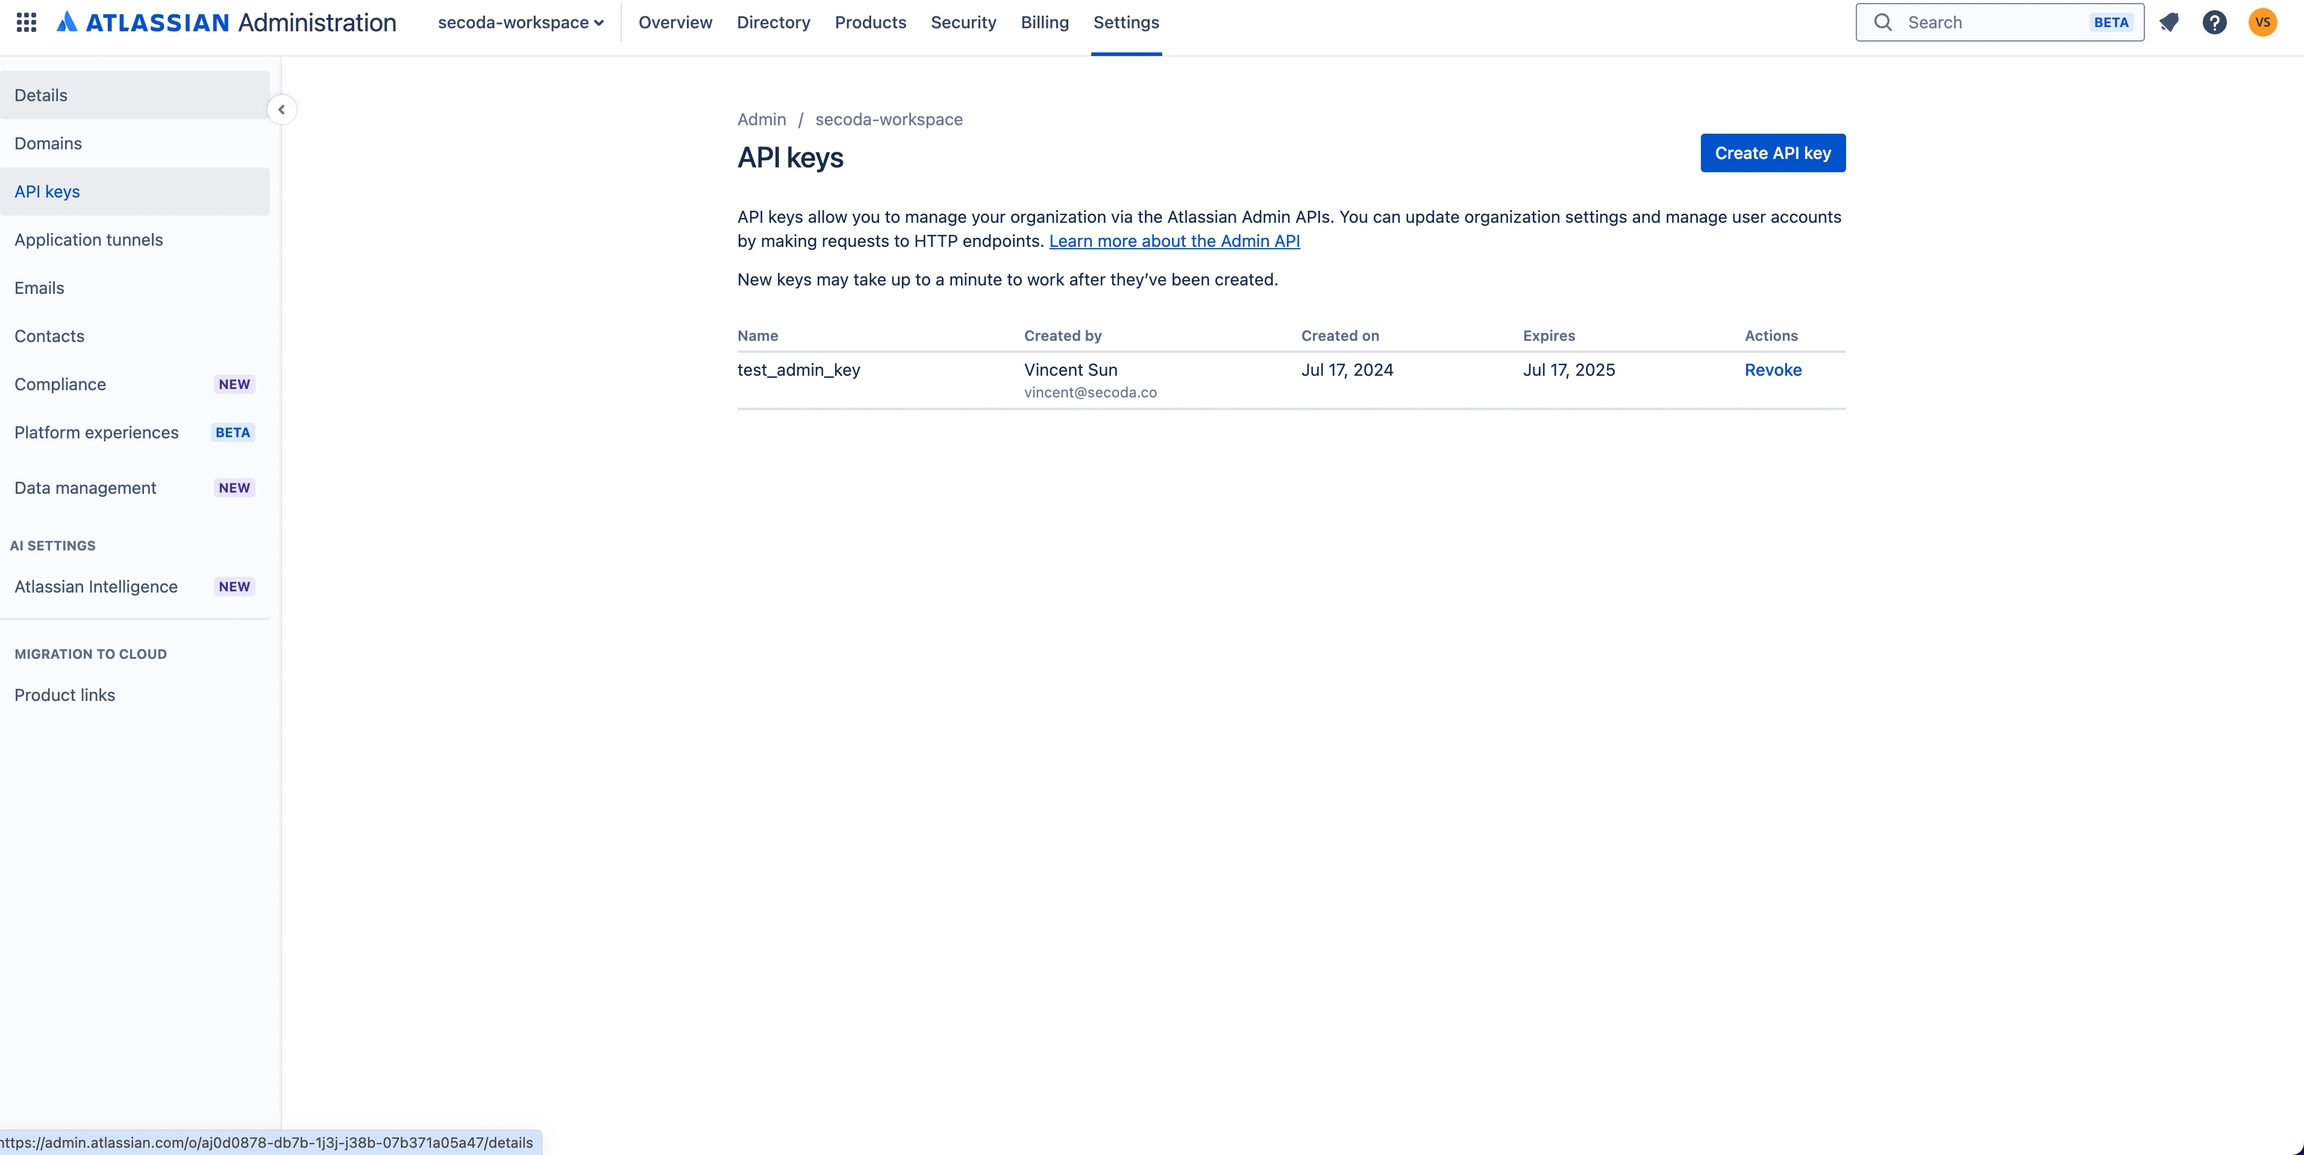
To find your organization ID, go to this link, and select the workspace that you want to import. Then, the page will redirect you to https://admin.atlassian.com/o/{your-org-id}/overview and you can copy the ID from the link.
After you have logged into your organization on https://admin.atlassian.com/, head to the settings tab in the navbar. From here, click API keys on the left sidebar, and create a key with a label of your choosing. On creation, it will show you your organization ID as well as the API key.
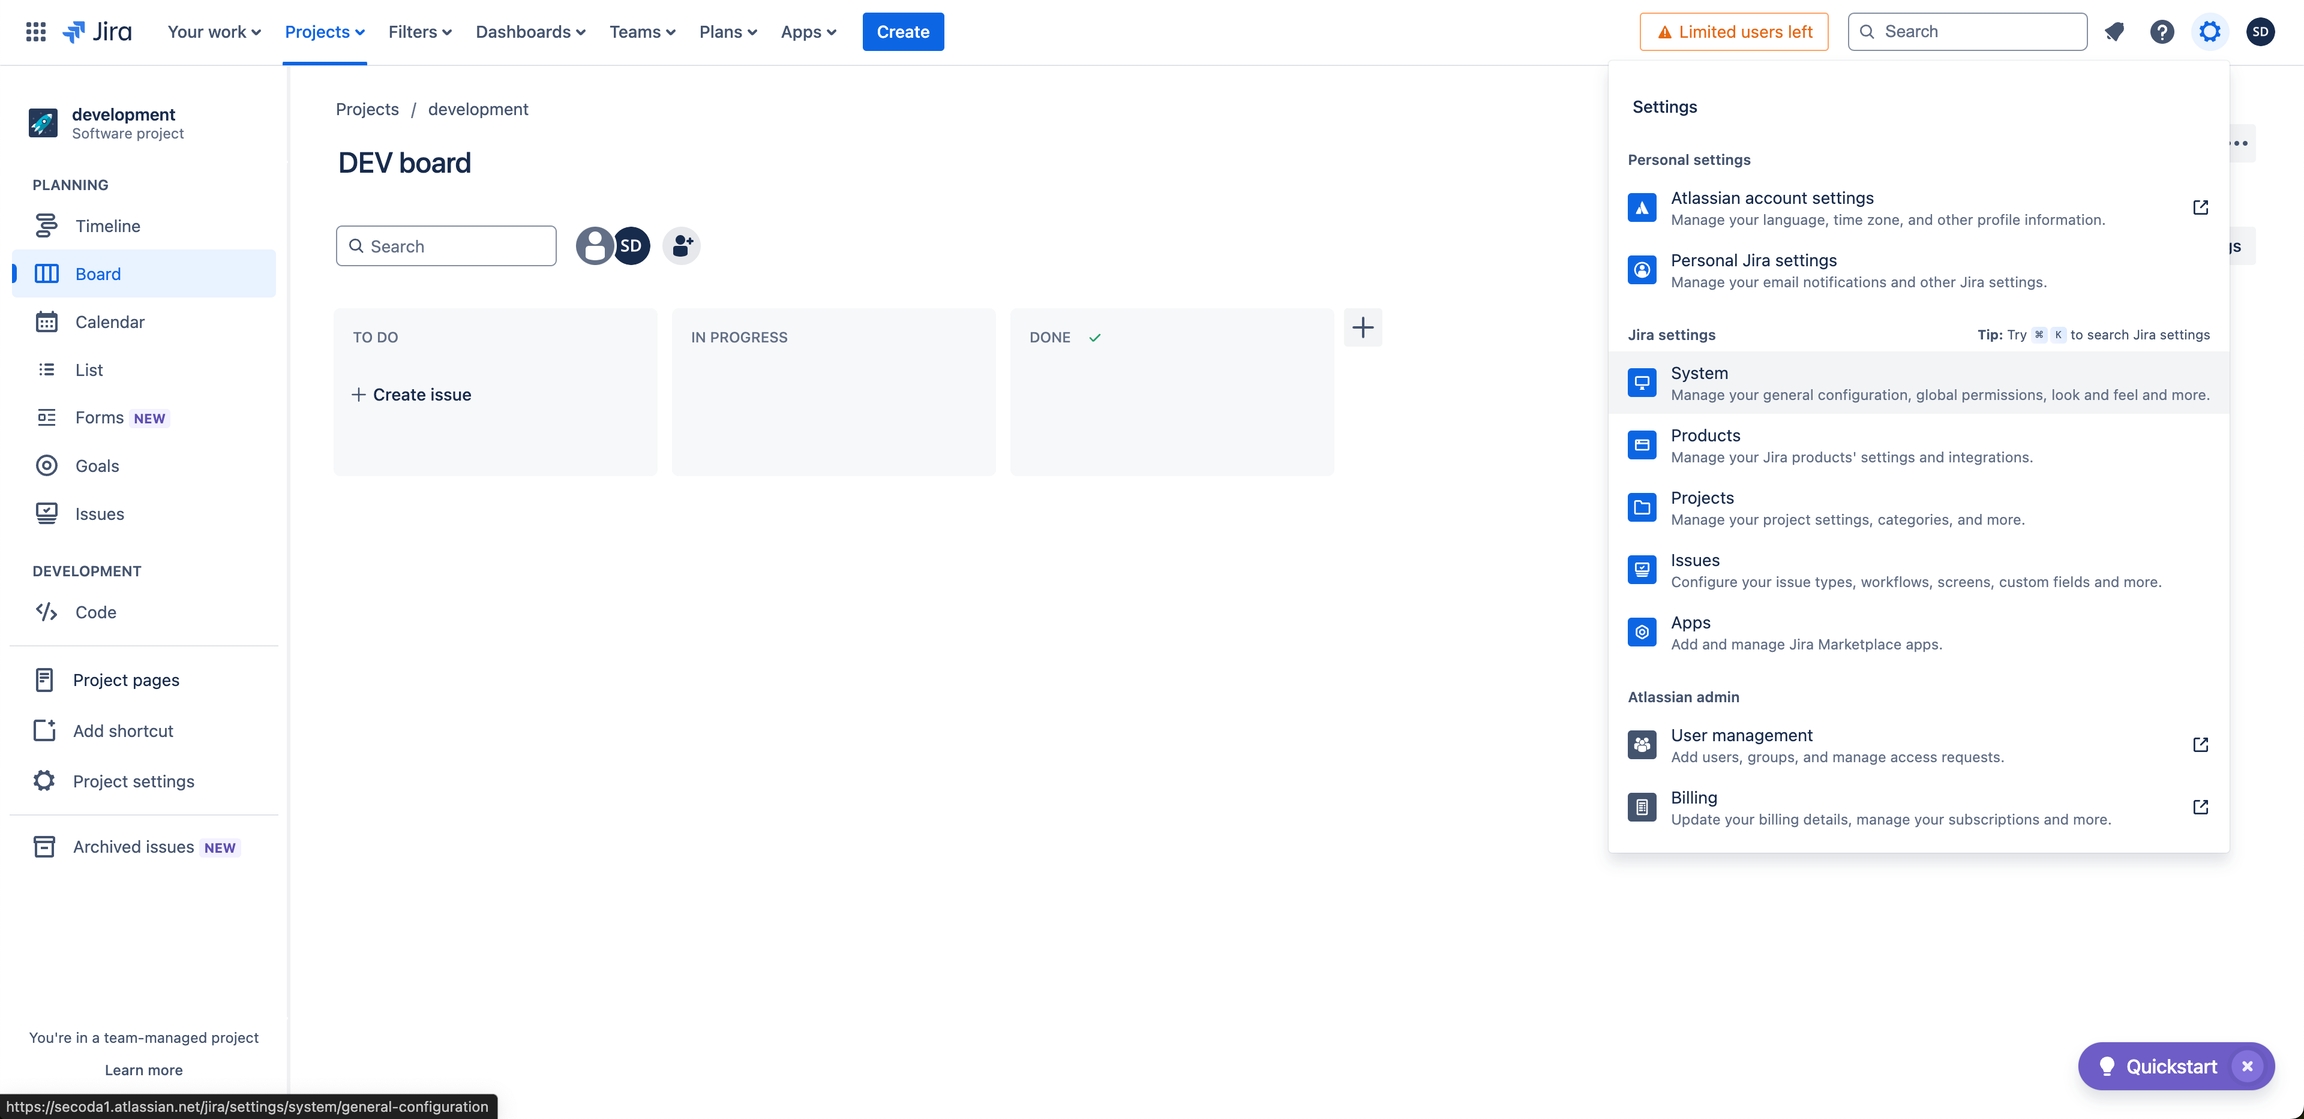
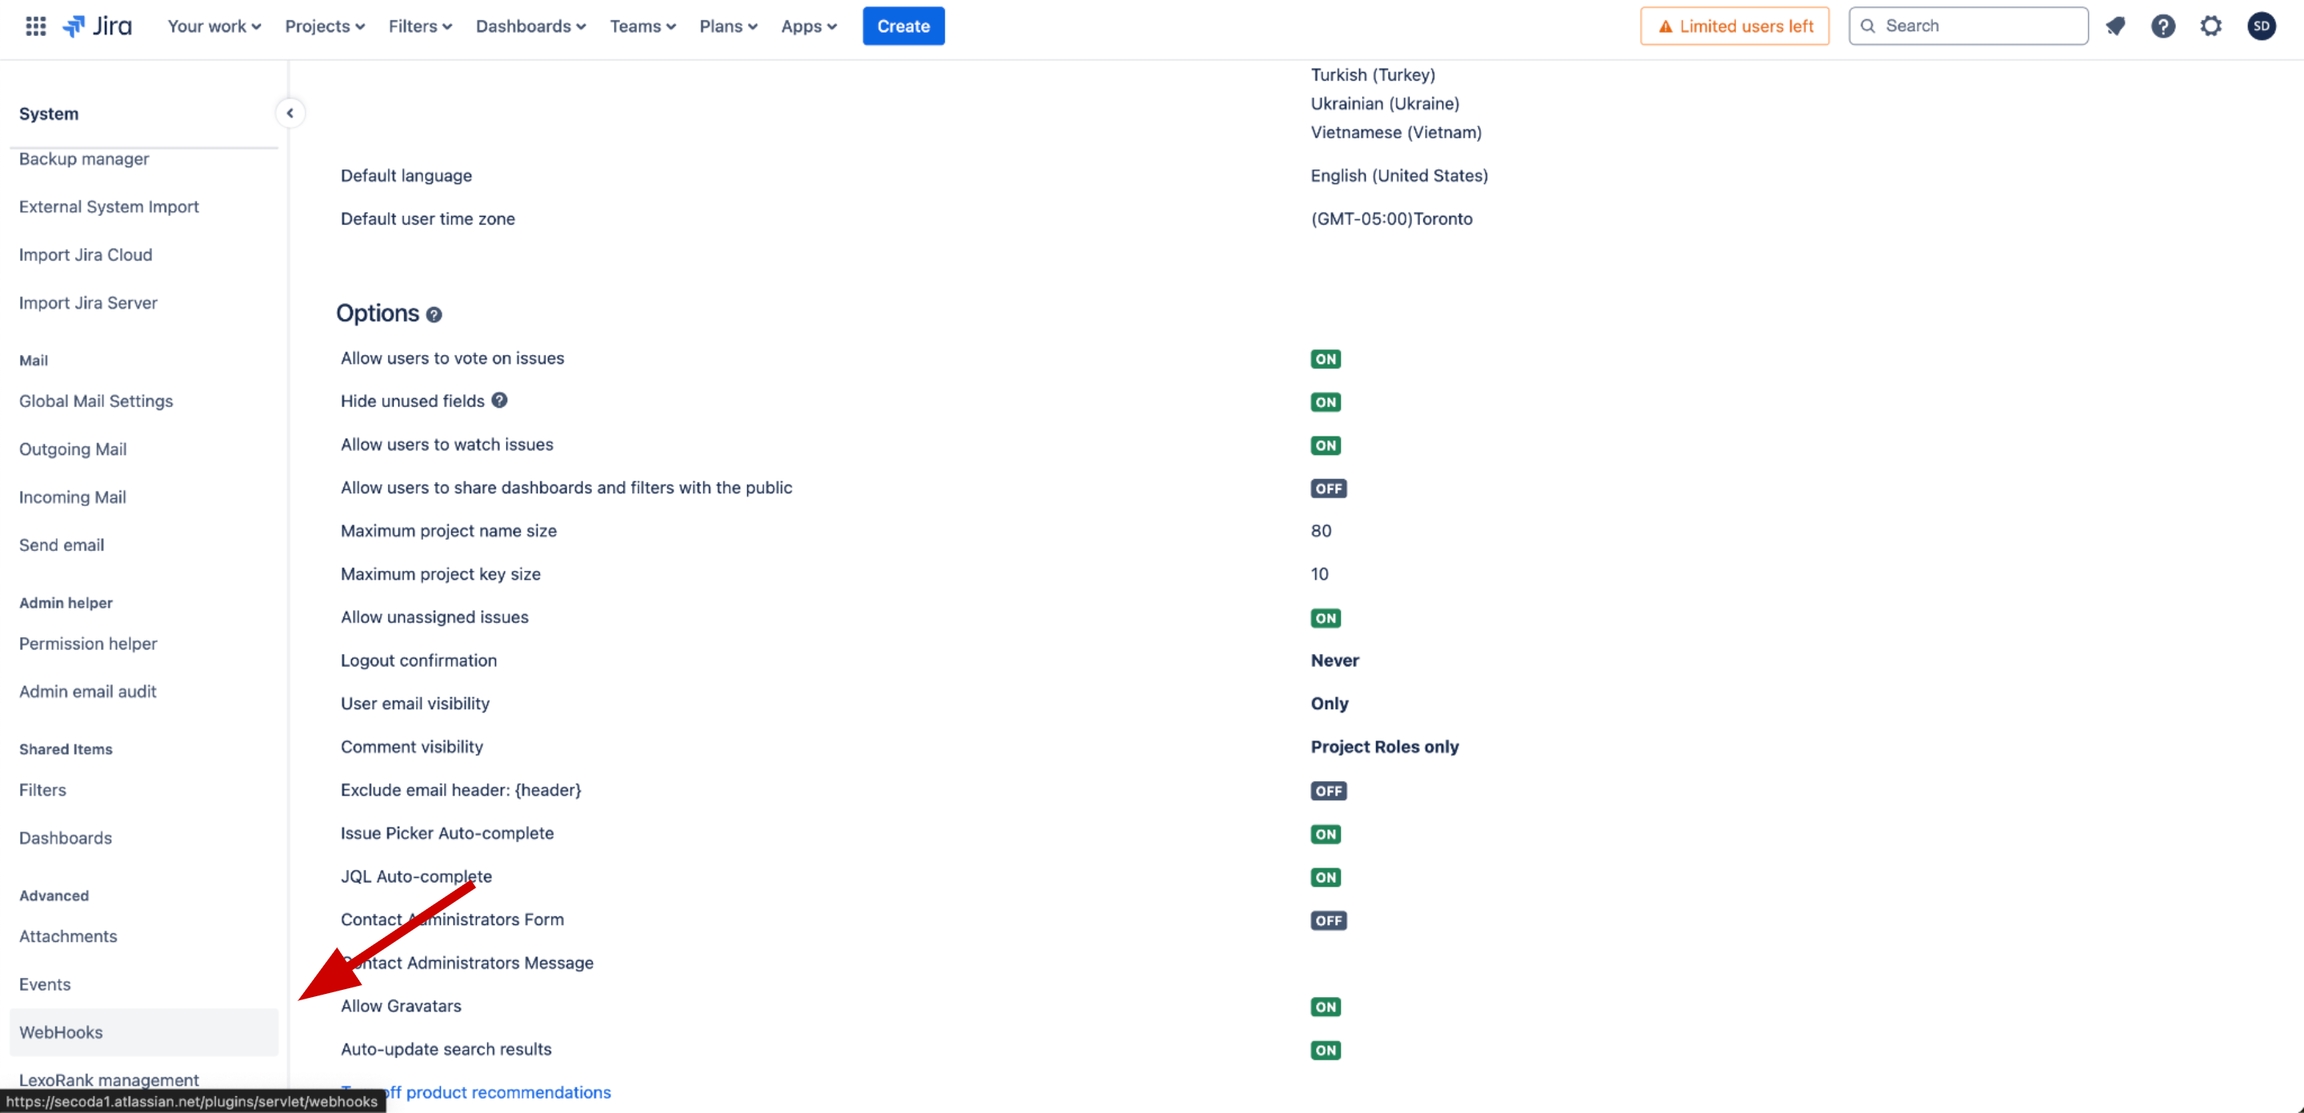
A Jira webhook is needed to use Secoda's bi-directional sync between issues and questions. To register a new webhook, go to your project's main page, open the settings menu in the top right, and click on System under Jira settings.
Note: A Jira admin is needed to do this step.
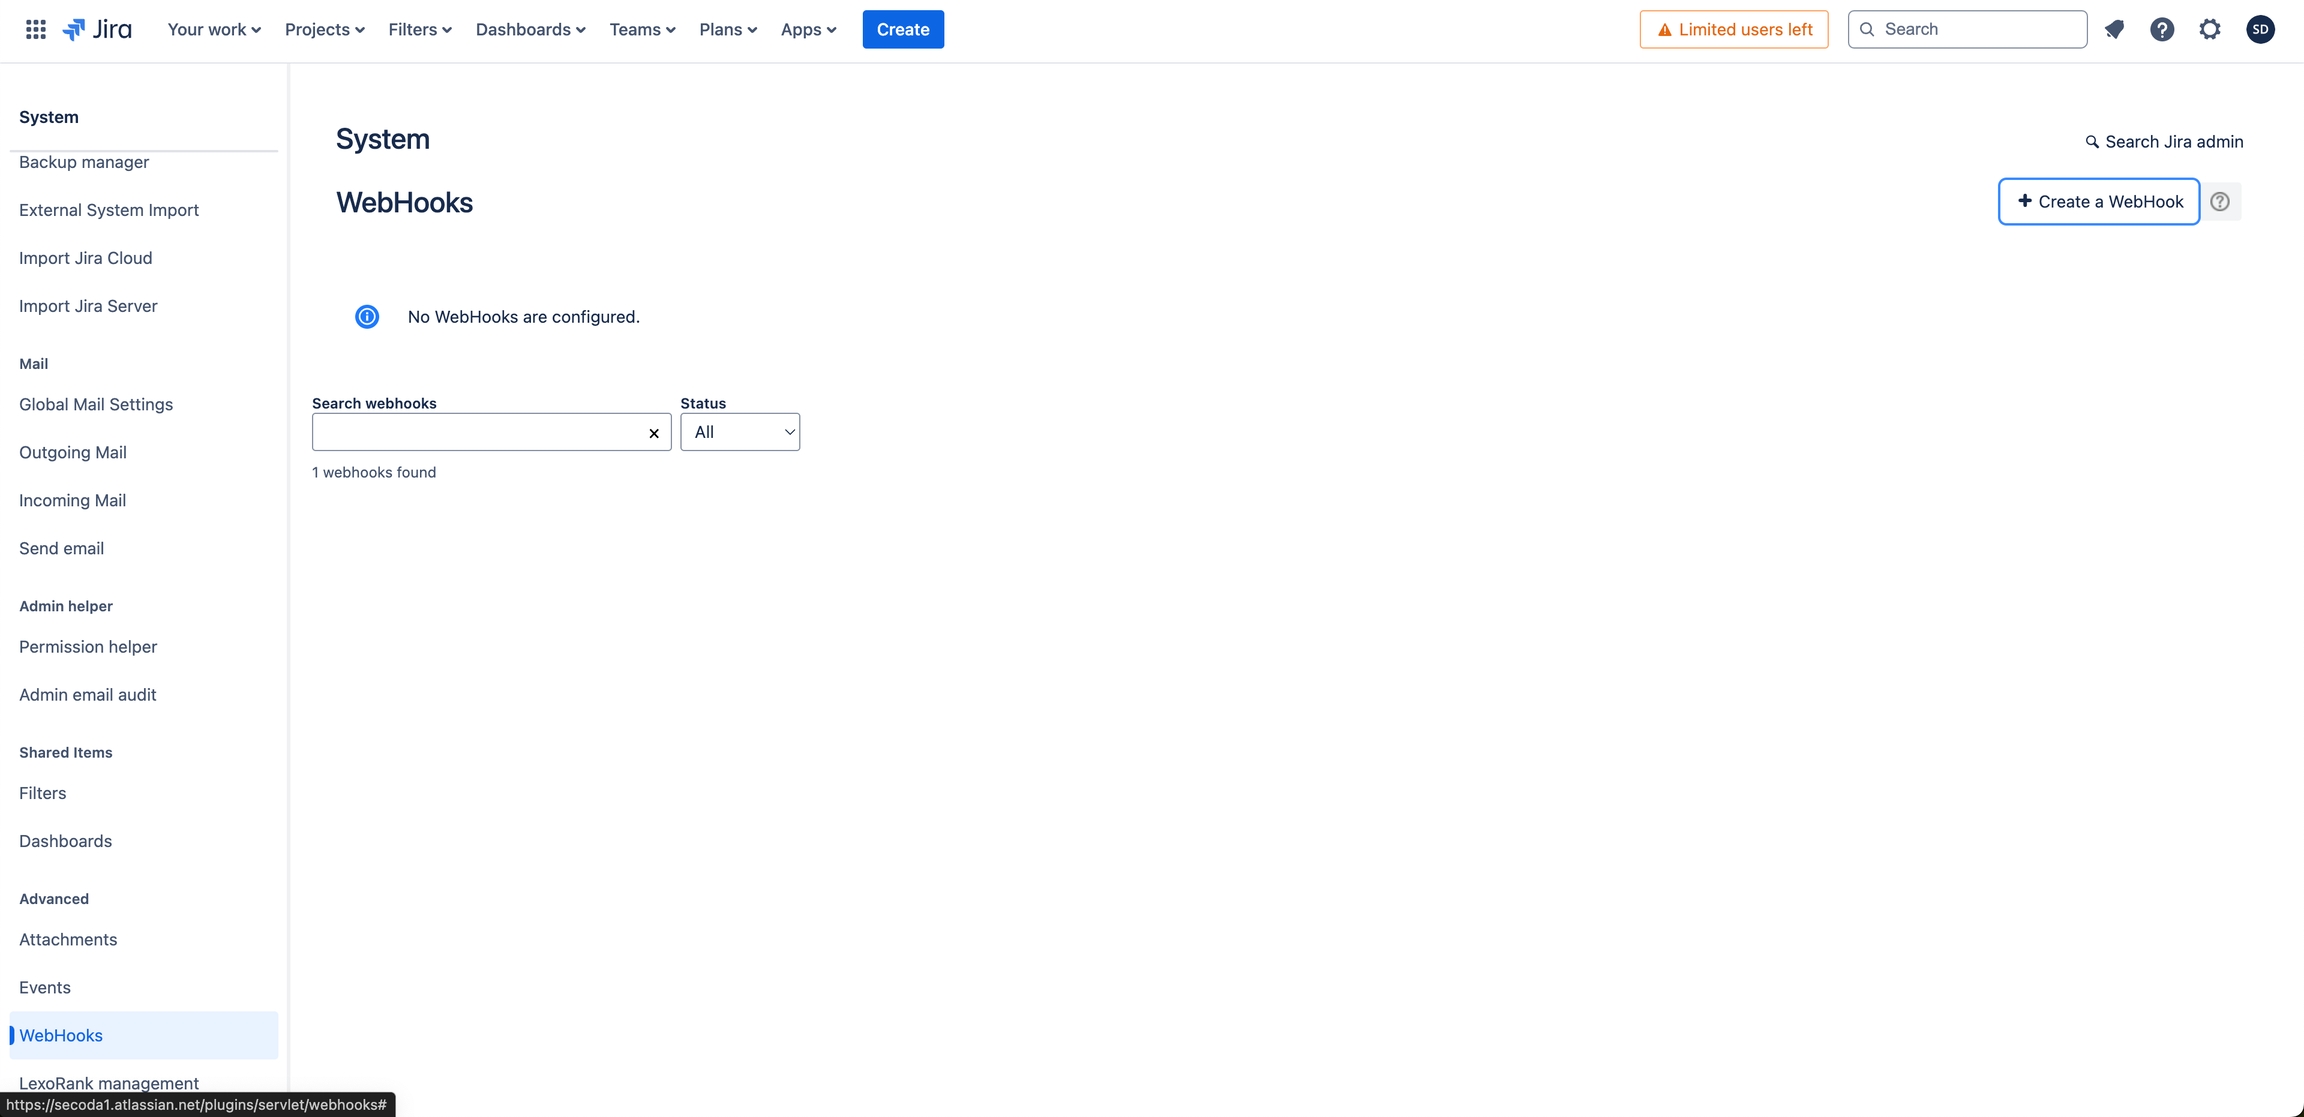
On this page, scroll down all the way on the left sidebar until you see the WebHooks option.
From there, click on the Create a WebHook button near the top right, which will open the webhook creation page.
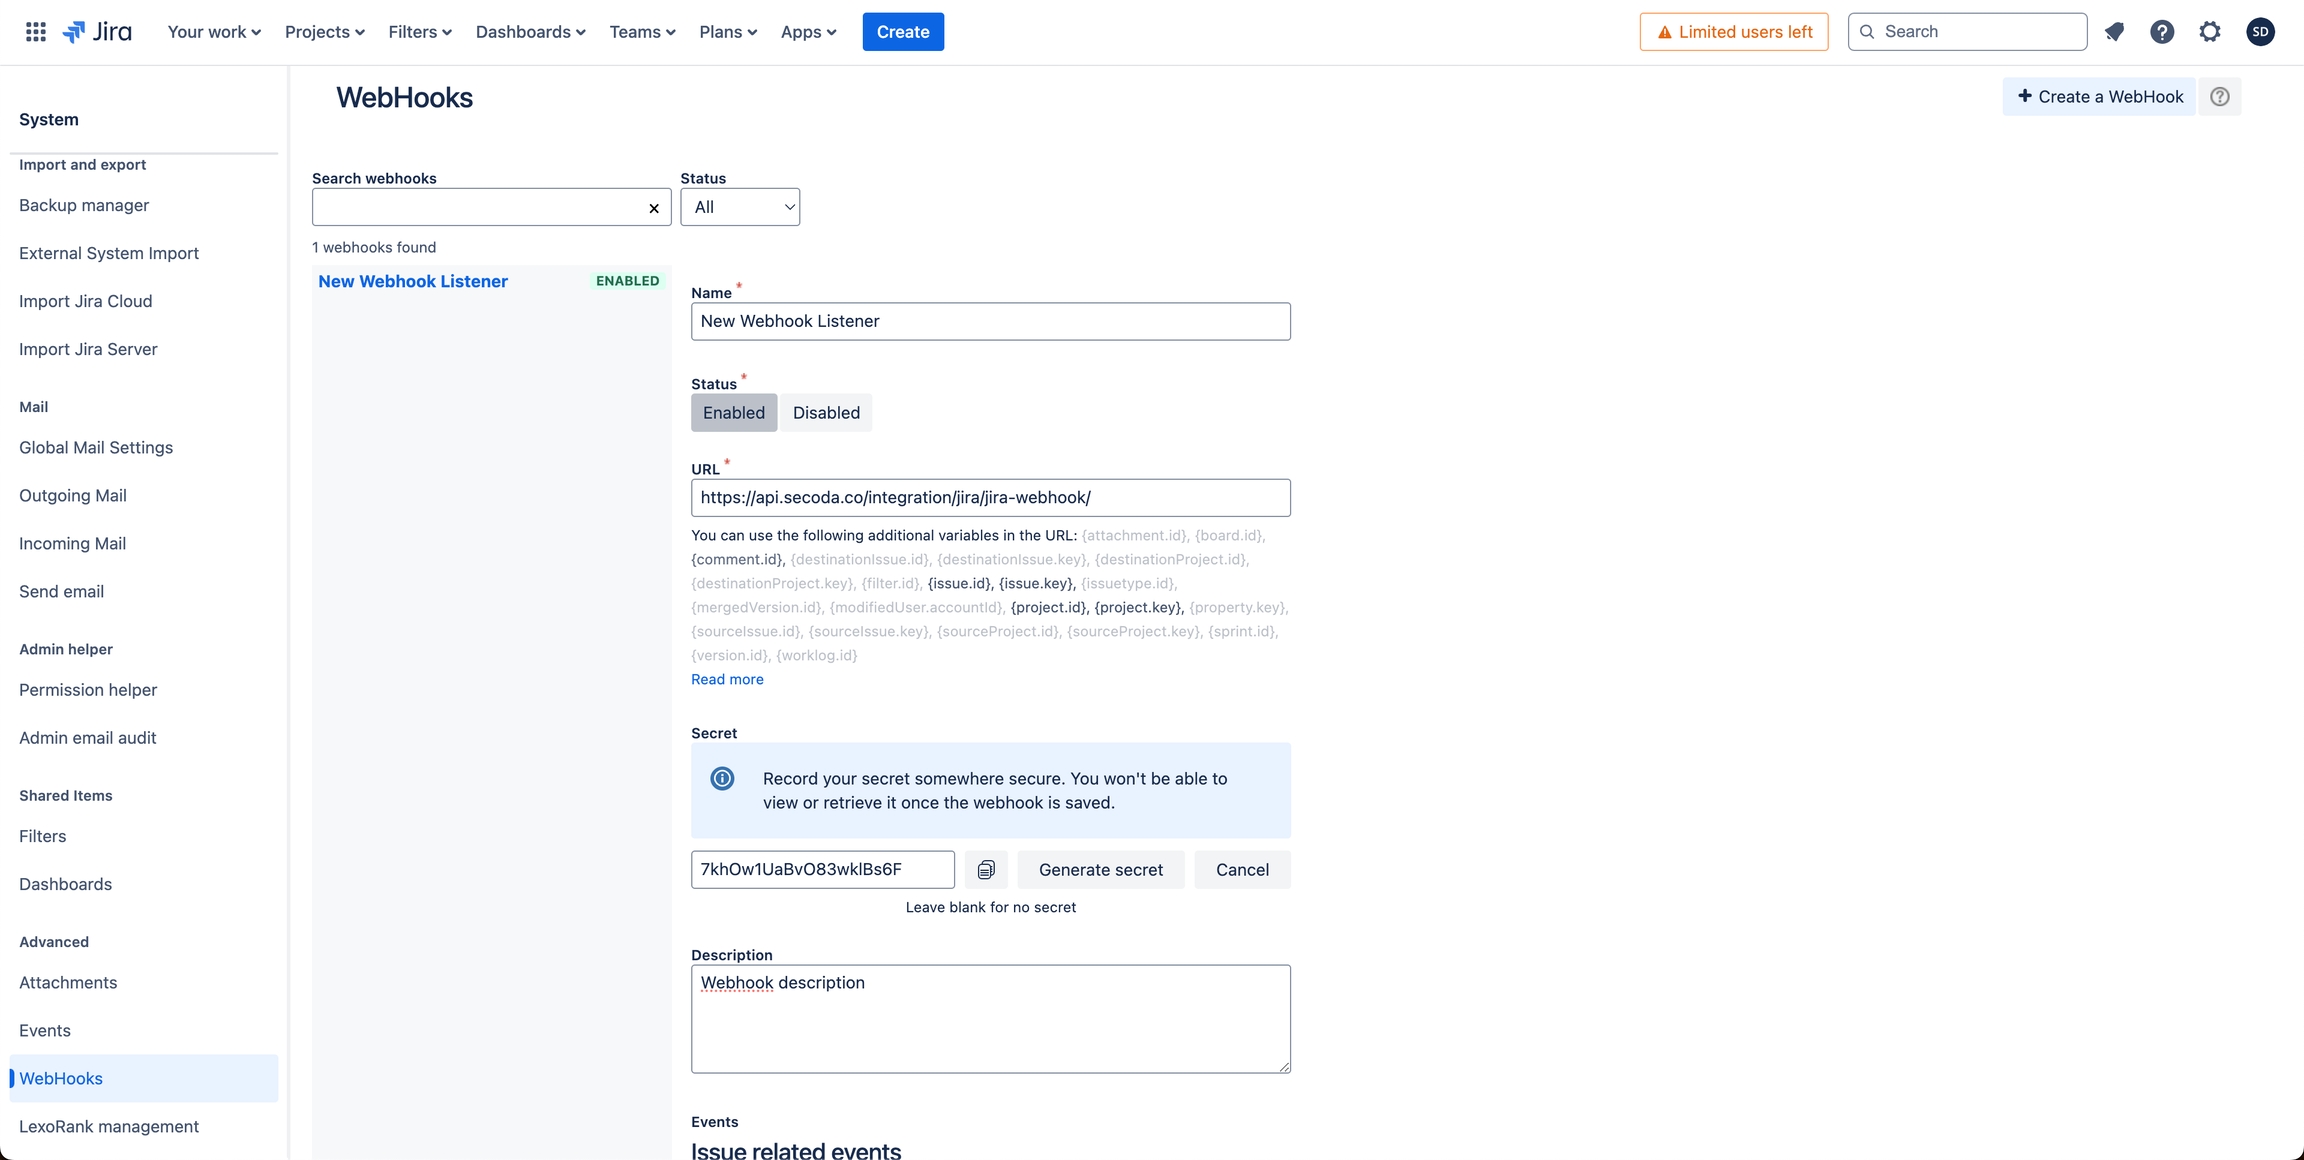
Now, to ensure the webhook works correctly, fill in the following fields:
Under URL, enter the Jira webhook endpoint. If you are an on-prem customer, it will be https://your-domain.com/api/vi/integration/jira/jira-webhook/. If you are a cloud customer, it will be https://api.secoda.co/integration/jira/jira-webhook/.
Under Secret, either generate a secret token or create one yourself. Enter this secret into the Webhook secret field back on the Secoda integration creation page.
Under Events, paste the following JQL filter into the text box: issue.property[RestApiCall] != "True".
Enable the "updated" event under Issue, as well as the "created", "updated", and "deleted" events under Comment.
Scroll to the bottom and click Create to finish registering the webhook.
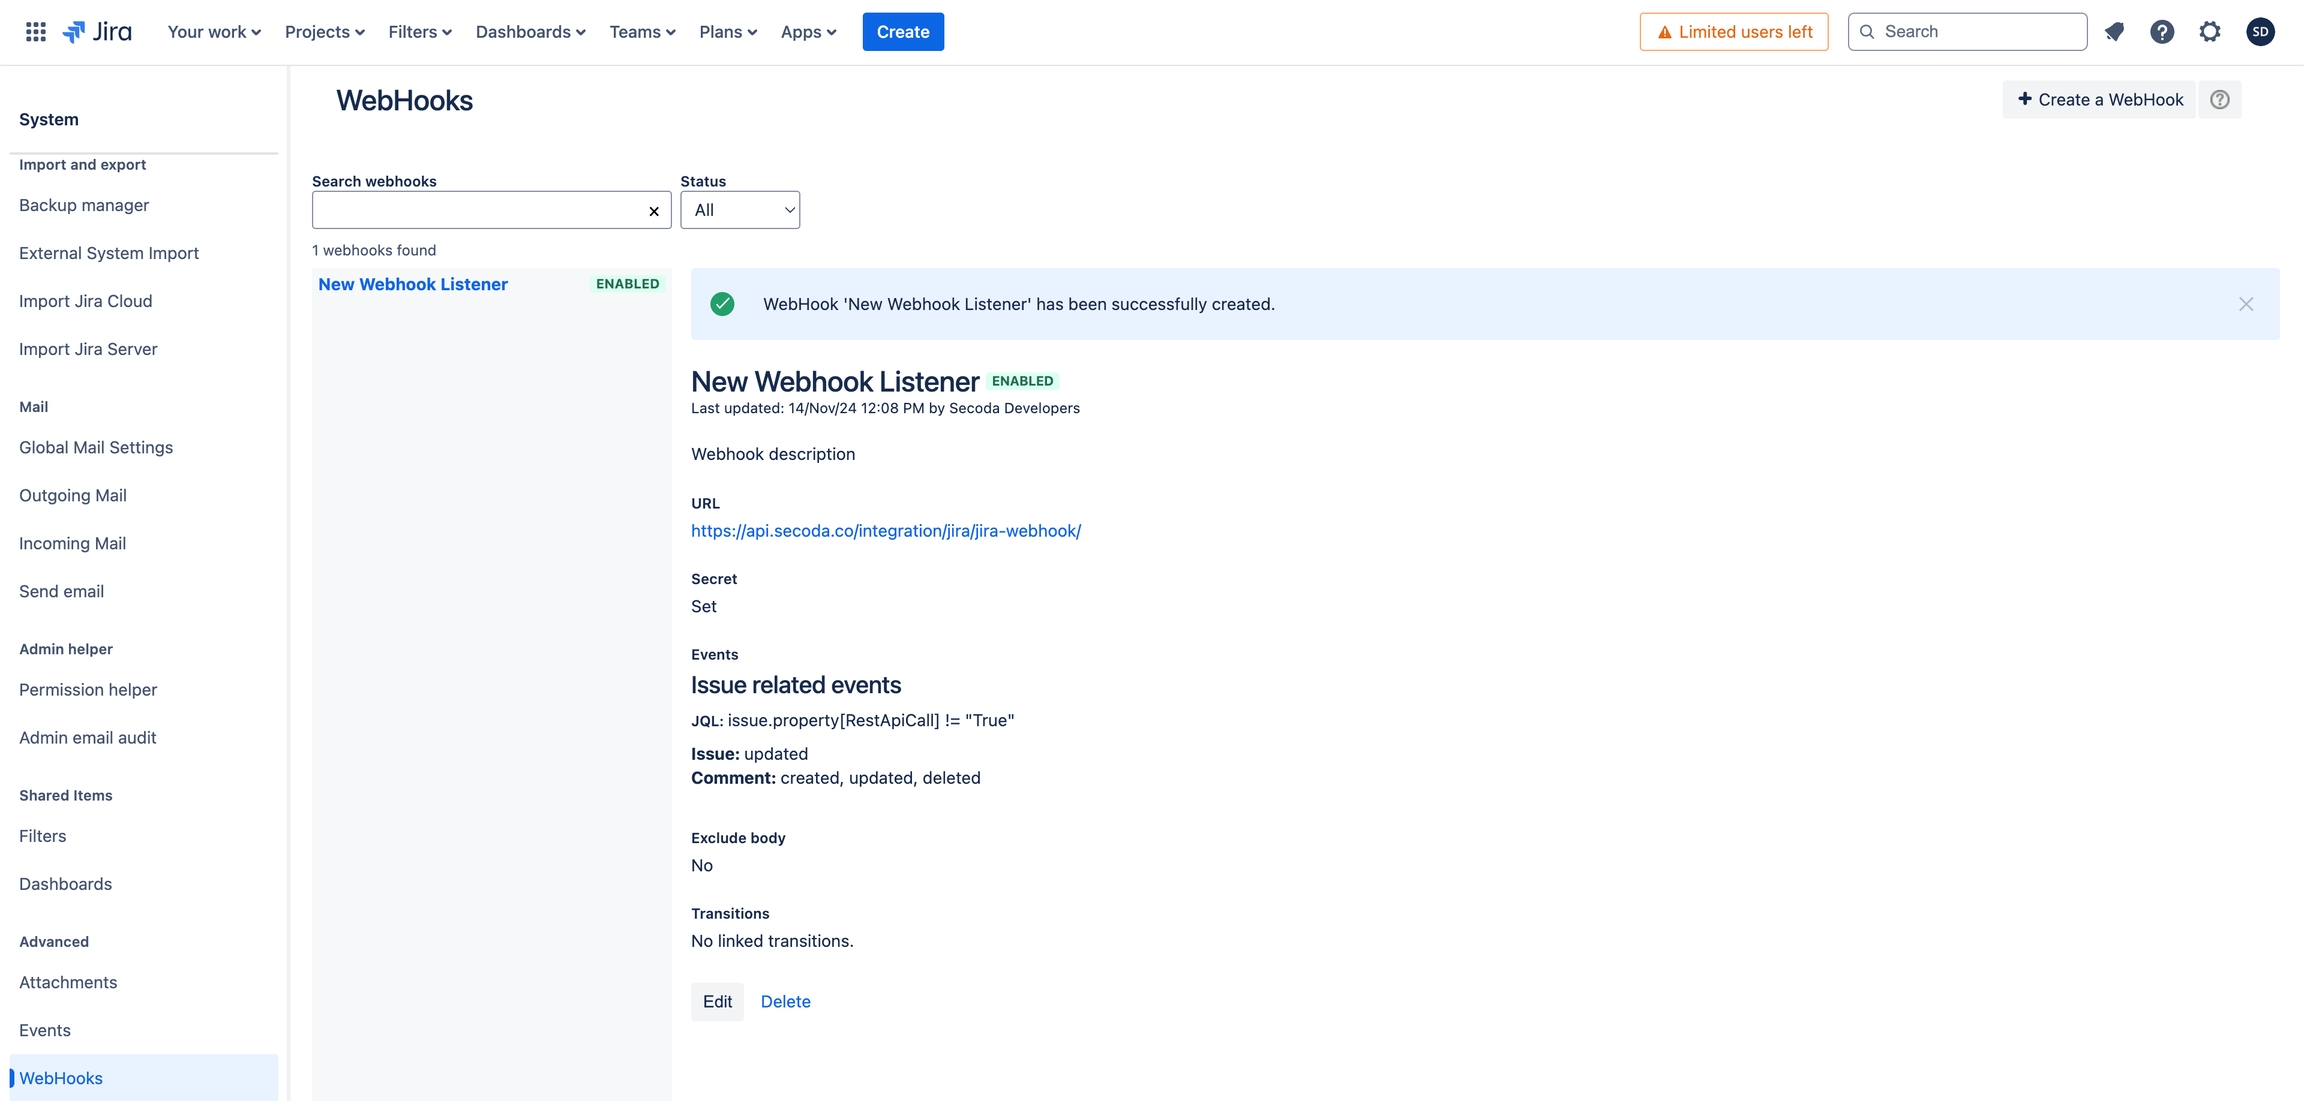
Your finished webhook should look something like this:
Secoda will now automatically sync a question's title, description, assignee, priority, and status with its linked Jira issue, as well as any comments that are created, updated, or deleted.
Open your Secoda integrations page
Click on "Connect Integration" in the top right
Select Jira from the list of integrations
Input your Jira credentials from Prepare Your Jira Credentials above. This includes the project URL, name, key, issues filter, API token, your Jira email, organization ID, organization admin API key, and webhook secret
Select the Teams that you wish to receive the Jira issues (appearing as Questions in Secoda)
Click on "Test Connection" to save the integration
Once integration is created, click on “Run Sync” from Connection tab to run your first extraction
Once the Jira extraction finishes running, you will be able to view all issues from your Jira project in the desired team's Question page.
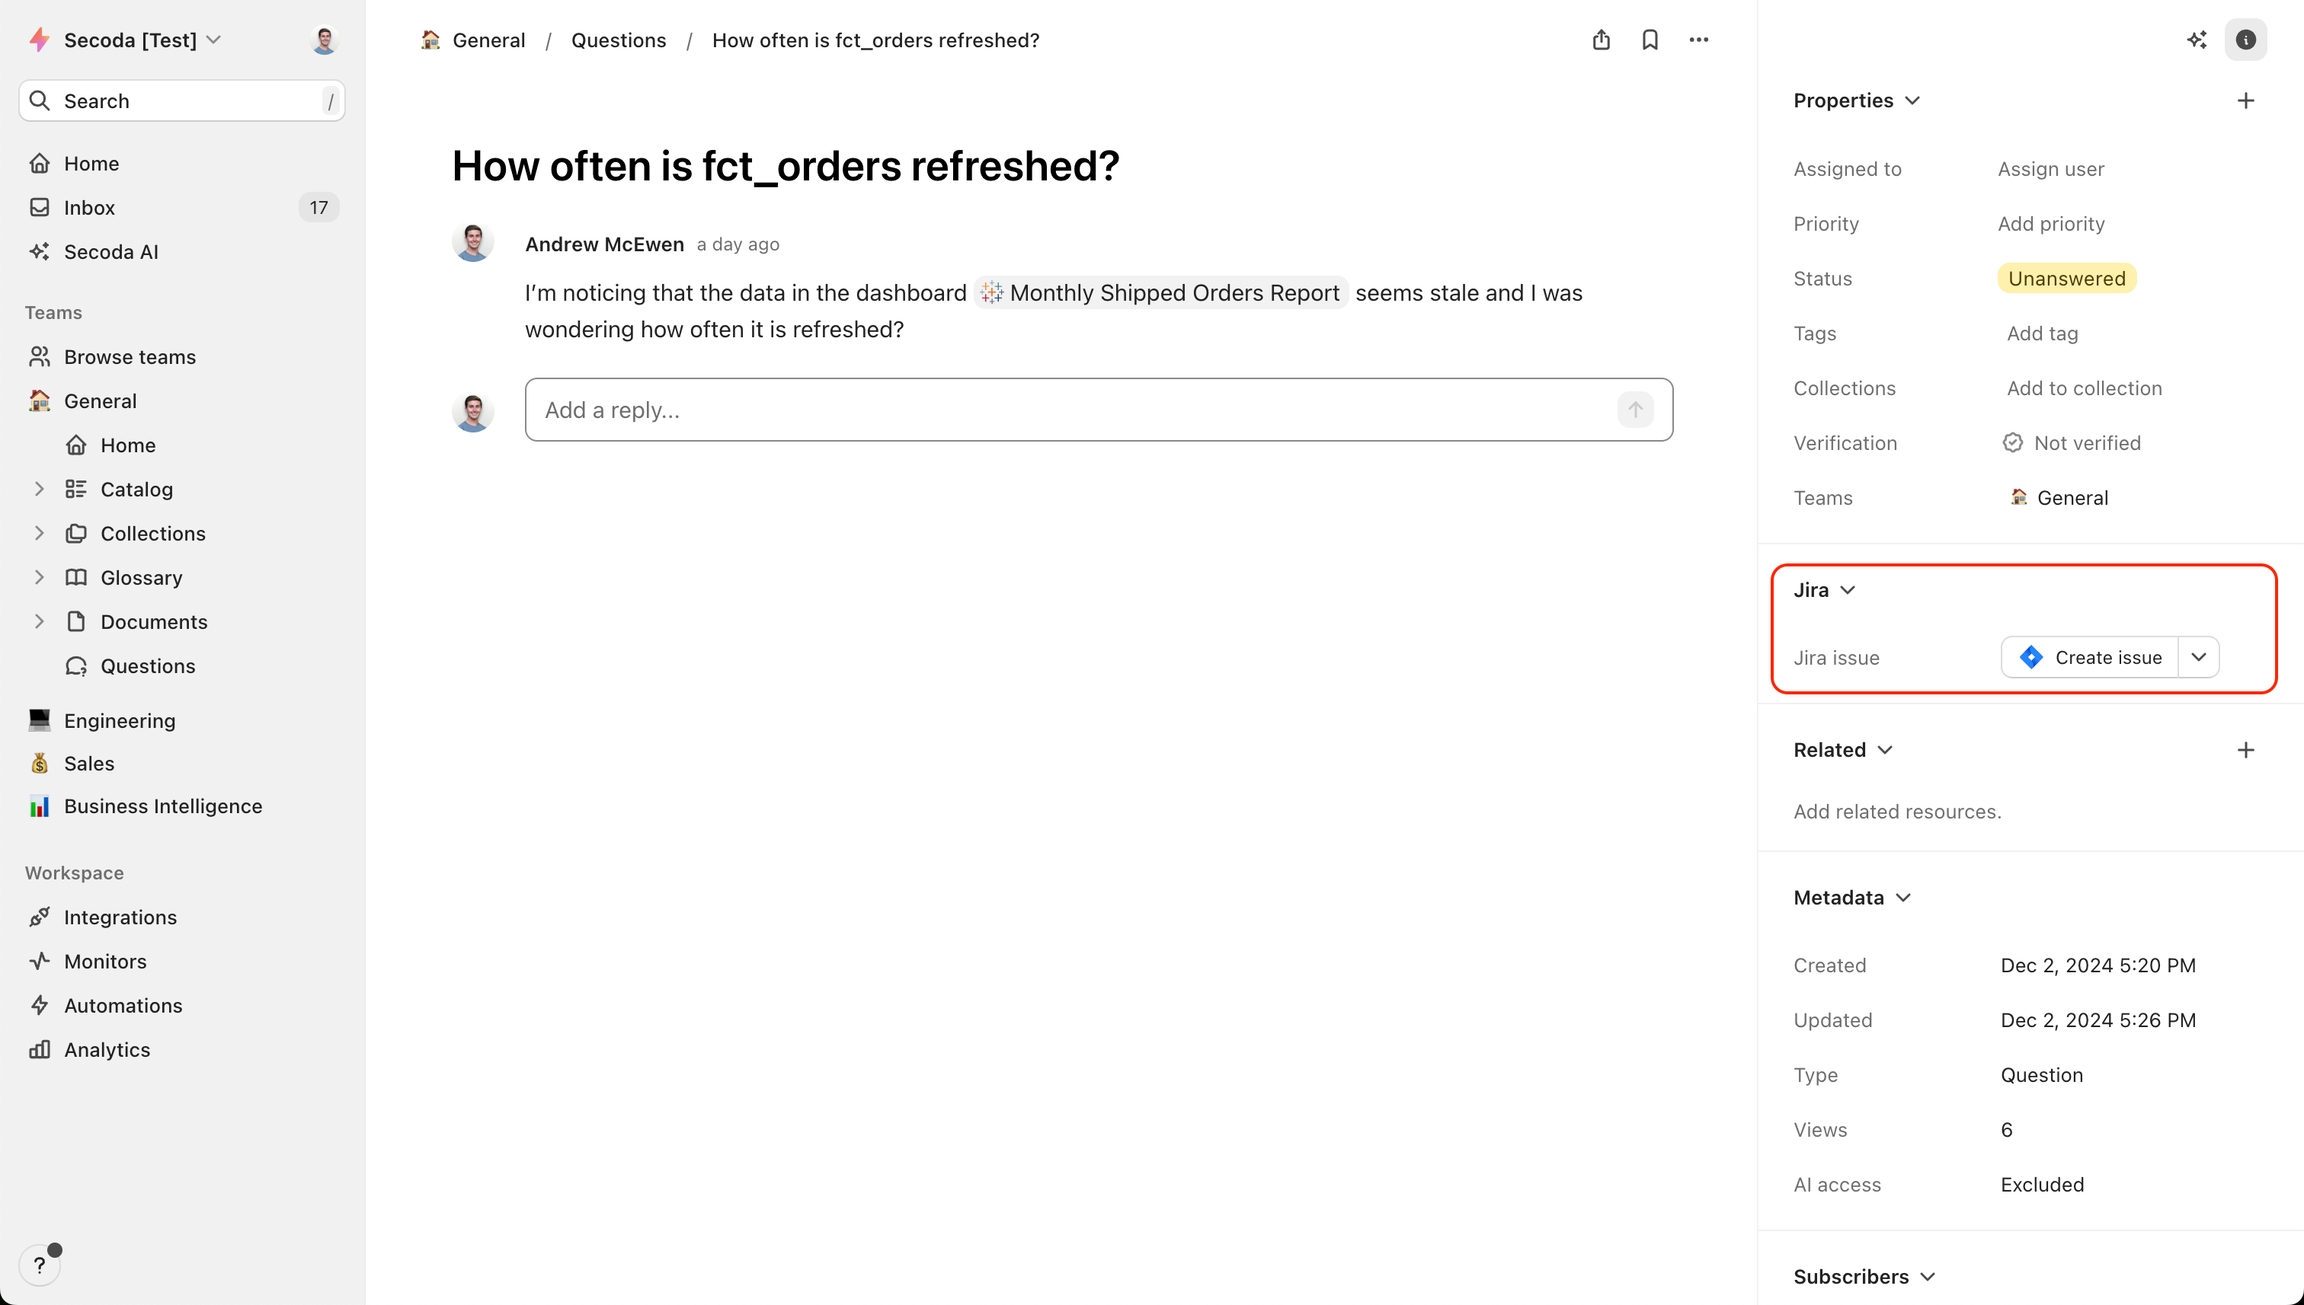
Secoda Questions can be pushed to Jira as an Issue which will sync the properties found in this page Jira Metadata Extracted. To push a Question to Jira go to the Questions page and click the "Create Issue" button on the right hand side bar.
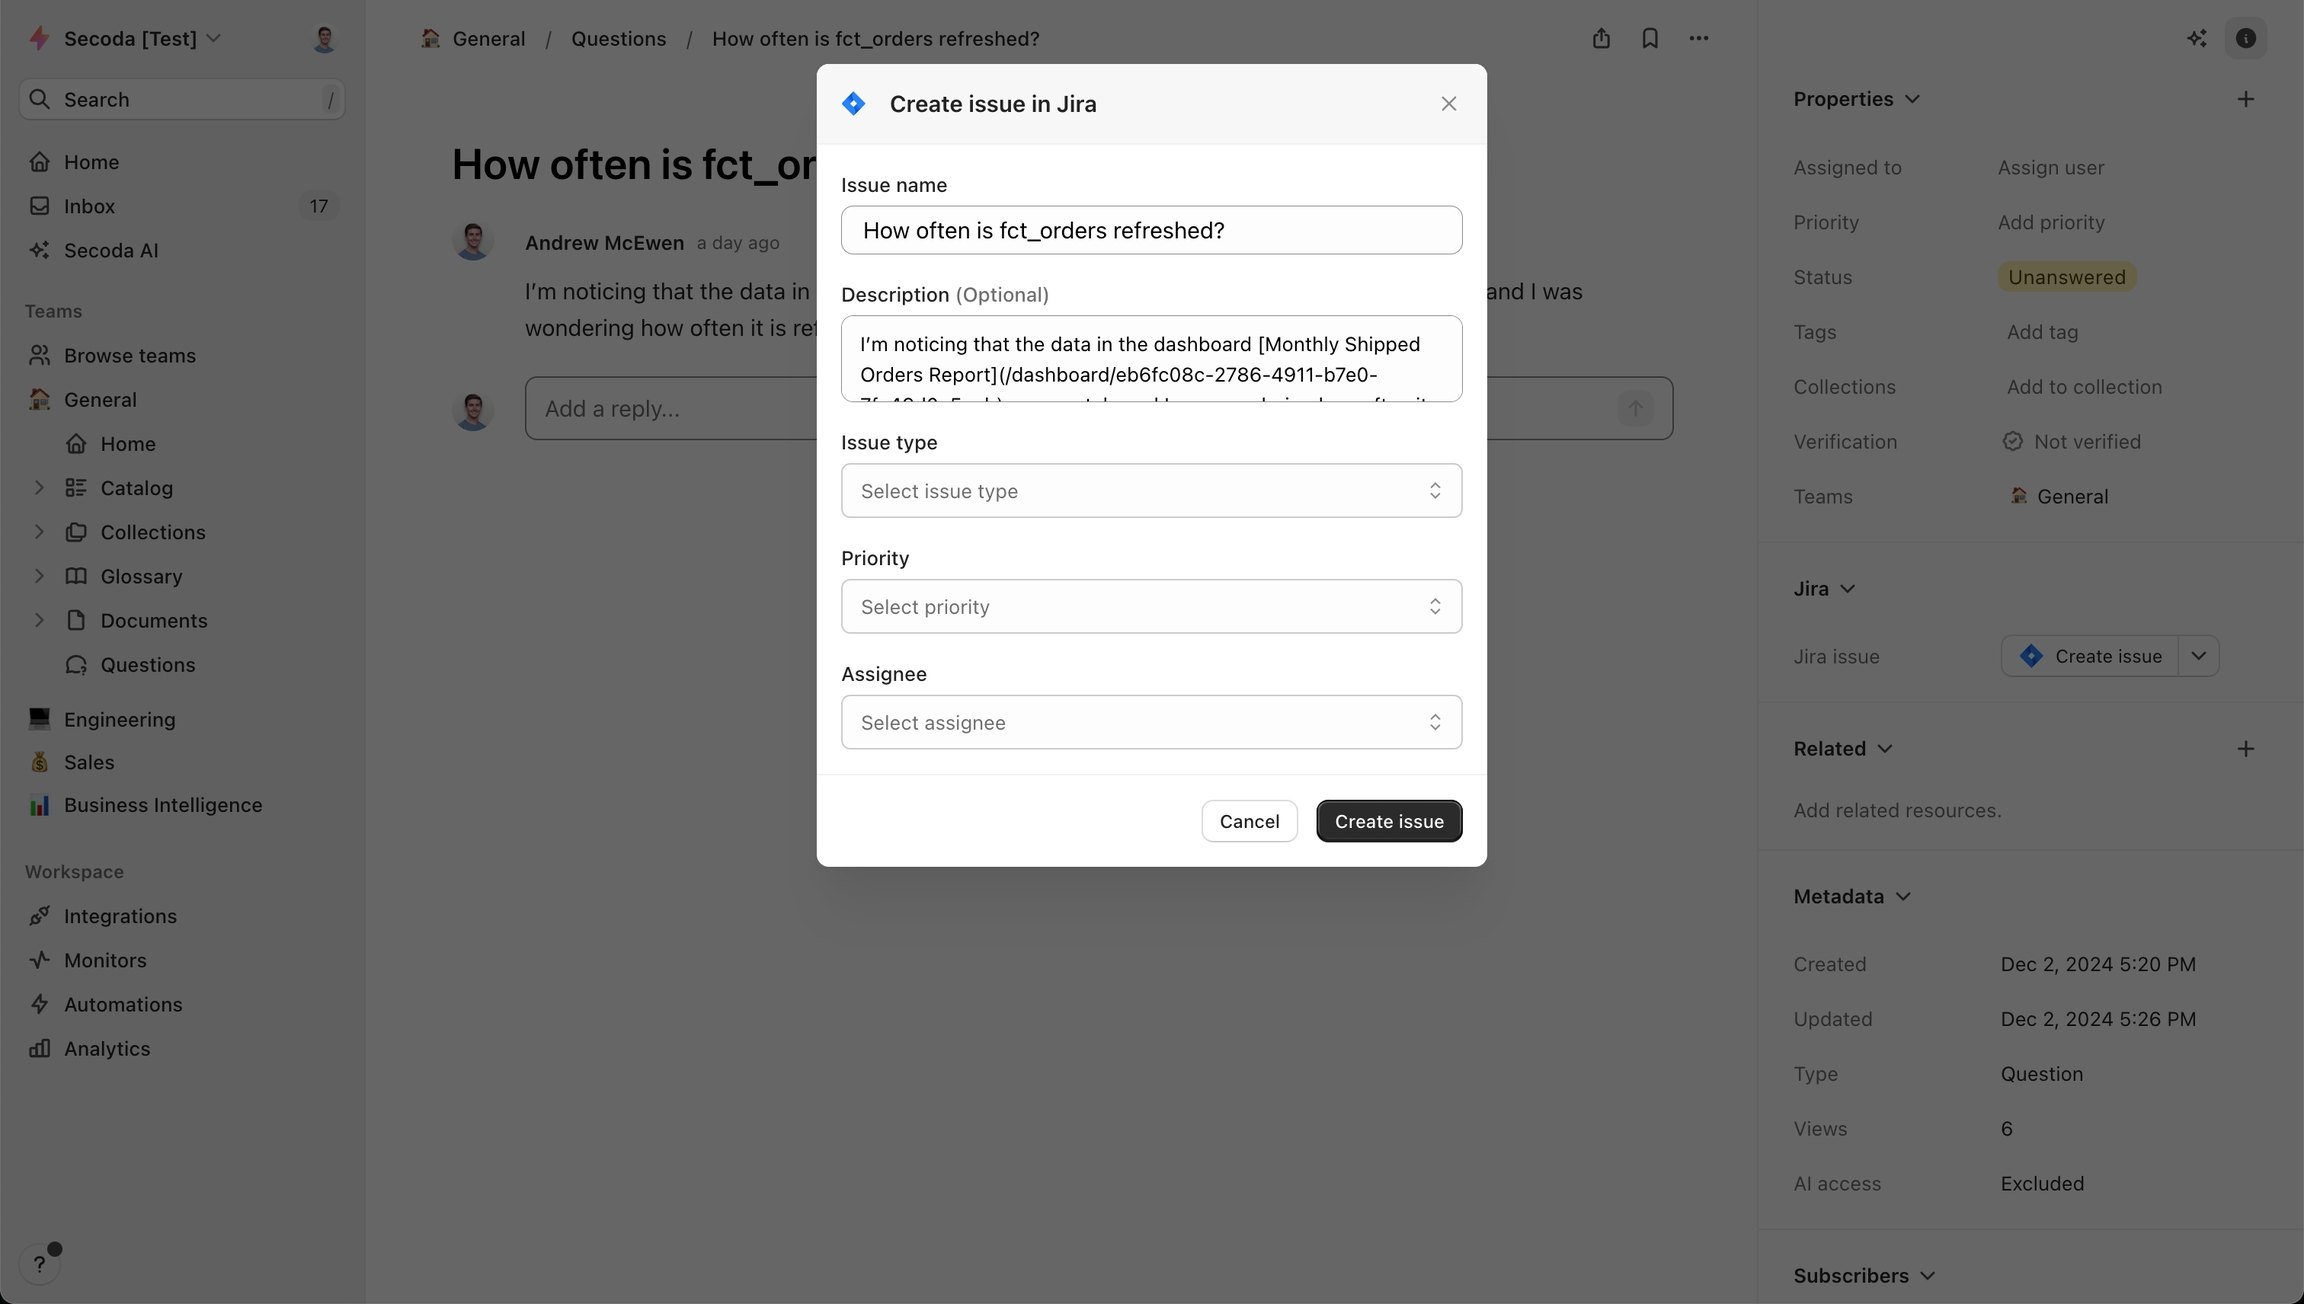
Select name, description, type, and priority then create the issue. After the issue is creating all of the properties will be synced bi-directionally between Secoda and Jira.