Starburst
An overview of the Starburst integration with Secoda
Get Started With Starburst
There are three steps to connect Starburst with Secoda:
Create an API auth token
Retrieve your starburst instance URI
Connect Starburst to Secoda
Create a Starburst API auth token
The Starburst API uses authentication tokens to allow access, so create a new auth token for secoda by following these steps:
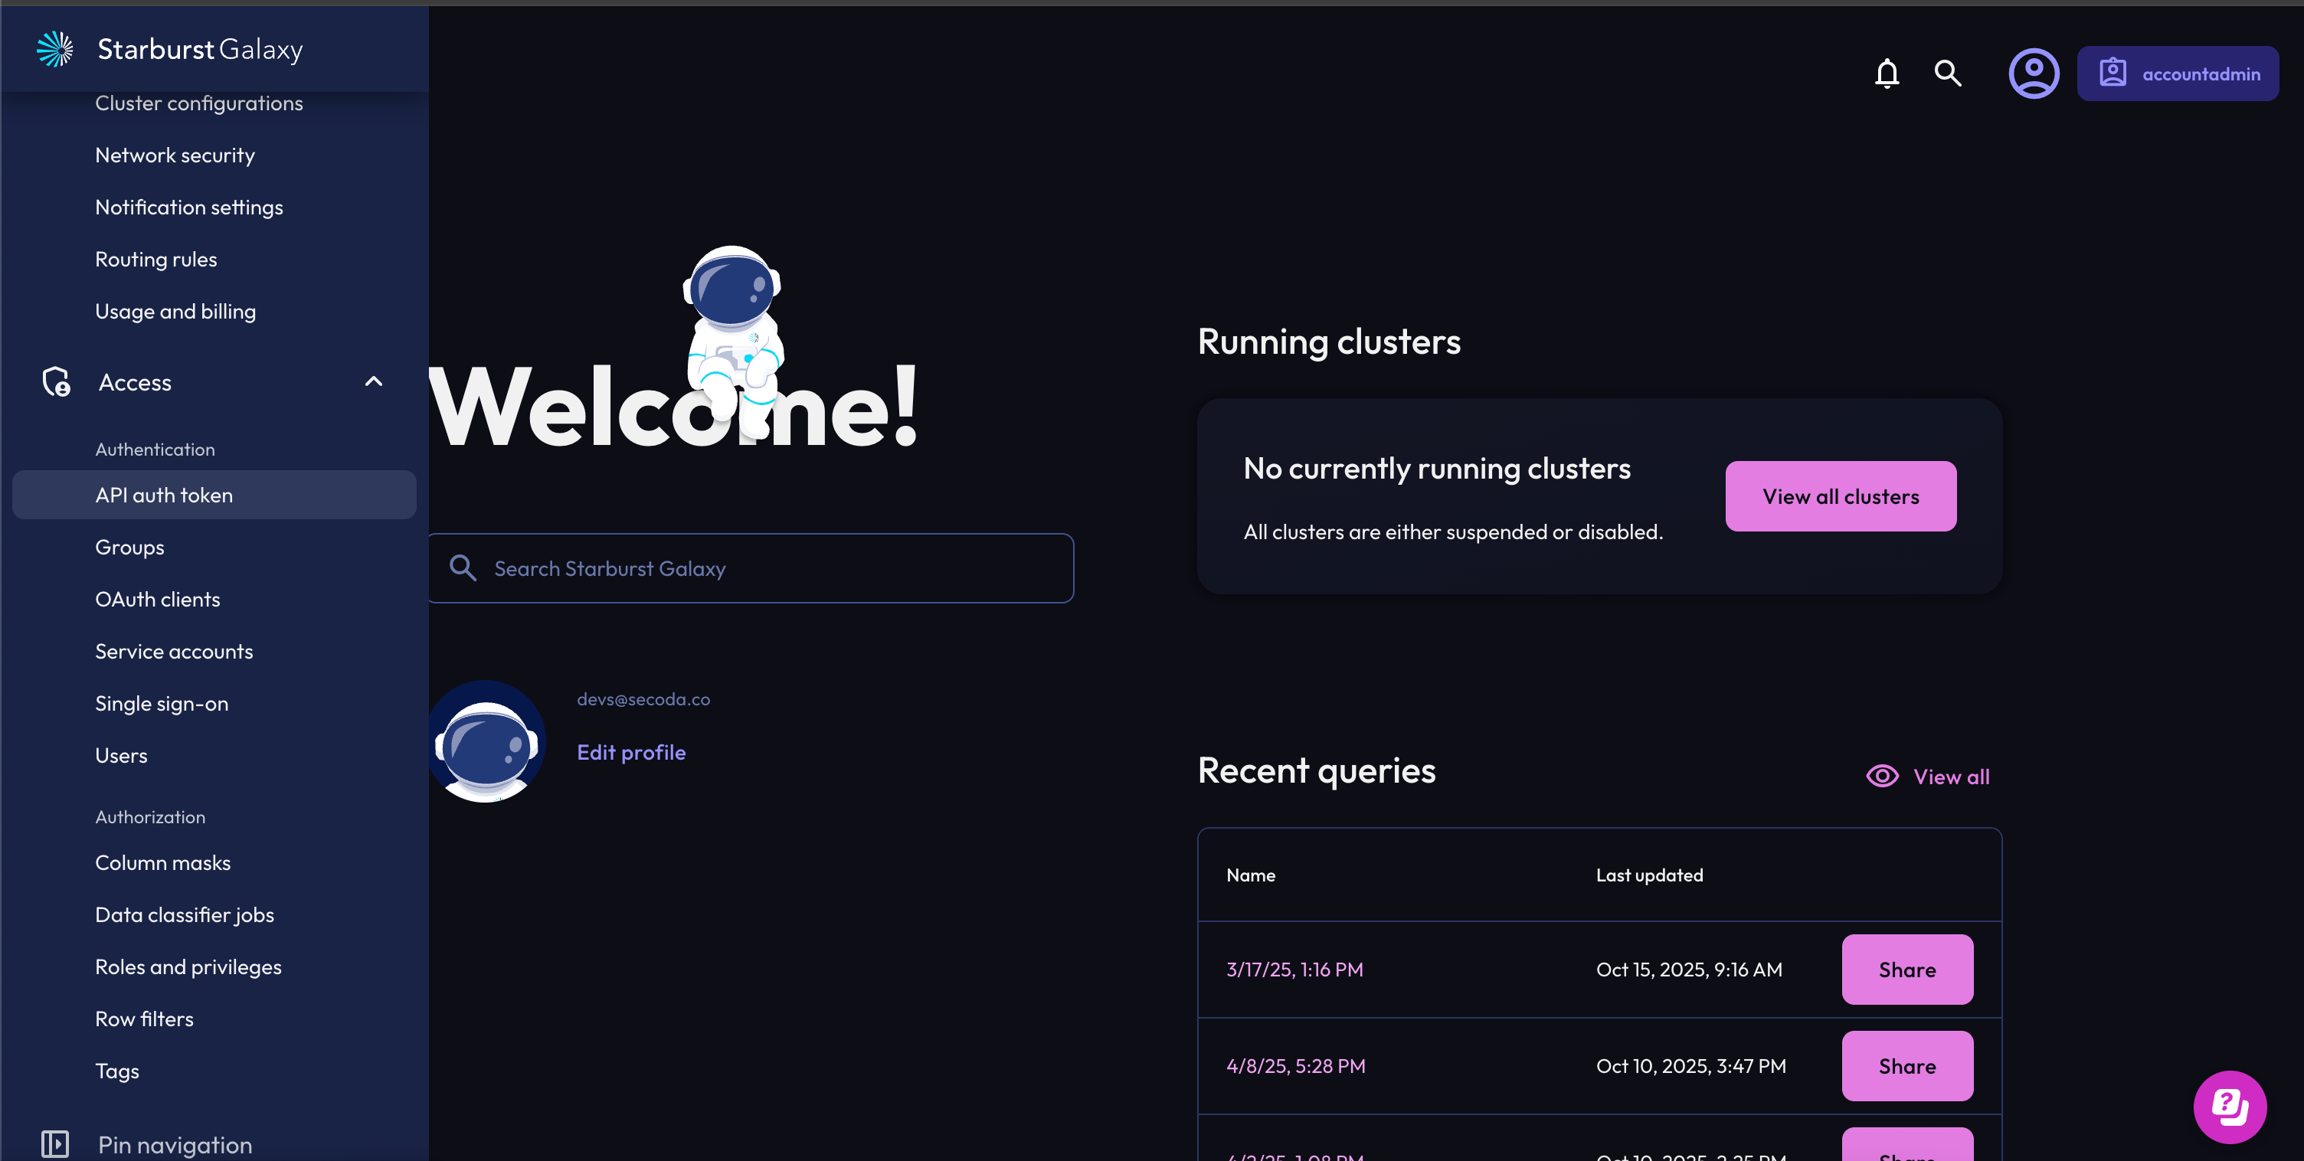
From your Starburst home page, navigate to the left sidebar
Under the ‘Access’ dropdown, click on the ‘API auth token’ header

Click the ‘Generate new token’ button
Assign a role that has access to the tables you wish to extract and optionally add a description
Save the Client ID and Secret Key to be entered into Secoda
Retrieve your Starburst instance URI
This is the URI that your workspace hosted in and can be found in the URL whenever you are logged in and in the workspace you want to bring into Secoda. This host will be in the format of https://{custom-instance}.galaxy.starburst.io, where the {custom-instance} is specific to your workspace.
For example, when you are on the home page of Starburst (navigated to by clicking in the top left corner on the Starburst logo), your URL will be https://secoda.galaxy.starburst.io/home so your host will be https://secoda.galaxy.starburst.io in this case.
Starburst user email and password
Starburst uses a user email and password to extract the query history and table lineage of the Starburst workspace so these extra credentials are required by Secoda to have a complete picture of Starburst.
Connect Starburst to Secoda
After creating a Starburst user, the next step is to connect Starburst to Secoda:
In the Secoda App, navigate to the 'Integrations' tab.
Click on ‘Add Integration’.
Search for and select ‘Starburst’.
Enter the details for your Starburst workspace, including the host URI, authentication token client ID and secret key
Add a user email and password to enable lineage and query extraction
Click 'Connect'.
Last updated
Was this helpful?