> For the complete documentation index, see [llms.txt](https://docs.secoda.co/llms.txt). Markdown versions of documentation pages are available by appending `.md` to page URLs; this page is available as [Markdown](https://docs.secoda.co/readme/secoda-as-an-admin/invite-teammates.md).
# Invite your teammates
## **Benefits** to inviting teammates to Secoda
* **Enhanced Collaboration:** Streamlines data access and collaboration, reducing confusion and improving team efficiency.
* **Centralized Data Management:** Ensures all team members access up-to-date data and documentation, minimizing errors.
* **Improved Security:** Allows precise control over data access, safeguarding sensitive information.
* **Robust Data Governance:** Facilitates the implementation of data governance policies by defining clear roles and responsibilities.
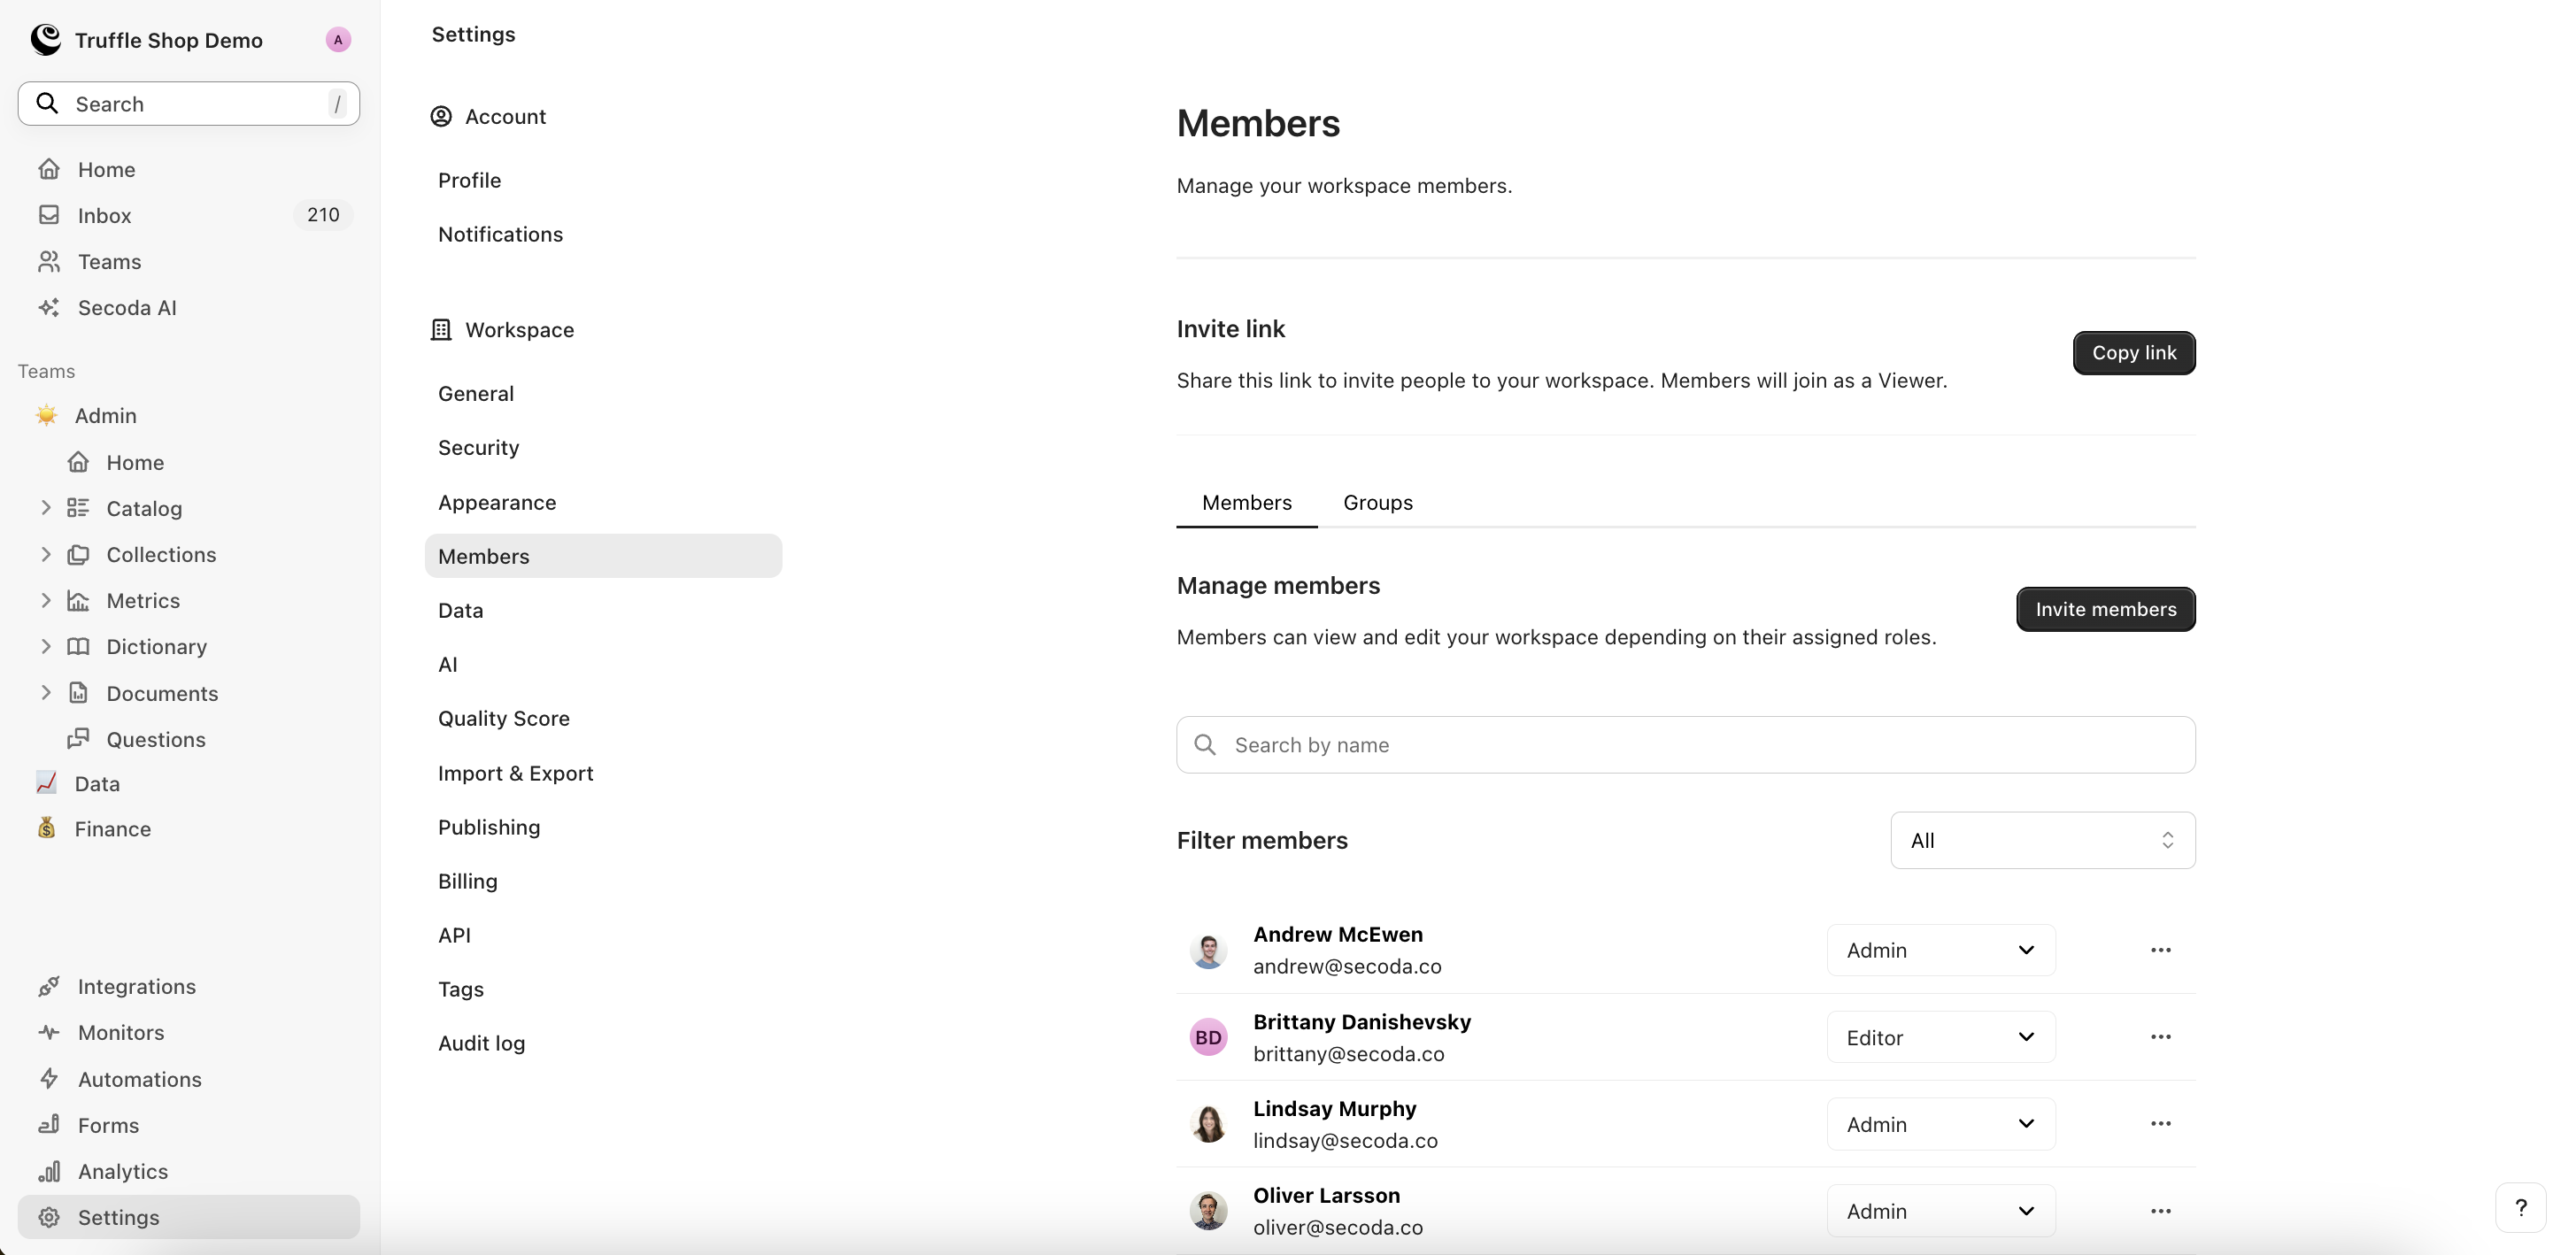
## **How to Invite Teammates**
* **Initial Setup:** As a workplace Admin, you're prompted to invite colleagues when you first access Secoda.
* **Inviting Users:** Navigate to the [Settings](/readme/secoda-as-an-admin/settings.md), then select '**Members**' to access the invitation controls.
* **Sending Invites:** Use the 'Invite members' button for bulk invitations or the Invite link for individual invites.
* **Assigning Roles:** Manage user roles directly from the Members page, adjusting access as necessary. For more on what permissions certain roles have, check out [**Roles.**](/user-management/roles.md)
{% hint style="warning" %}
Only users with a business domain name can be invited to the workspace. If using multiple business domains, you can add them to the [allowed domains list](/readme/secoda-as-an-admin/customize-the-workspace.md#allowed-domains) in the Security settings.
{% endhint %}
## **Creating Groups and Teams**
Establish groups and teams to manage user roles and access effectively. Learn more about [User management](/user-management.md).
## Deactivating Members
To Deactivate a member from your workspace, click **Deactivate** beside their name.
The user's name will still appear on resources that they had previously owned, but will have a strike through their name. This can be helpful context to know who had the historical knowledge of a dataset.

## Video resource
{% embed url="" %}
{% hint style="info" %}
Not using Secoda to manage your data documentation yet? Sign up for free [here](https://app.secoda.co/) 👈
{% endhint %}
---
# Agent Instructions
This documentation is published with GitBook. GitBook is the documentation platform designed so that both humans and AI agents can read, navigate, and reason over technical content effectively. Learn more at gitbook.com.
## Querying This Documentation
If you need additional information that is not directly available in this page, you can query the documentation dynamically by asking a question.
Perform an HTTP GET request on the current page URL with the `ask` query parameter, and the optional `goal` query parameter:
```
GET https://docs.secoda.co/readme/secoda-as-an-admin/invite-teammates.md?ask=&goal=
```
`ask` is the immediate question: it should be specific, self-contained, and written in natural language.
`goal` is optional and describes the broader end goal you are ultimately trying to accomplish on behalf of the user. GitBook uses it to tailor the answer towards what is most useful for that goal.
The response will contain a direct answer to the question and relevant excerpts and sources from the documentation.
Use this mechanism when the answer is not explicitly present in the current page, you need clarification or additional context, or you want to retrieve related documentation sections.