> For the complete documentation index, see [llms.txt](https://docs.secoda.co/llms.txt). Markdown versions of documentation pages are available by appending `.md` to page URLs; this page is available as [Markdown](https://docs.secoda.co/resource-and-metadata-management/tags/custom-tags.md).
# Custom tags
## How to Create Custom Tags
1. Navigate to Workspace settings by clicking on the workspace name in the top left of the UI, and selecting "Settings."
2. Under Workspace settings, select `Tags`.
3. Click the `Create tag` button.
4. Enter Name, an optional Description, and choose a colour to represent the tag.
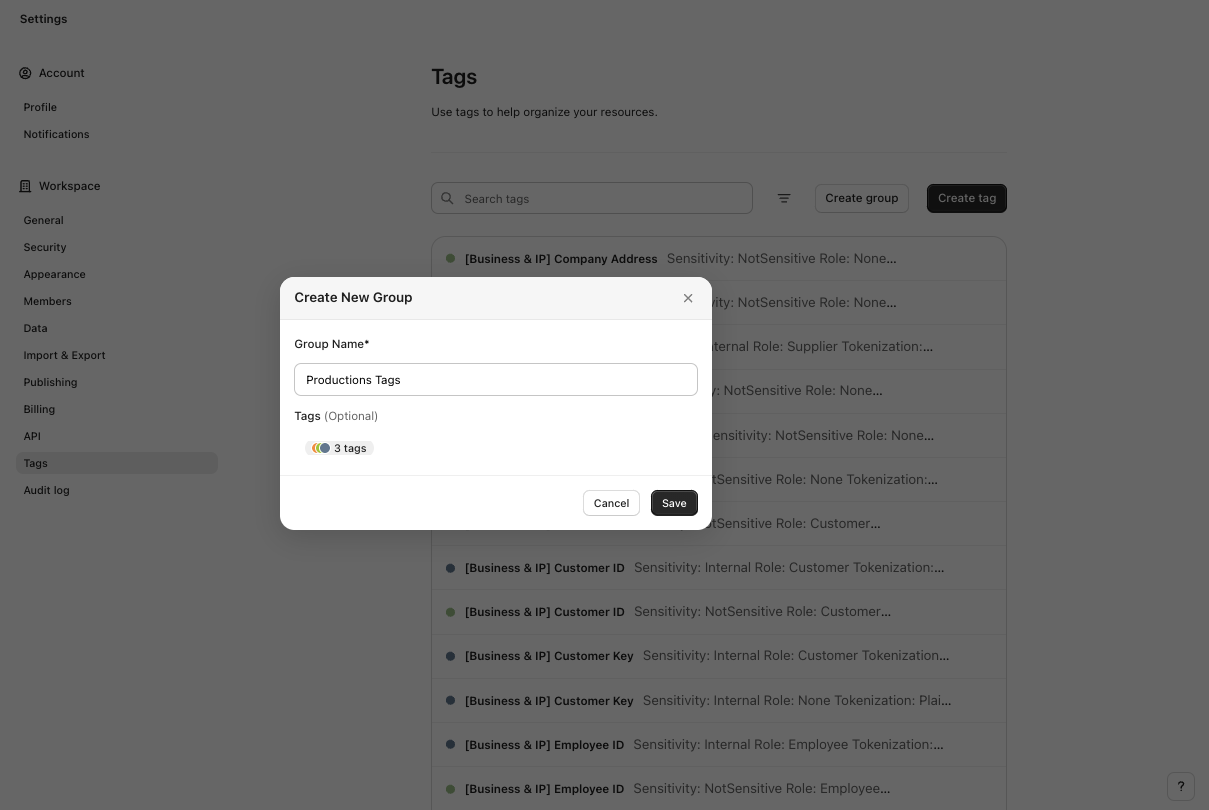
## Group Tags
For organizations that use tags extensively and require further categorization:
1. **Create a Tag Group:**
* Click 'Create group'.
* Name the group and add relevant tags.
2. **Organize Existing Tags:**
* To add an existing tag to a group, use the three-dot menu on the tag and select '-> Move tag to group'.
Group Tags
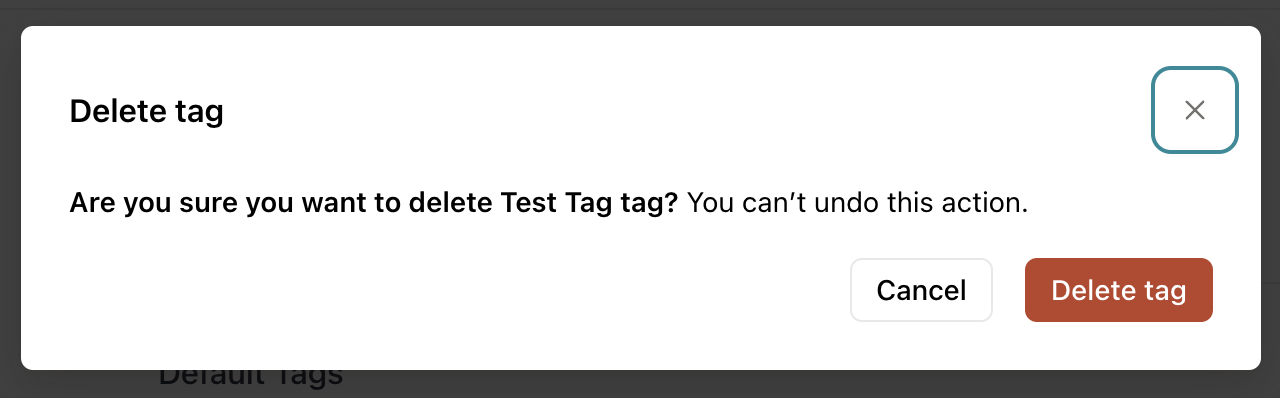
## Deleting Tags
You can delete a Custom Tag by selecting the three dots and clicking **Delete** on the same Settings page.
**Note:** This action cannot be undone. A warning will appear to confirm your decision before permanently deleting the tag.
Deleting Tag Warning
## Use cases for Tags
Tags are mainly used for categorization purposes, opposed to Collections which function more like folders. Tags can help differentiate between types of data, track resource status, or indicate data sensitivity.
**Common Examples of Tags:**
* **Project Status:**
* "Draft" – Work in progress; details may be incomplete.
* "In Review" – Undergoing evaluation by stakeholders.
* "Deprecated" – Outdated and should not be used.
* **Data Type:**
* "Production" - Live data
* "Test" – Testing environment
* **Importance Levels:**
* "Level 1" – Highest business impact.
* "Level 2" – Moderate business impact.
* "Level 3" – Lower business impact.
* **Business Context:**
* "SOPs" – Standard operating procedures.
* "Critical Data" – Essential business data elements.
* "Key Account" – High-value customer accounts.
* **Security Classifications:**
* "Confidential" – Restricted access required.
* "Restricted" – Limited access.
* "Public" – Openly accessible.
* "HIPAA Compliant" - Indicates that the data meets the standards of the Health Insurance Portability and Accountability Act.
* "GDPR Sensitive" - Denotes data subject to the General Data Protection Regulation, requiring specific handling procedures.
* **Project Management:**
* "Urgent" - Tasks or resources that require immediate attention.
* "High Priority" - Important tasks that are critical to project success but less immediate than urgent items.
* "Low Priority" - Tasks that are on the project radar but can be addressed later.
By effectively using custom tags, teams can enhance their workflow management, data organization, and security protocols, ensuring that all stakeholders have clear visibility into the status and classification of resources within the workspace.
---
# Agent Instructions
This documentation is published with GitBook. GitBook is the documentation platform designed so that both humans and AI agents can read, navigate, and reason over technical content effectively. Learn more at gitbook.com.
## Querying This Documentation
If you need additional information that is not directly available in this page, you can query the documentation dynamically by asking a question.
Perform an HTTP GET request on the current page URL with the `ask` query parameter, and the optional `goal` query parameter:
```
GET https://docs.secoda.co/resource-and-metadata-management/tags/custom-tags.md?ask=&goal=
```
`ask` is the immediate question: it should be specific, self-contained, and written in natural language.
`goal` is optional and describes the broader end goal you are ultimately trying to accomplish on behalf of the user. GitBook uses it to tailor the answer towards what is most useful for that goal.
The response will contain a direct answer to the question and relevant excerpts and sources from the documentation.
Use this mechanism when the answer is not explicitly present in the current page, you need clarification or additional context, or you want to retrieve related documentation sections.