Dataplex
An overview of Dataplex integration with Secoda
Getting started with Dataplex
There are two steps to get started using Dataplex with Secoda
Create a GCP Service Account JSON key
Connect Dataplex to Secoda
Create a GCP Service Account JSON key
Login to GCP console and go to the Service Accounts page.
Click + Create Service Account
Enter a name click Create and Continue
In the Grant this service account access to project section add the following roles:
Data Catalog ViewerDataplex Metadata ReaderDataplex ViewerDataplex DataScan Data Viewer
Click Done
Search for the Service Account that was just created, click the three dots action menu and select Manage keys
Click Add key > Create new key
Select JSON and click Create
Save the JSON key to be used later
Connect Dataplex to Secoda
After retrieving the Service Account JSON key, the next step is to connect it to Secoda:
In the Secoda App, select Add Integration on the Integrations tab
Search for and select Dataplex
Enter your Dataplex Service Account JSON key retreived above
Once successfully connected, a prompt will ask you to run the initial extraction
Verify the Connection
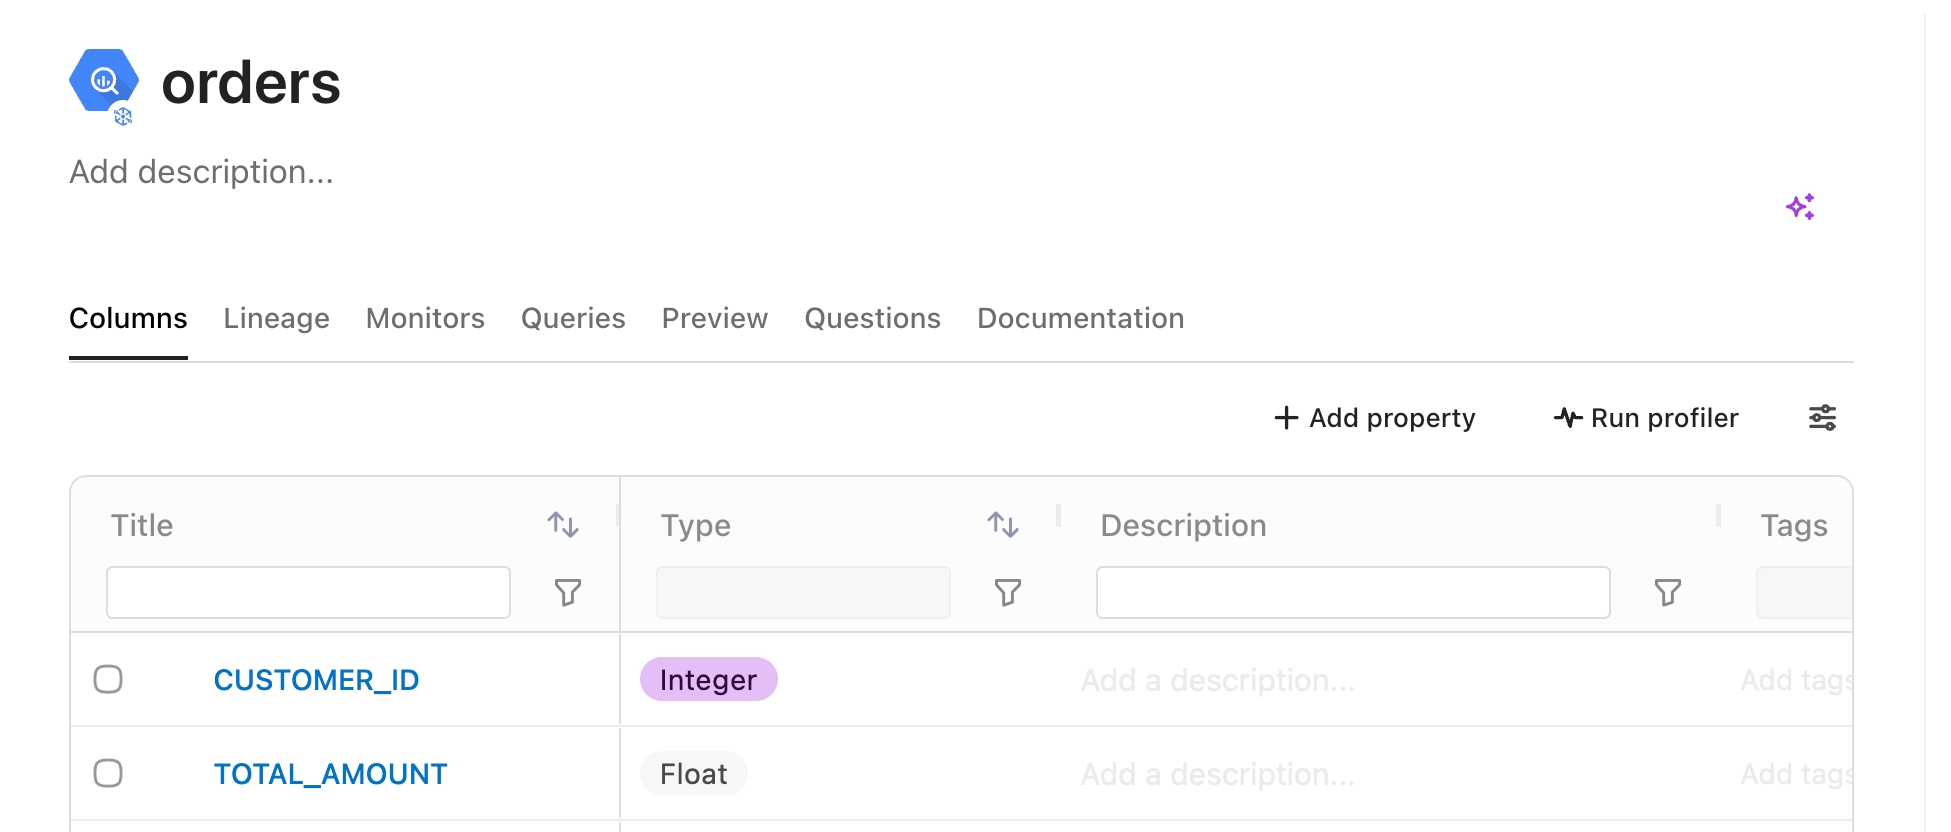
After the sync has completed successfully, resources that are decorated with additional metadata (e.g. tag templates) and fields will have the Dataplex icon. The fields will show up as custom properties in the resource sidebar.

Last updated
Was this helpful?