Teams
Teams is user friendly way to view and access your team's data within Secoda.
The Teams feature allows users to organize all of their team-specific resources into one space. When a user in Secoda is placed into a Team, they will see all the resources tied to that Team. "General" is the Default Team that all members will be added to.
In the example below, the user has access to the "General" Team and the "Finance" Team, as well as the Catalog resources, Collections, Dictionary terms, Documents and Questions that those Teams have access to.

Creating Teams
Only Workspace Admins are able to create Teams within Secoda.
Steps to create a Team
Click on Teams from the left side bar
Click "+New Team"
Choose a Team Name & Icon and set the Team Permissions
The two Permissions options are Public and Private. A Public Team means that anybody within the Workspace can see, browse and join the Team. A Private Team is hidden and only viewable by Admins and the existing Team members.
Example use case: You might want to create a Private Team if the Team works with sensitive data that only specific employees should have access to.
Manage metadata access with Teams
Check out our workflow documentation Streamline data access: Private and public teams workflow which outlines a potential solution to managing which users have access to which resources in Secoda.
Joining Teams
Joining Teams is simple - navigate over to Teams and see all the Public Teams that you are able to join and/or leave. Watch as the Team is automatically added to your side bar once you join. If you need to join a Private Team, an Admin will need to add you.

Team Settings
Customizing Your Team's Sidebar
In the Team Settings, Admins can configure which Resources they would like specific Teams to be able to access.
In the example below, the Admin wants to make sure that the Sales team can only see the Collections relevant to the Sales team. This makes for a seamless user experience in which the users won't have to go looking for their Team content.

Editing Member Settings
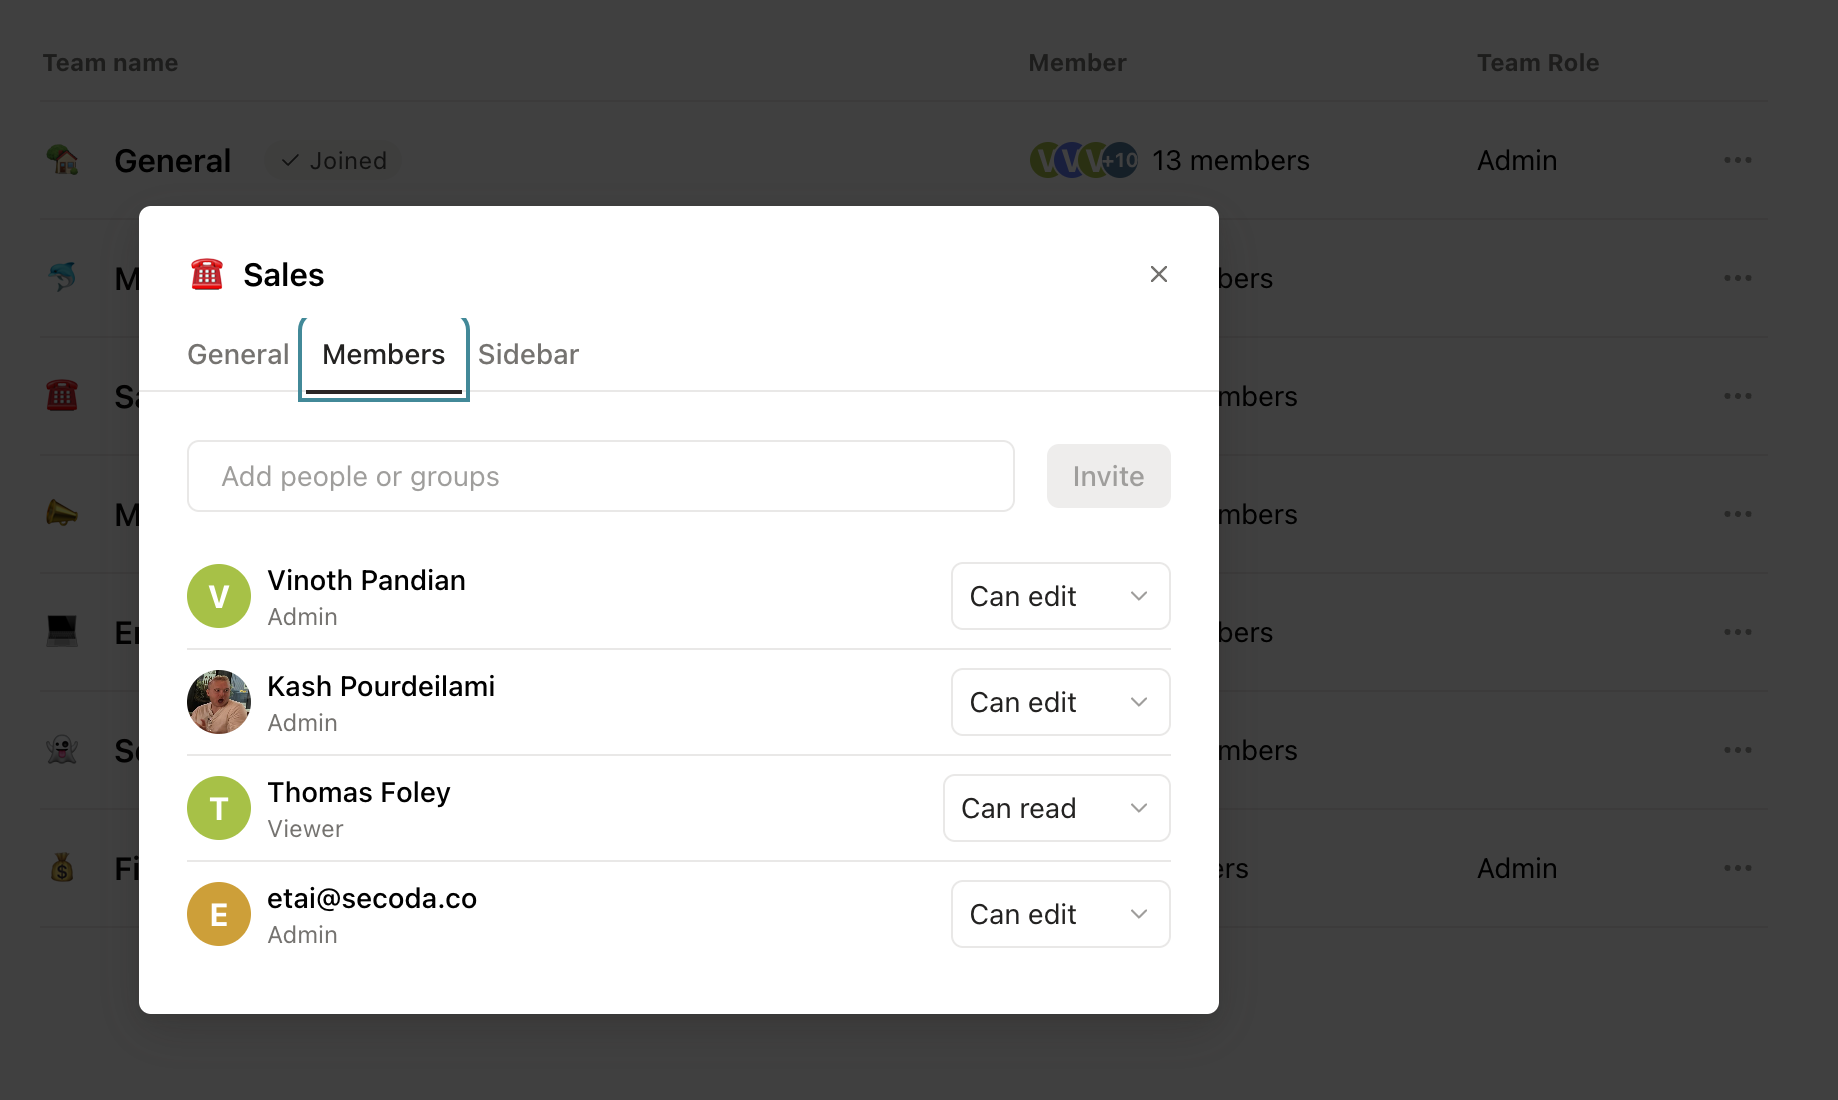
Admins can invite Members or Groups to Public and Private Teams in the Team Settings, as well as remove them.
They can also edit user permissions at the Team level here. You can turn any workspace editor into a viewer for a specific Team, for example, and then all of the resources associated with the Team will inherit these permissions. This is a great way to ensure that only the right people are making changes to the metadata.
Note: All workspace Admins can view/edit any resource across the workspace, so you can't turn an Admin into a Viewer for a particular Team, for example

Adding Integrations to Teams
Admins can pick and choose which Integrations they'd like certain Teams to have access to. Once an Integration (or multiple Integrations) is toggled on, the data resources will populate in the Team's Catalog.
Steps to Add Integrations to Teams
Click into Integrations
Click into which Integration you'd like to edit access to
Under Basic Settings type in which Team name you'd like to add to Associated Teams and click Submit

Select subset of resources to be added to the Team
You can use an Automation to automatically add a subset of resources to the Team instead of the entire integration. Check out the video here:Catalog
Roles Capabilities
Viewers, Editors and Admins within Secoda all have different capabilities when it comes to Teams. These are outlined in the graph below. Note: contact a Workspace Admin if you need assistance with Teams in your workspace.
Join Public Team
Leave Public or Private Team
View Resources in a Team
Add Resources to a Team
Invite members to a Private Team
Edit Team Settings
Join Private Team (without an invite)
Create a Team
Associate a Team with an Integration
Video tutorial
Last updated
Was this helpful?