> For the complete documentation index, see [llms.txt](https://docs.secoda.co/llms.txt). Markdown versions of documentation pages are available by appending `.md` to page URLs; this page is available as [Markdown](https://docs.secoda.co/integrations/data-transformation-tools/readme-1/dbt-core.md).
# dbt Core
{% content-ref url="/pages/KhCTN4NLX6Zmpvad8fWI" %}
[dbt Core Metadata Extracted](/integrations/data-transformation-tools/readme-1/dbt-core/metadata-extracted.md)
{% endcontent-ref %}
## **Getting started with dbt Core**
{% hint style="info" %}
dbt is a secondary integration that adds additional metadata on to your data warehouse or relational database tables. Before connecting dbt make sure to connect a data warehouse or relational database first. These include Snowflake, BigQuery, Postgres, Redshift, etc.
{% endhint %}
There are several options to connect dbt core with Secoda:
1. **(Recommended)** Connect an AWS, GCP, or Azure storage bucket/container
2. Upload a `manifest.json` and `run_results.json` through the UI
3. Upload a `manifest.json` and `run_results.json` through the Secoda API
## **Option 1 – Storage bucket (container)**
This option is recommended to ensure that Secoda always has the latest `manifest.json` and `run_results.json` files from dbt Core. Secoda will only sync these files from the bucket.
### **1a. Connect an AWS S3 bucket**
You can connect to the AWS S3 bucket using an AWS IAM user, or AWS Roles.
AWS IAM User
1. Create a new AWS IAM user and ensure that **Access Key - Programatic access is checked.** Once you create the user save the Access Key ID and Secret Access Key that are generated for the user.
2. Attach the following policy to the user. Make sure to change ``.
```
{
"Statement": [
{
"Action": [
"s3:PutObject",
"s3:PutObjectAcl",
"s3:ListBucket",
"s3:GetObject",
"s3:GetObjectAcl",
"s3:DeleteObject"
],
"Effect": "Allow",
"Resource": [
"arn:aws:s3:::",
"arn:aws:s3:::/*"
]
}
],
"Version": "2012-10-17"
}
```
3. Connect your S3 bucket to Secoda
* Navigate to and click dbt Core
* Choose the Access Key tab and add the credentials from AWS (Region, Bucket Name, Access Key ID, Secret Access Key)
* Test the Connection - if successful, you'll be prompted to run your initial sync
AWS Roles
1. Create a new AWS IAM role. In the Select type of trusted entity page, click Another AWS account and add the following account ID: 482836992928.
2. Click on Require External ID, and copy the randomly generated value from Secoda, in the dbt Core connection page.
3. Attach the following policy to the role. Make sure to change ``.
```
{
"Version": "2012-10-17",
"Statement": [
{
"Effect": "Allow",
"Action": [
"s3:GetObject",
"s3:ListBucket"
],
"Resource": [
"arn:aws:s3:::",
"arn:aws:s3::: and click dbt Core
* Choose the Role tab and add the credentials from AWS (Role ARN, Region, Bucket Name)
* Test the Connection - if successful you'll be prompted to run your initial sync
### **1b. Connect a GCS S3-compatible bucket**
1. Login to GCP cloud console.
2. Create a service account.
3. Grant access to the service account from the Bucket page as “Storage Object Viewer”.
4. Turn on interoperability on the bucket. Generate HMAC keys for a service account with read access to the bucket. Both located here:

5. Setup CORS. GCP requires this be done over CLI. Like the following:
```
gsutil cors set cors.json gs://bucket-name
```
**cors.json**
```
[
{
"origin": ["*"],
"method": ["GET", "POST", "PUT", "DELETE", "OPTIONS"],
"responseHeader": ["Content-Type"],
"maxAgeSeconds": 3600
}
]
```
6. Save the HMAC keys to be used in the connection form.
* **Access Key Id**
* **Secret**
* **Region** bucket region for GCP
* **S3 Endpoint** must be added and set to `https://storage.googleapis.com`
7. Connect your S3 bucket to Secoda
* Navigate to and click dbt Core
* Choose the Access Key tab and add the HMAC keys saved above to the relevant fields.
* Test the Connection - if successful you'll be prompted to run your initial sync
### **1c. Connect a** Azure Blob Storage container
1. Go to portal.azure.com and then click **Storage accounts**.
2. Copy the name of the desired storage account. Enter that in the integration form.
3. Click on your storage account and under **Security + networking** select **Access keys**.
4. Copy the **Connection string** and add to your integration form.
5. Test the connection.
{% hint style="info" %}
If a path is specified, Secoda will follow that path and look for any files with the keyword `manifest` in it and the file extension `.json` or `.json.gz`.
If a path is not specific Secoda will look for any files at the root level that start with `manifest`
{% endhint %}
## **Option 2 – Upload a single manifest.json**
{% hint style="info" %}
The dbt manifest file contains complete information about how tables are transformed and how they are connected in terms of data lineage. It details the model to table relationships, providing a complete and accurate lineage view.
{% endhint %}
This is a one time sync with your manifest.json file. You can upload the file following these steps:
1. Navigate to and click dbt Core
2. Choose the File Upload tab and select your manifest.json and run\_results.json files using the file select
3. Test the Connection - if successful you'll be prompted to run your initial sync
{% hint style="info" %}
When declaring a Search Path, ensure there are no loading slashes in the file path.
{% endhint %}
## **Option 3 – Using the API**
The API provides an endpoint to upload your manifest.json and run\_results.json file. This is convenient if you run dbt with Airflow because you can upload the manifest.json at the end of a dbt run. Follow these instructions to upload your manifest.json via the API:
1. Create a blank dbt core integration by going to and selecting the "dbt Core" integration and then click "Test Connection". And run the initial extraction. This extraction will fail, but that's intended.
2. Return to and click on the dbt Core integration that was just created. Save the ID which is contained in the URL.
3. Use the endpoints below to upload your files.
Endpoints ->
### 3a. Two separate calls (One for Manifest, One for Run Results)
Manifest.json: `https://api.secoda.co/api/v1/integration/dbt/manifest/`
Run\_results.json: `https://api.secoda.co/api/v1/integration/dbt/run_result/`
Method -> `POST`
NOTE -> This will *automatically* trigger an extraction to run on the integration you created
Sample Request for Manifest file (Python) ->
```python
import requests
headers = {
"Authorization": "Bearer "
}
response = requests.post(
"",
files={"manifest_file": open("manifest.json", "rb")},
data={"integration": "Your Integration ID"},
headers=headers
)
print(response.json())
```
Sample Request for Run Results file (Python) ->
```python
import requests
headers = {
"Authorization": "Bearer "
}
response = requests.post(
"",
files={"run_result_file": open("run_results.json", "rb")},
data={"integration": "Your Integration ID"},
headers=headers
)
print(response.json())
```
### 3b. One call to upload both Manifest and Run Results
#### 1. Get your dbt Core Integration ID
* Get the integration ID from the integration page URL
* For example, if the url is `https://app.secoda.co/integrations/f7d68db5-9dbc-4880-b6cd-ec363c1f7d6b/syncs`, the integration id would be `f7d68db5-9dbc-4880-b6cd-ec363c1f7d6b`
* Or get the integration ID programmatically via a `GET` request to the `/integration/integrations/` endpoint and parse the list for your dbt Core integration
#### 2. Upload manifest.json and run\_results.json
Endpoint (inserting the integration\_id from Step 1): `https://api.secoda.co/integration/dbt/{integration_id}/upload_artifacts/`
Method -> `POST`
Expected Response -> `200`
Sample Request for uploading your files (Python, note the TODOs) ->
```python
import requests
# TODO: replace YOUR_INTEGRATION_ID with your integration_id
integration_id = "YOUR_INTEGRATION_ID"
url = f"https://api.secoda.co/integration/dbt/{integration_id}/upload_artifacts/"
# TODO: replace YOUR_PATH with your path to run_results and manifest
files={
"run_results": open("YOUR_PATH/run_results.json", "rb"),
"manifest": open("YOUR_PATH/manifest.json", "rb")
}
# TODO: replace YOUR_API_KEY with your Secoda API key
headers = {
"Authorization": "Bearer YOUR_API_KEY"
}
response = requests.request("POST", url, headers=headers, files=files)
print(response)
```
#### 3. Trigger an Integration Sync
Endpoint (inserting the integration\_id from Step 1): `https://api.secoda.co/integration/dbt/{integration_id}/trigger/`
Method -> `POST`
Expected Response -> `200`
Sample Request for triggering a sync (Python, note the TODOs) ->
```python
import requests
# TODO: replace YOUR_INTEGRATION_ID with your integration_id
integration_id = "YOUR_INTEGRATION_ID"
url = f"https://api.secoda.co/integration/dbt/{integration_id}/trigger/"
# TODO: replace YOUR_API_KEY with your Secoda API key
headers = {
"Authorization": "Bearer YOUR_API_KEY"
}
response = requests.request("POST", url, headers=headers)
print(response)
```
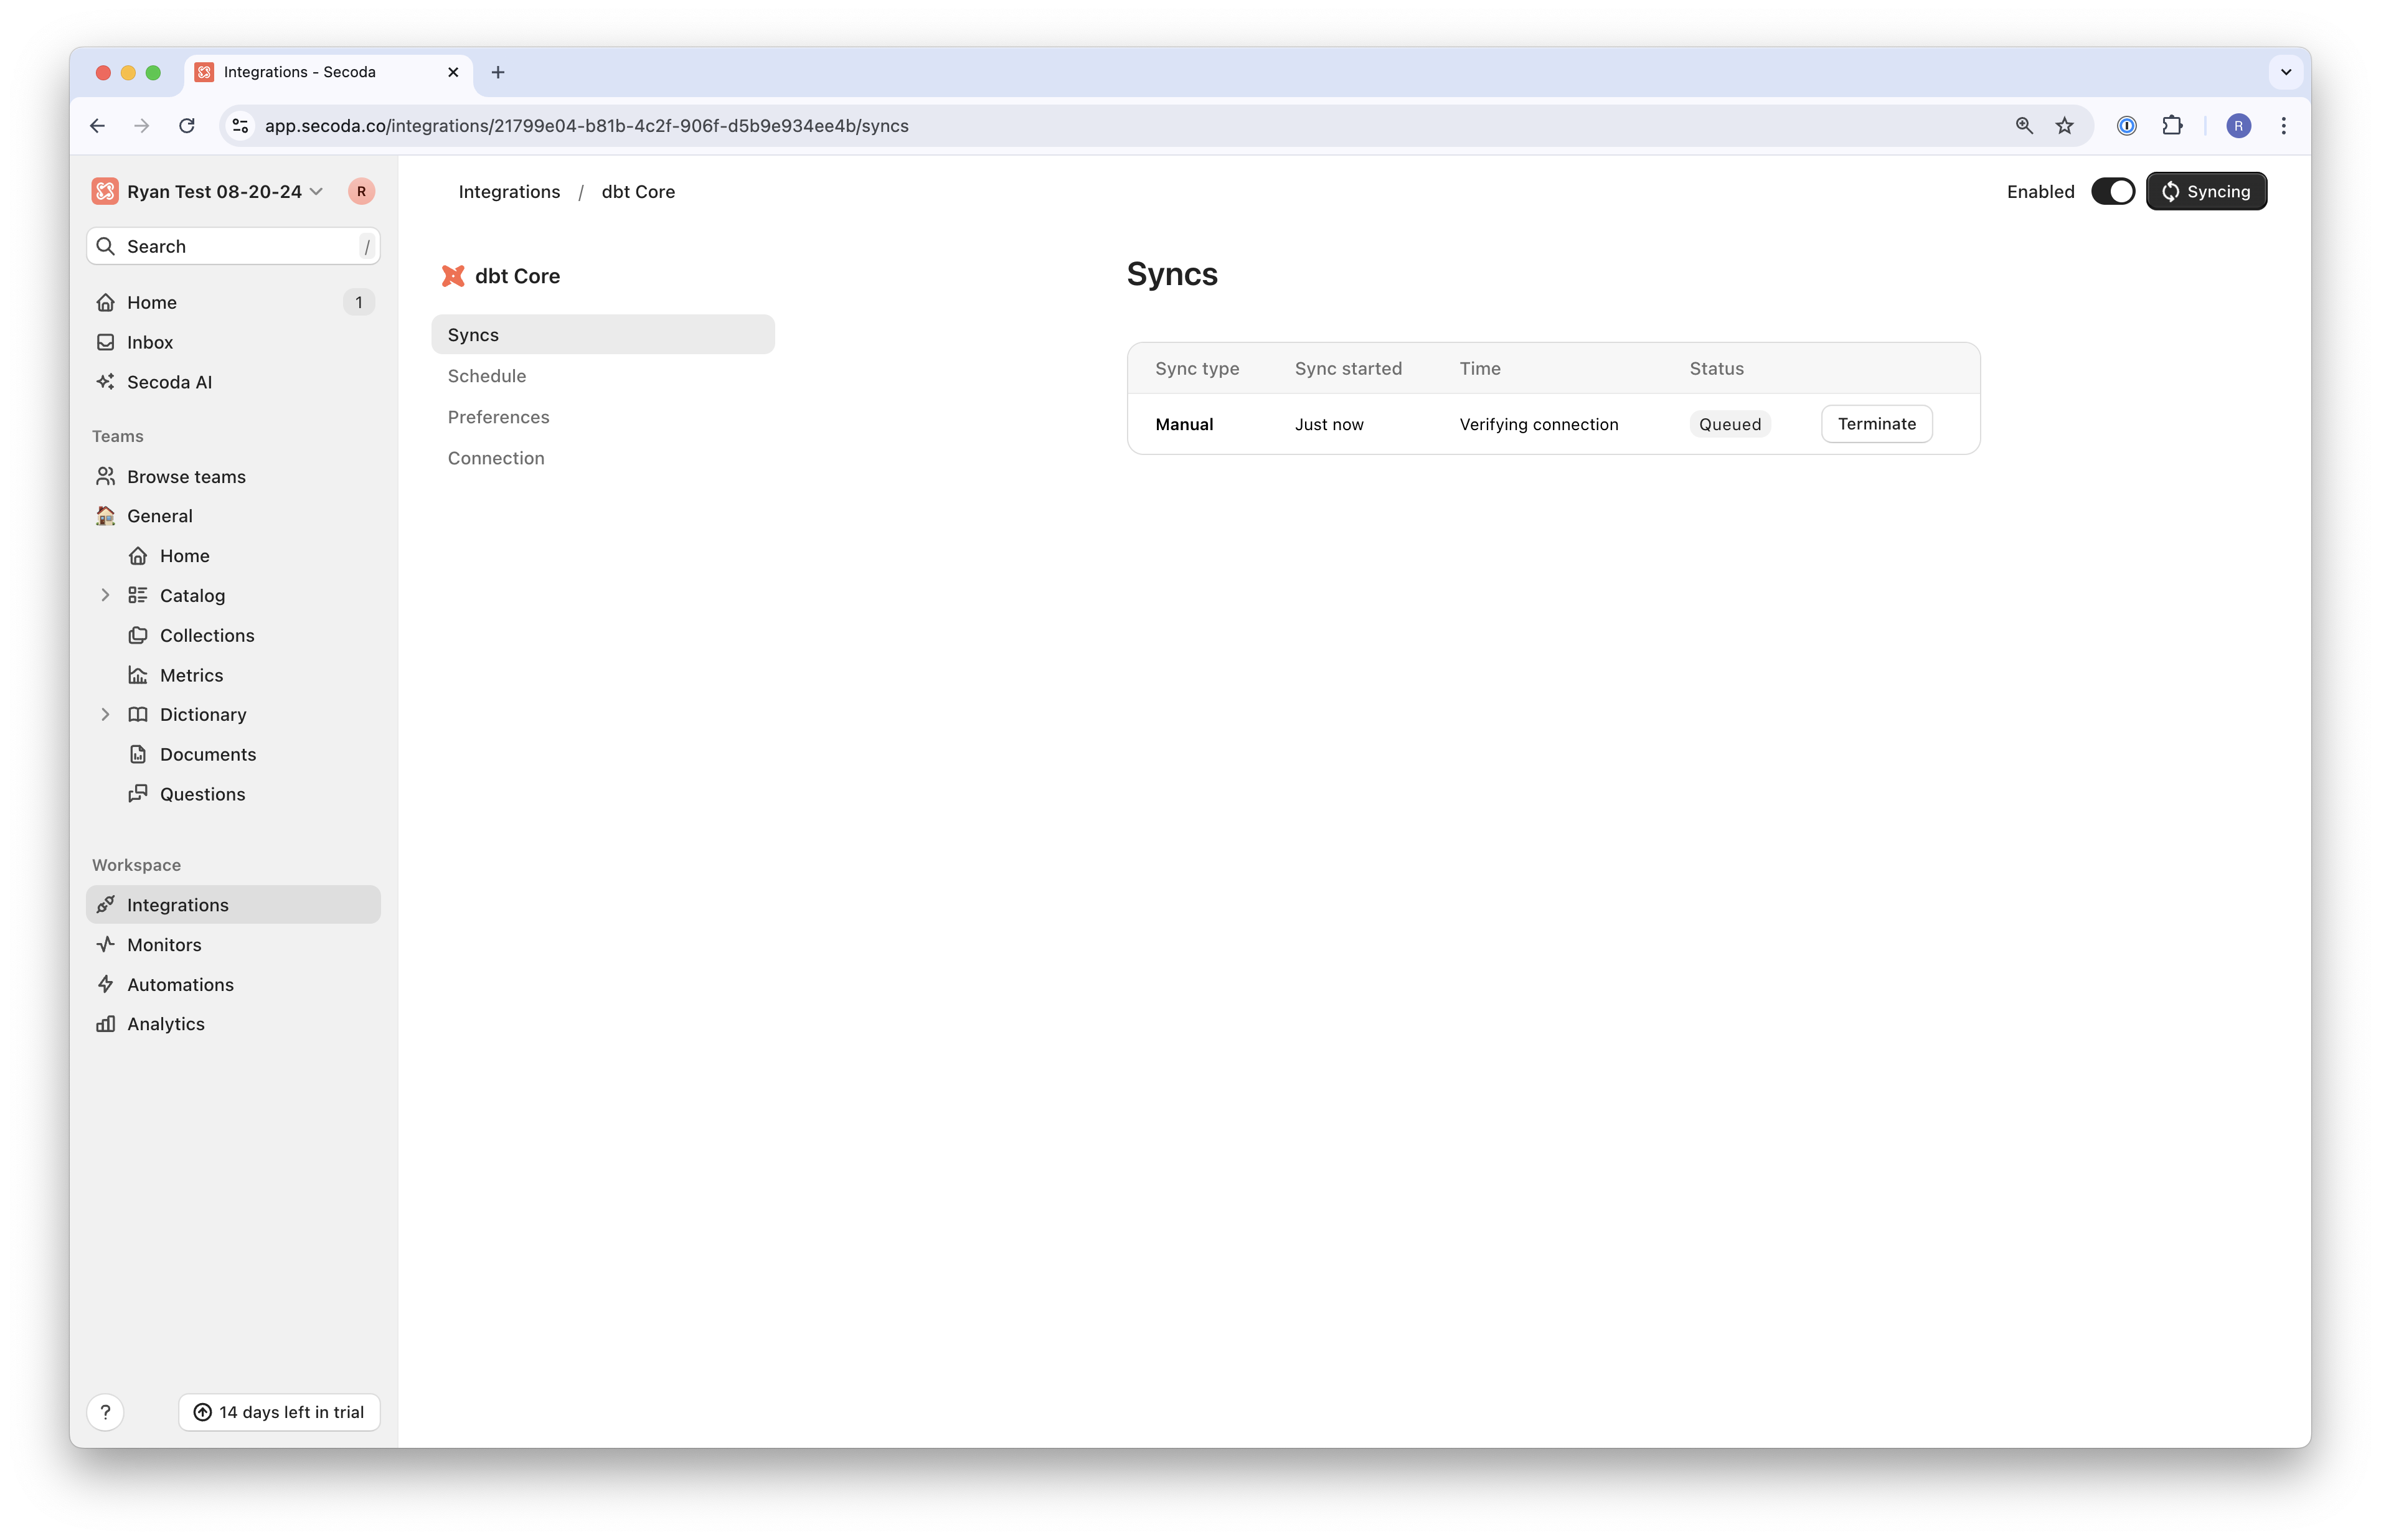
#### 4. After a sync has been triggered you can monitor your sync status in the UI
 ---
# Agent Instructions
This documentation is published with GitBook. GitBook is the documentation platform designed so that both humans and AI agents can read, navigate, and reason over technical content effectively. Learn more at gitbook.com.
## Querying This Documentation
If you need additional information that is not directly available in this page, you can query the documentation dynamically by asking a question.
Perform an HTTP GET request on the current page URL with the `ask` query parameter, and the optional `goal` query parameter:
```
GET https://docs.secoda.co/integrations/data-transformation-tools/readme-1/dbt-core.md?ask=&goal=
```
`ask` is the immediate question: it should be specific, self-contained, and written in natural language.
`goal` is optional and describes the broader end goal you are ultimately trying to accomplish on behalf of the user. GitBook uses it to tailor the answer towards what is most useful for that goal.
The response will contain a direct answer to the question and relevant excerpts and sources from the documentation.
Use this mechanism when the answer is not explicitly present in the current page, you need clarification or additional context, or you want to retrieve related documentation sections.
---
# Agent Instructions
This documentation is published with GitBook. GitBook is the documentation platform designed so that both humans and AI agents can read, navigate, and reason over technical content effectively. Learn more at gitbook.com.
## Querying This Documentation
If you need additional information that is not directly available in this page, you can query the documentation dynamically by asking a question.
Perform an HTTP GET request on the current page URL with the `ask` query parameter, and the optional `goal` query parameter:
```
GET https://docs.secoda.co/integrations/data-transformation-tools/readme-1/dbt-core.md?ask=&goal=
```
`ask` is the immediate question: it should be specific, self-contained, and written in natural language.
`goal` is optional and describes the broader end goal you are ultimately trying to accomplish on behalf of the user. GitBook uses it to tailor the answer towards what is most useful for that goal.
The response will contain a direct answer to the question and relevant excerpts and sources from the documentation.
Use this mechanism when the answer is not explicitly present in the current page, you need clarification or additional context, or you want to retrieve related documentation sections.