dbt Core
An overview of the dbt Core integration with Secoda
Getting started with dbt Core
There are several options to connect dbt core with Secoda:
(Recommended) Connect an AWS, GCP, or Azure storage bucket/container
Upload a
manifest.jsonandrun_results.jsonthrough the UIUpload a
manifest.jsonandrun_results.jsonthrough the Secoda API
Option 1 – Storage bucket (container)
This option is recommended to ensure that Secoda always has the latest manifest.json and run_results.json files from dbt Core. Secoda will only sync these files from the bucket.
1a. Connect an AWS S3 bucket
You can connect to the AWS S3 bucket using an AWS IAM user, or AWS Roles.
1b. Connect a GCS S3-compatible bucket
Login to GCP cloud console.
Create a service account.
Grant access to the service account from the Bucket page as “Storage Object Viewer”.
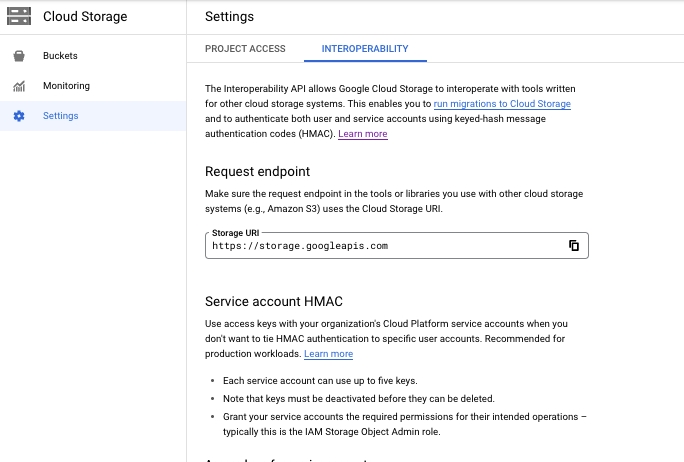
Turn on interoperability on the bucket. Generate HMAC keys for a service account with read access to the bucket. Both located here:

Setup CORS. GCP requires this be done over CLI. Like the following:
cors.json
Save the HMAC keys to be used in the connection form.
Access Key Id
Secret
Region bucket region for GCP
S3 Endpoint must be added and set to
https://storage.googleapis.com
Connect your S3 bucket to Secoda
Navigate to https://app.secoda.co/integrations/new and click dbt Core
Choose the Access Key tab and add the HMAC keys saved above to the relevant fields.
Test the Connection - if successful you'll be prompted to run your initial sync
1c. Connect a Azure Blob Storage container
Go to portal.azure.com and then click Storage accounts.
Copy the name of the desired storage account. Enter that in the integration form.
Click on your storage account and under Security + networking select Access keys.
Copy the Connection string and add to your integration form.
Test the connection.
Option 2 – Upload a single manifest.json
This is a one time sync with your manifest.json file. You can upload the file following these steps:
Navigate to https://app.secoda.co/integrations/new and click dbt Core
Choose the File Upload tab and select your manifest.json and run_results.json files using the file select
Test the Connection - if successful you'll be prompted to run your initial sync
Option 3 – Using the API
The API provides an endpoint to upload your manifest.json and run_results.json file. This is convenient if you run dbt with Airflow because you can upload the manifest.json at the end of a dbt run. Follow these instructions to upload your manifest.json via the API:
Create a blank dbt core integration by going to https://app.secoda.co/integrations/new and selecting the "dbt Core" integration and then click "Test Connection". And run the initial extraction. This extraction will fail, but that's intended.
Return to https://app.secoda.co/integrations and click on the dbt Core integration that was just created. Save the ID which is contained in the URL.
Use the endpoints below to upload your files.
Endpoints ->
3a. Two separate calls (One for Manifest, One for Run Results)
Manifest.json: https://api.secoda.co/api/v1/integration/dbt/manifest/
Run_results.json: https://api.secoda.co/api/v1/integration/dbt/run_result/
Method -> POST
NOTE -> This will automatically trigger an extraction to run on the integration you created
Sample Request for Manifest file (Python) ->
Sample Request for Run Results file (Python) ->
3b. One call to upload both Manifest and Run Results
1. Get your dbt Core Integration ID
Get the integration ID from the integration page URL
For example, if the url is
https://app.secoda.co/integrations/f7d68db5-9dbc-4880-b6cd-ec363c1f7d6b/syncs, the integration id would bef7d68db5-9dbc-4880-b6cd-ec363c1f7d6b
Or get the integration ID programmatically via a
GETrequest to the/integration/integrations/endpoint and parse the list for your dbt Core integration
2. Upload manifest.json and run_results.json
Endpoint (inserting the integration_id from Step 1): https://api.secoda.co/integration/dbt/{integration_id}/upload_artifacts/
Method -> POST
Expected Response -> 200
Sample Request for uploading your files (Python, note the TODOs) ->
3. Trigger an Integration Sync
Endpoint (inserting the integration_id from Step 1): https://api.secoda.co/integration/dbt/{integration_id}/trigger/
Method -> POST
Expected Response -> 200
Sample Request for triggering a sync (Python, note the TODOs) ->
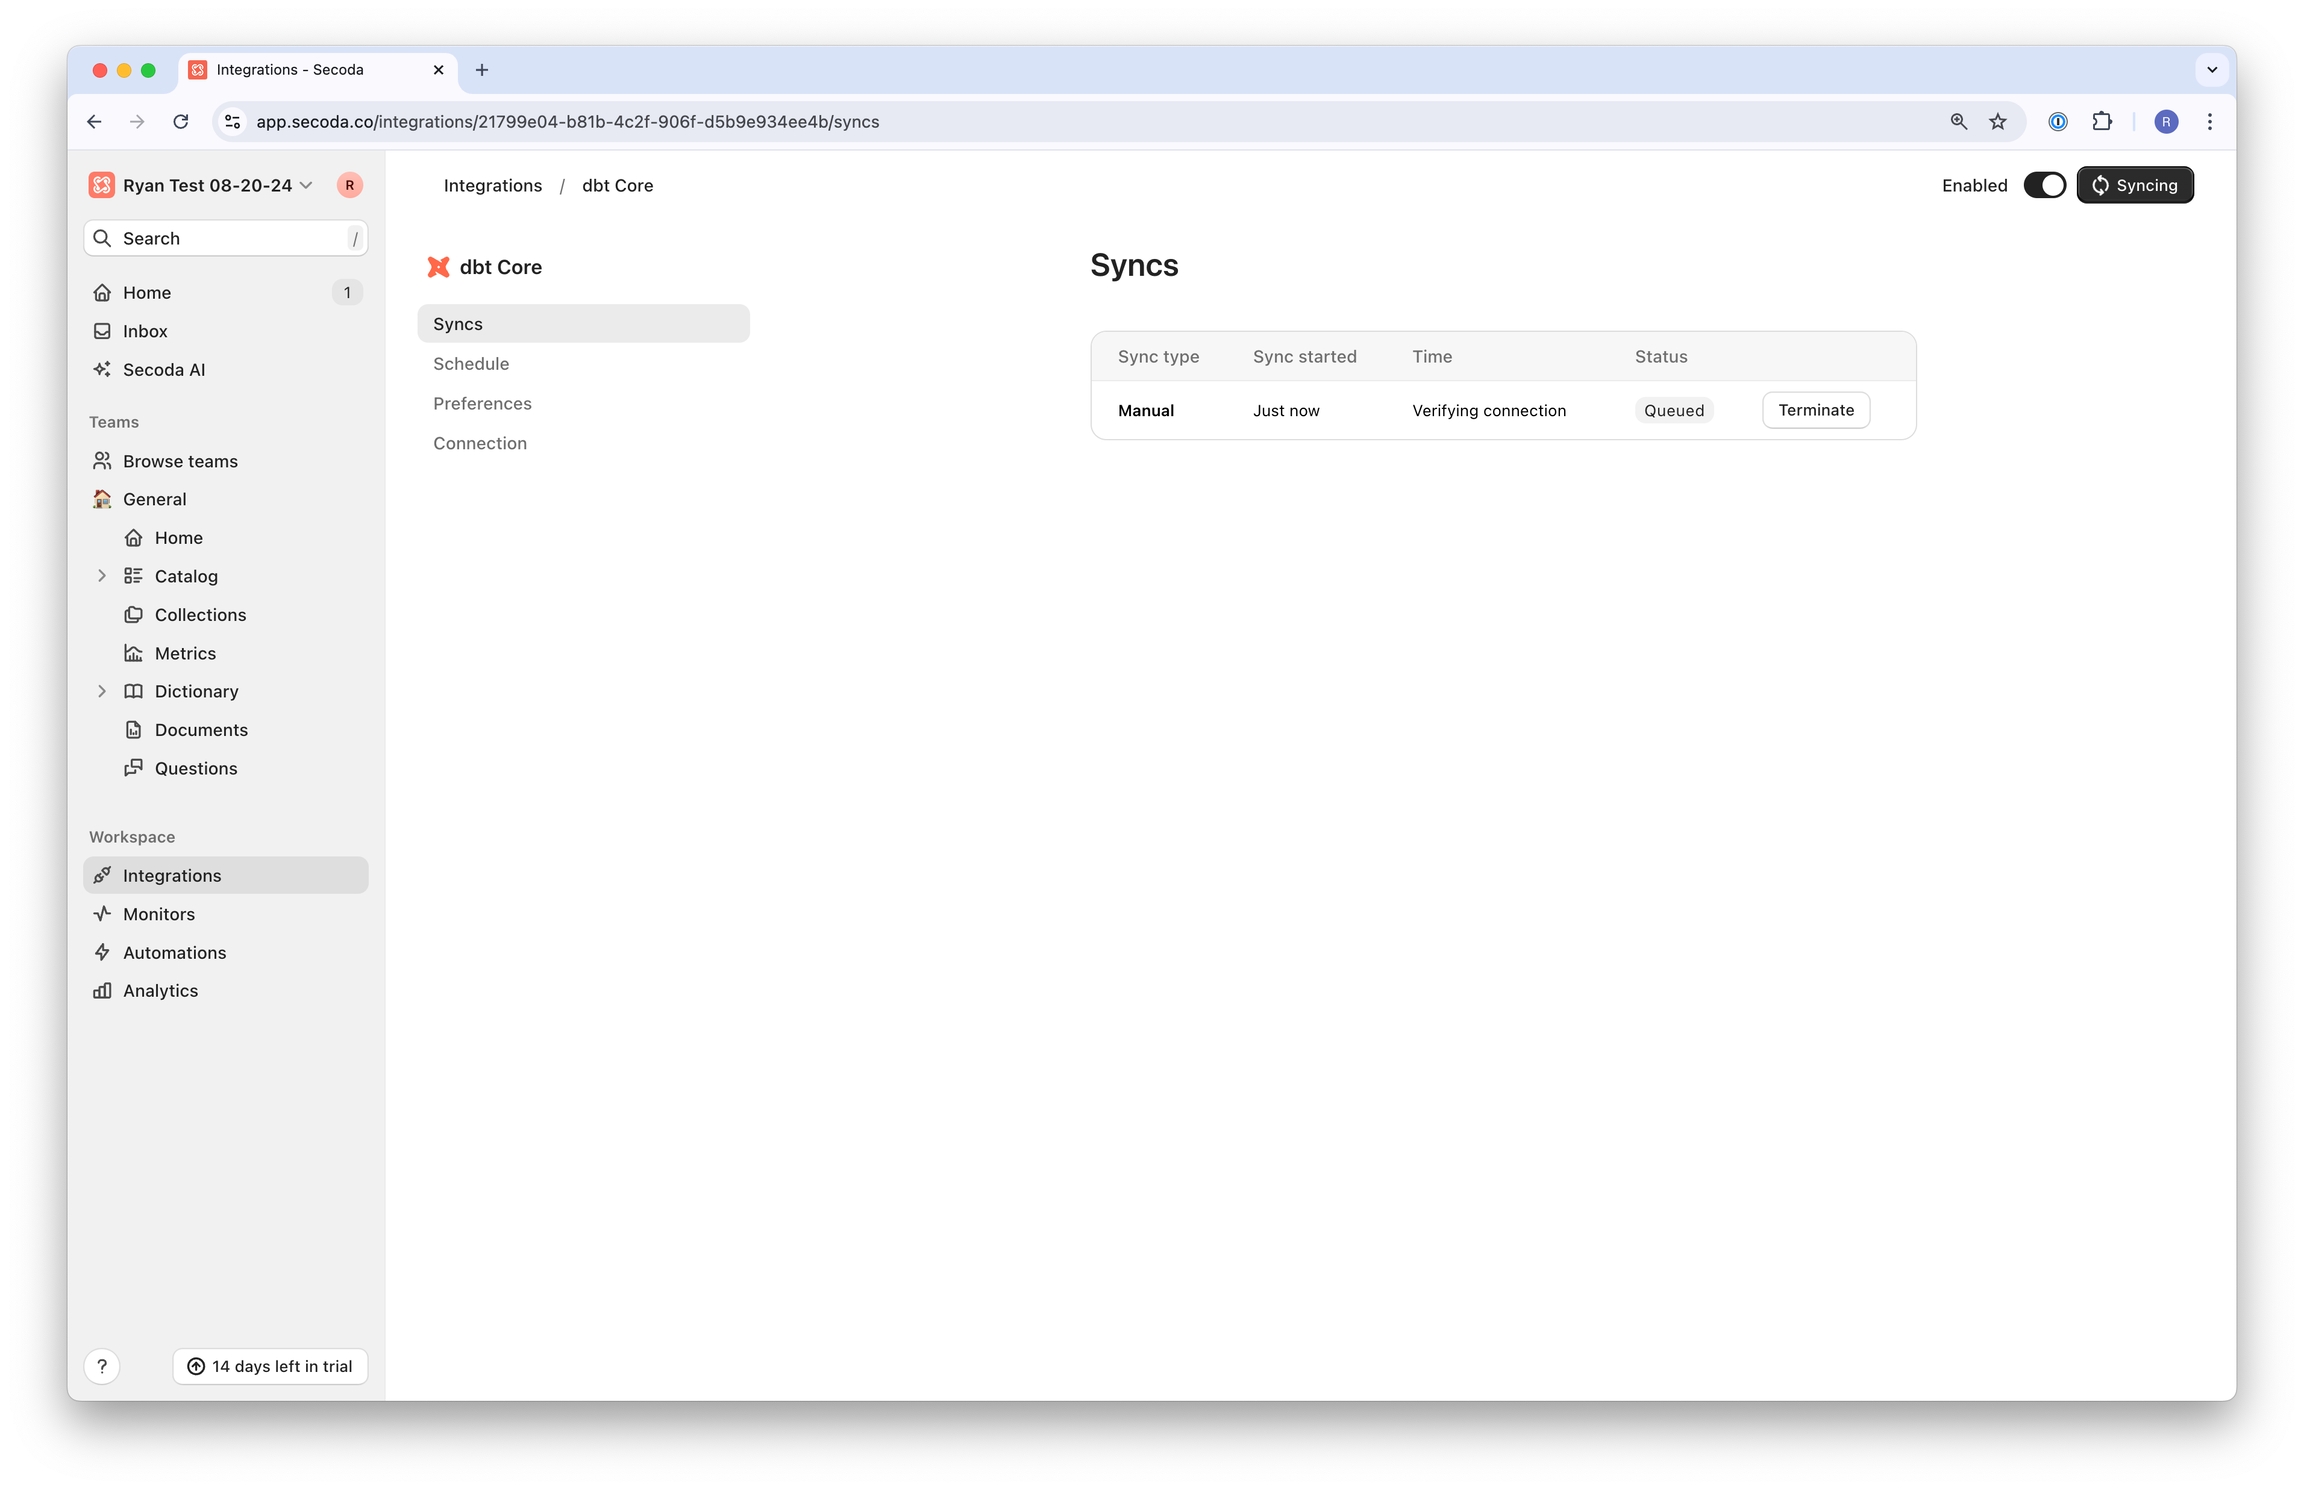
4. After a sync has been triggered you can monitor your sync status in the UI

Last updated
Was this helpful?