Git
An overview of the Git integration with Secoda
The Secoda integration with Git allows user's to push the resources and metadata in the Secoda workspace into a Git repository, in the form of JSON files.
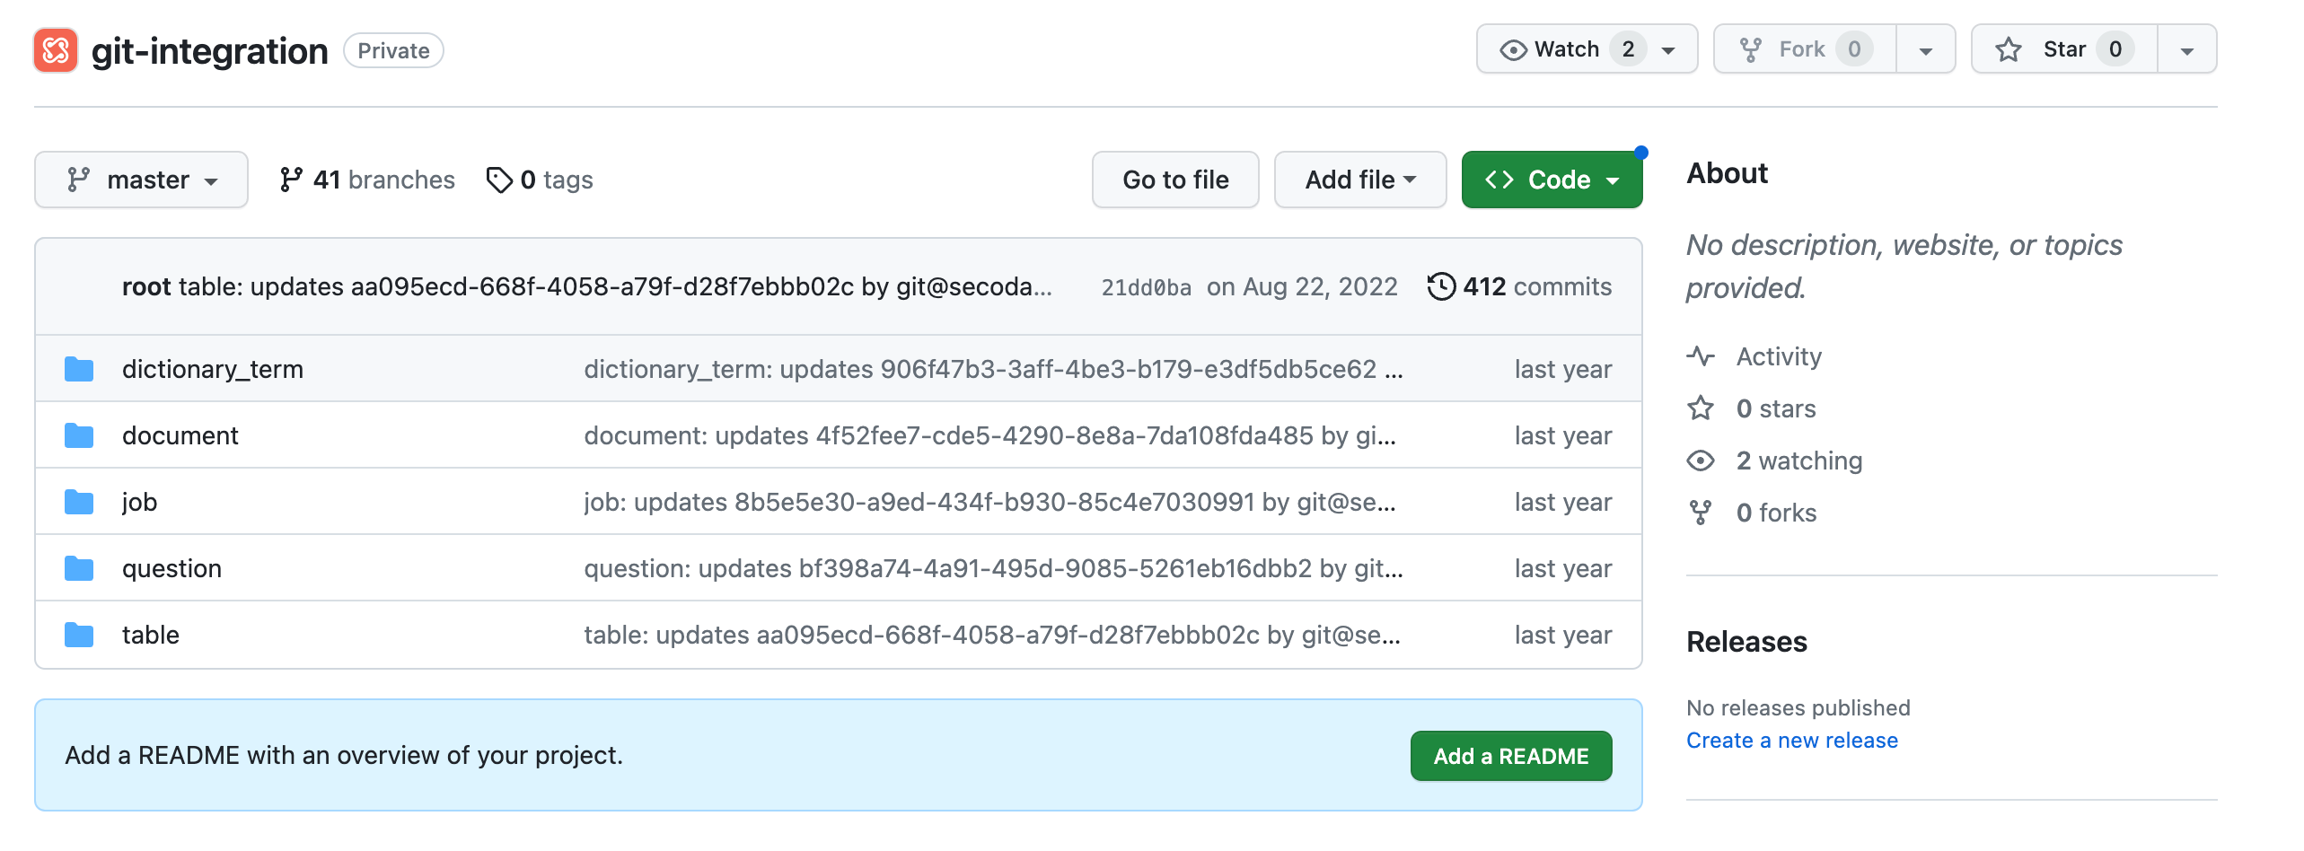
Getting Started with Git
There are three steps to getting started using Git with Secoda
Create an empty Git repository for Secoda to push data to (NOTE: You may have to push an initial empty commit or an empty README file for the Git integration to run successfully)
Prepare your Git credentials
Connect Git to Secoda
The following guide contains screenshots and links from Github but Secoda’s Git integration works with every other Git host as well.
Create an Empty Git Repository
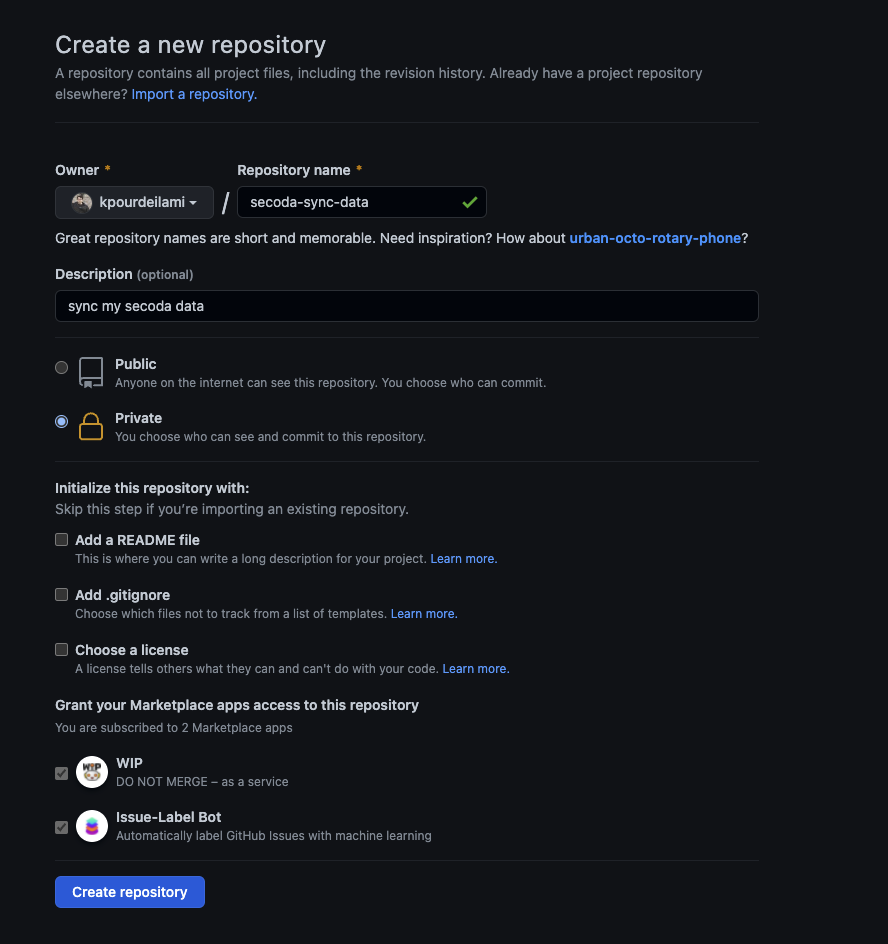
Navigate to this url to create a new repo. Please ensure you set your repo to be private, otherwise you risk exposing your company’s private data to the public.
Once the repo is created. Please note the HTTPs URL of the repo.
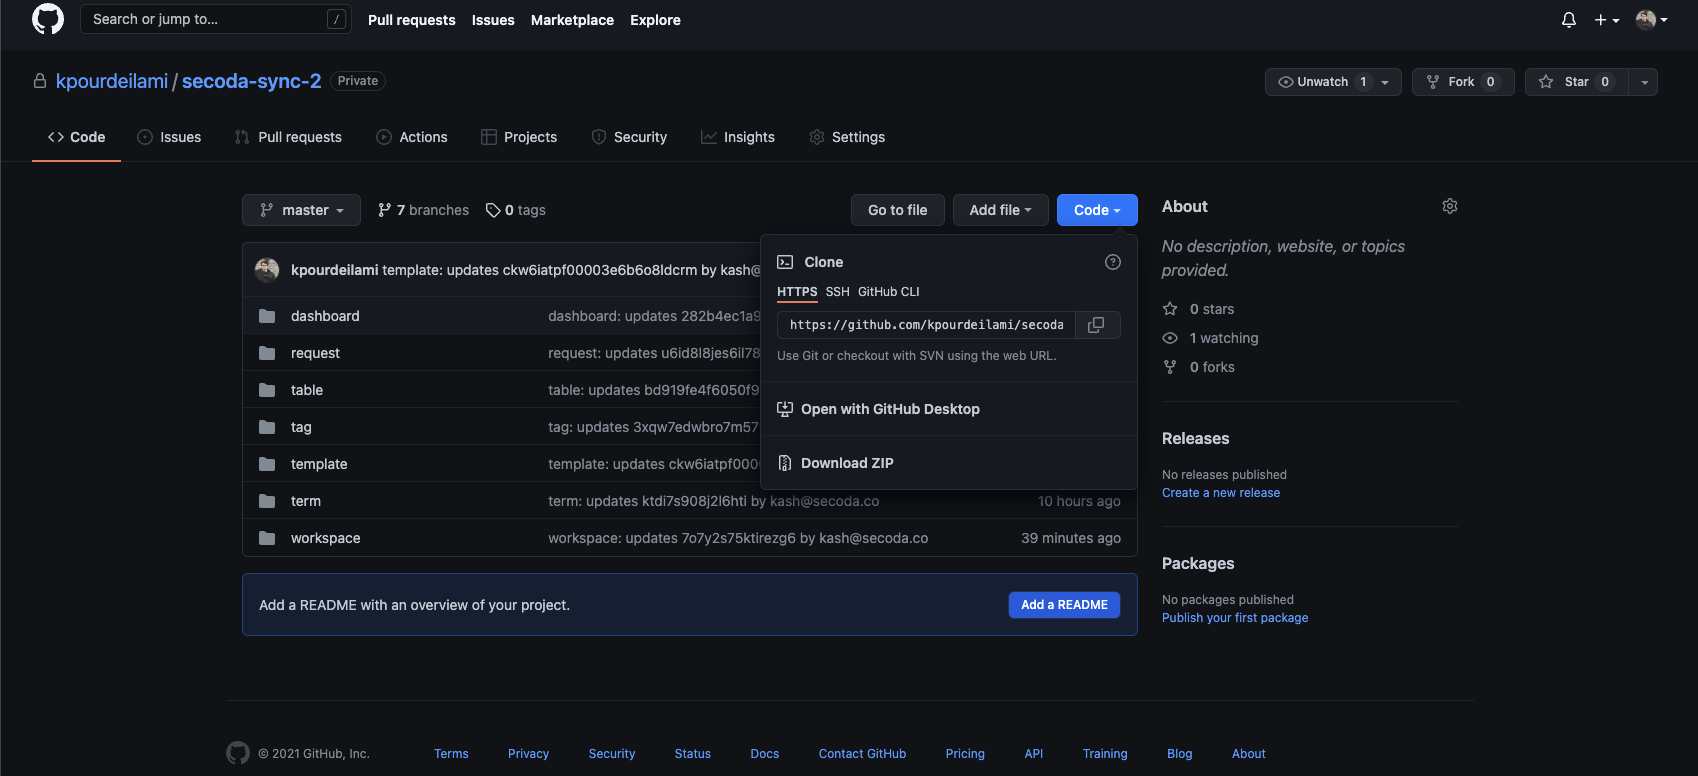
Prepare Your Git Credentials
Your git username password are the same as your Git hosting credentials. However, If you have enabled 2FA on your account, you will have to generate a new personal token.
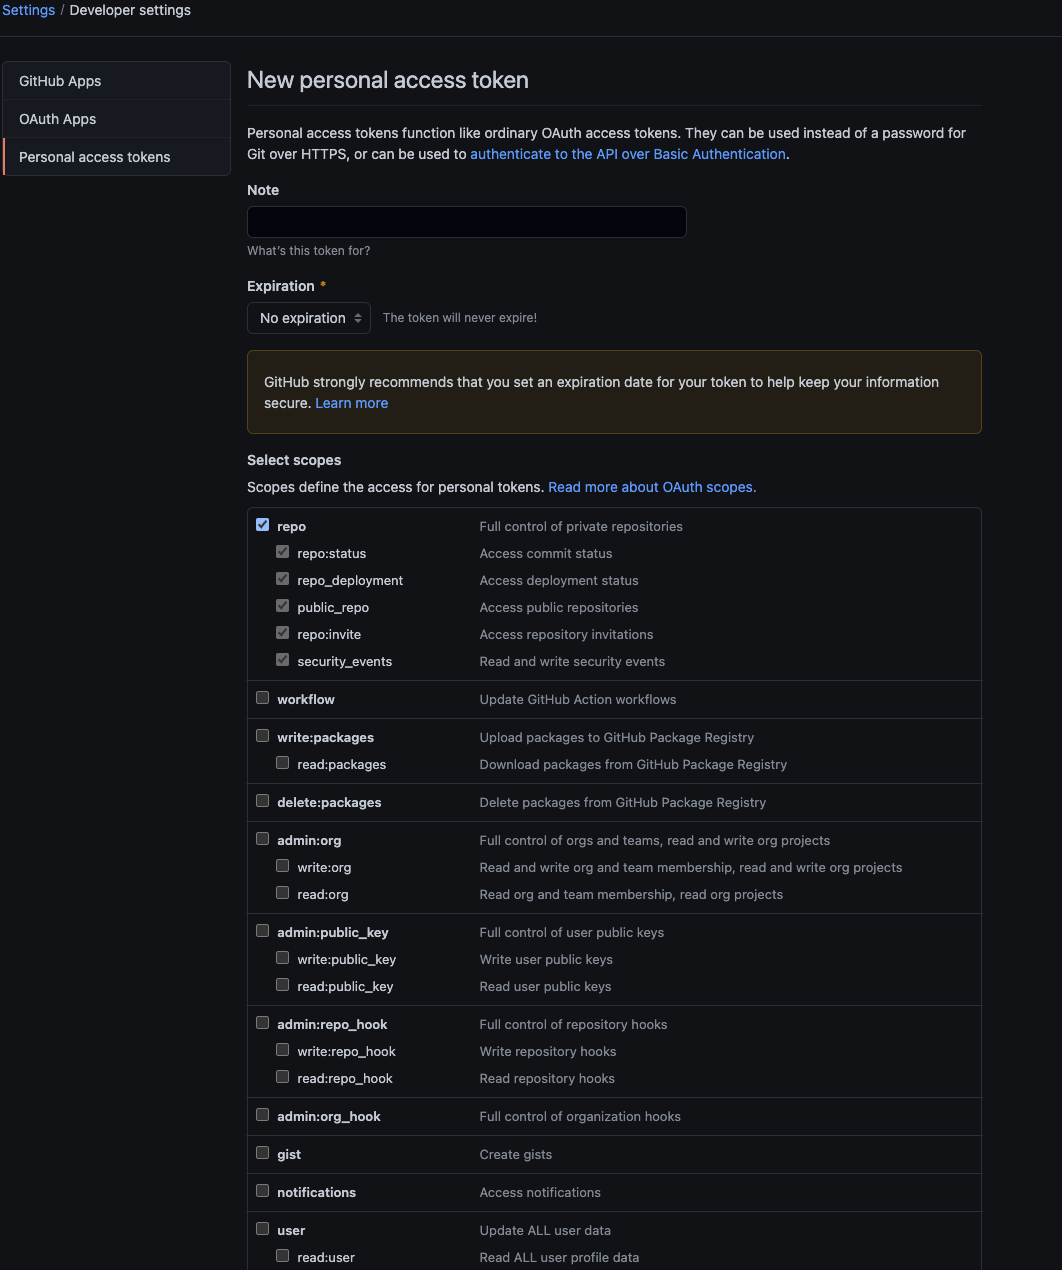
Open this link on Github
Click on “Generate new Token” at the top right
Name your token “Secoda Git Integration” or any other name you see fit
Set the expiration to “No Expiration”
Check the “repo” checkbox
Scroll to the bottom and click on “Generate Token”
Please note the generated token for the next step.
Connect Git to Secoda
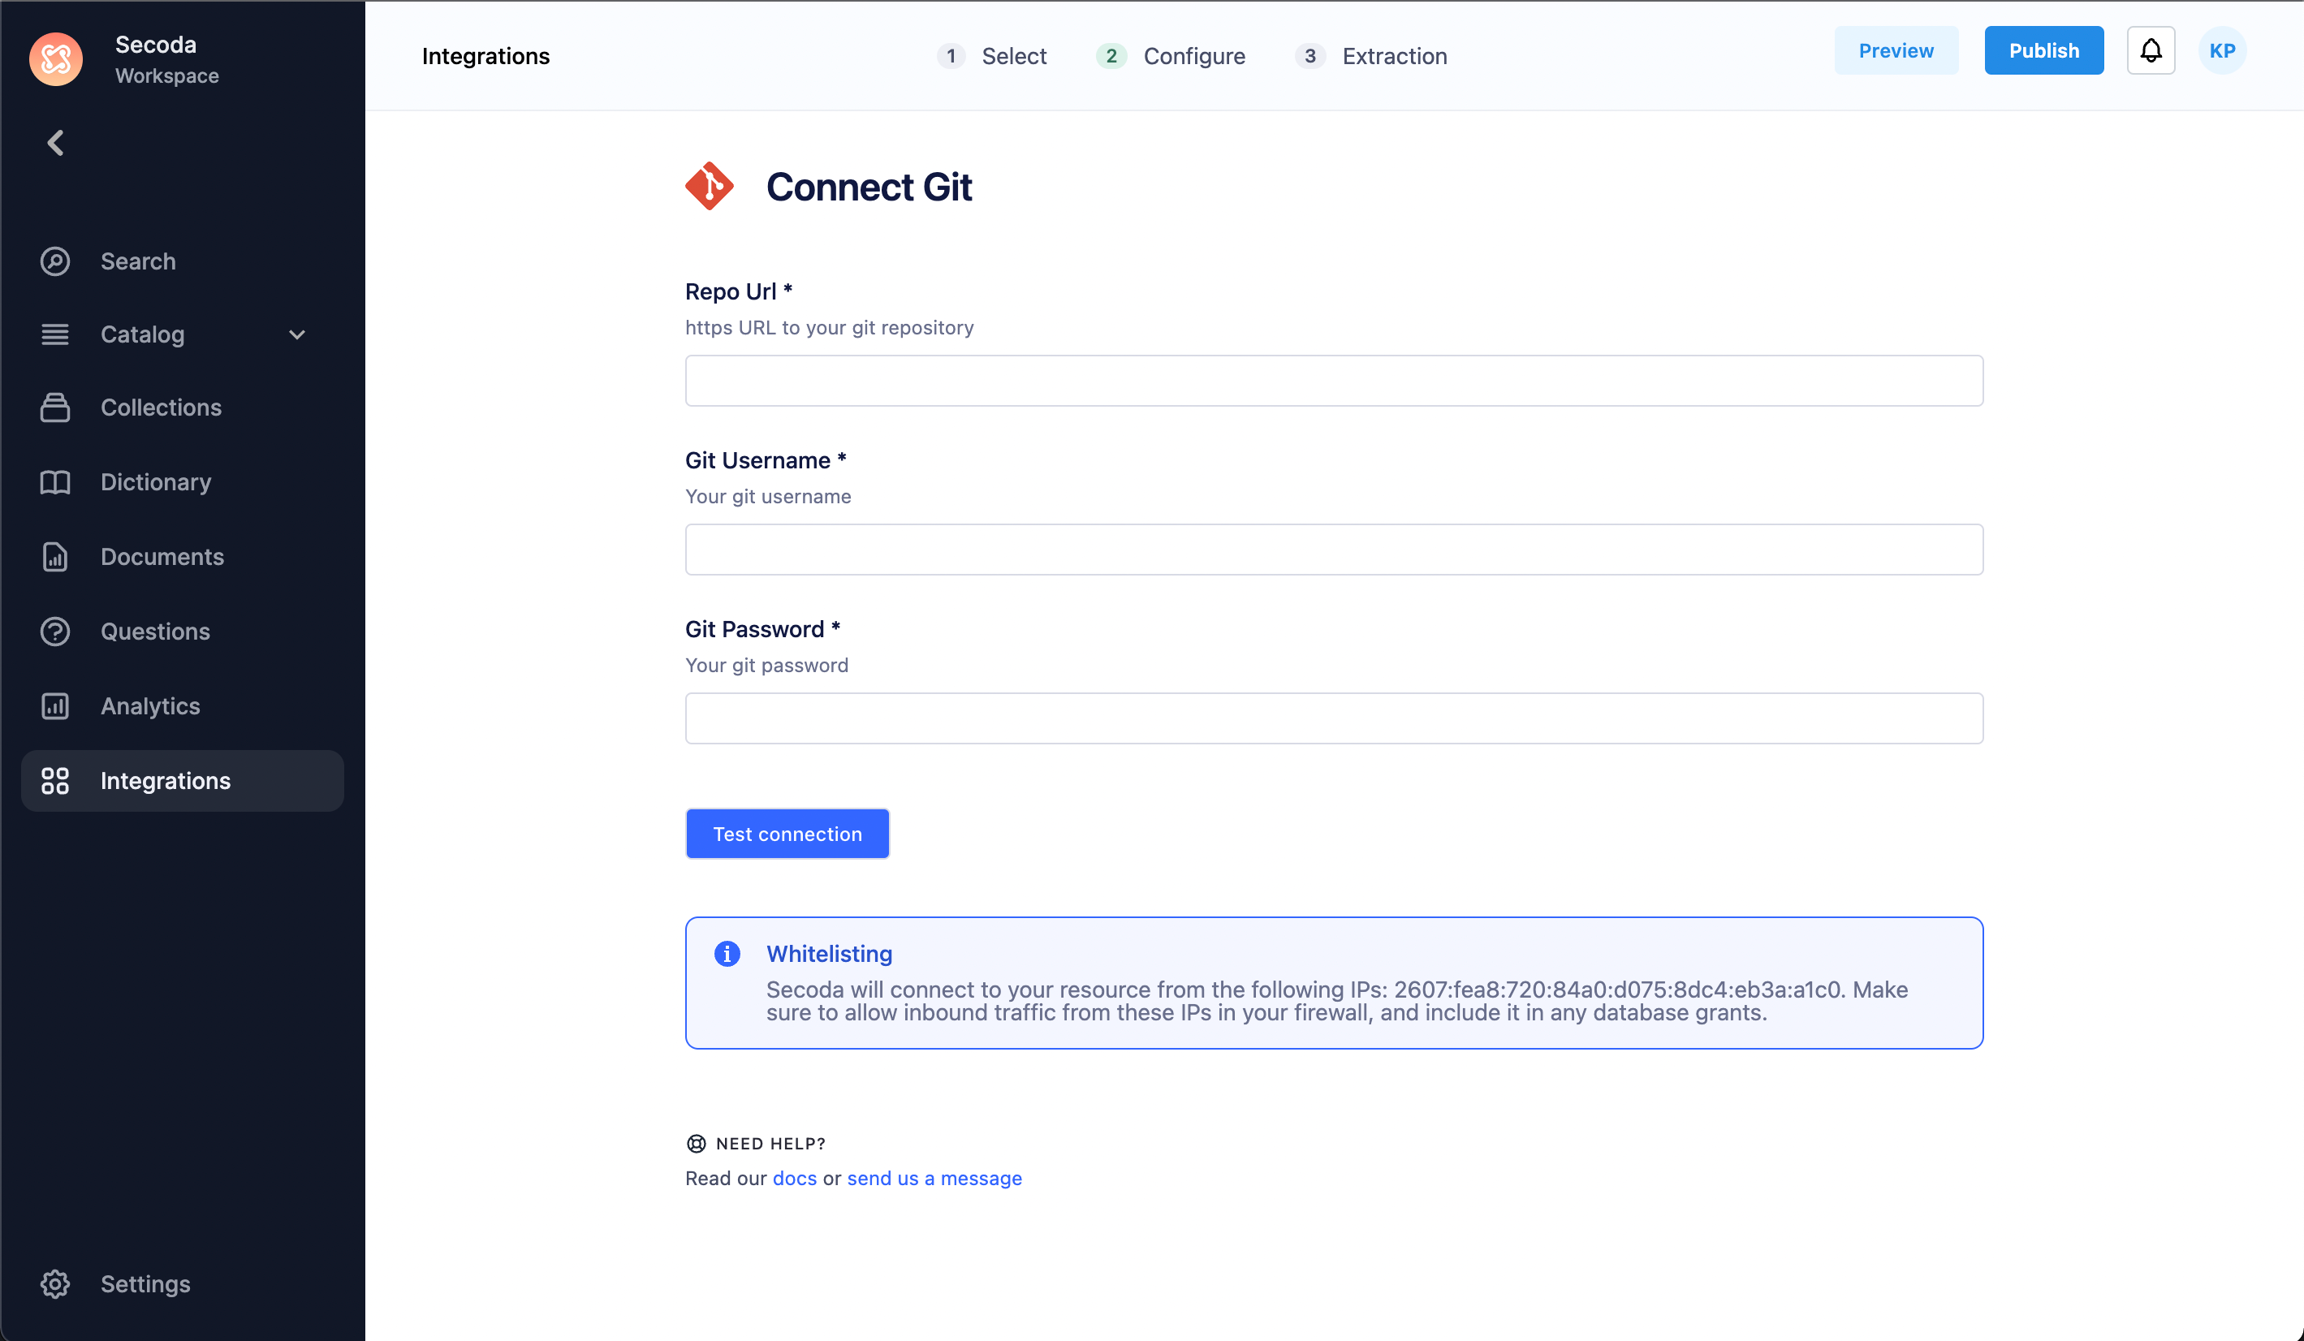
Open your Secoda integrations page
Click on "New Integration" on the top left
Select Git from the list of integrations
Input your Git credentials - The Git Username is the username used to sign on to the Git platform, the Git password is either the generated Access Token (if the Git platform you use requires 2FA for signing on), or the password for your Git account.
Click on "Test Connection" to save the integration.
Once integration is created, click on “Run Extraction” from history tab to run your first extraction
Once the git extraction finishes running, you will receive a notification on Secoda if you have enabled the setting to receive extraction success notifications.
Last updated
Was this helpful?